New project Mountain Mods Ascension
-
What a beast you're riding Ruruloko, I hadn't even seen this thread, I'll have to follow it more so that you make me envious, although I'm happy for you that you're building these computers.
These computers are expensive but in the end they have no price since they are unique, you're going to have to build a museum there in Andalusia, let's see the art, surely many people would like to see computers like that in operation.
Regards
Hi Fjavi, I'm really happy to see you around here. If a beast, it sure is, it's missing a face to make it look like XD.
You already know these Andalusians who are here fighting with the world of Mod, we're passionate about it.
They are very expensive computers, the truth is that they come out at an exorbitant price and it's not at all profitable for the use we can give them, whether for games or work, but as you know, for personal use it has no price, based on our own things, personalized projects that we can carry out by ourselves to our liking.
Regards.
-
Hello Fjavi, I'm really happy to see you around here. If it is a beast, it still needs a face to make it look like one XD.
You already know these Andalusians who are here fighting with the Mod world, we are passionate about it.
They are very expensive equipment, the truth is that they come at an exorbitant price and it is not at all profitable for the use we can give it, whether for gaming or work, but as you well know, for personal use it has no price, based on our own things, personalized projects that we can carry out by ourselves to our liking.
Best regards.
It's true, you guys get together and you can make an exhibition, people like to see equipment like that, here where I live in an APP they had a team that was not even close to yours but many young people used to go to see it.
Let's see how it turns out but it looks promising, the amount of components you plan to put in it, I like to see Mods but then I don't have the patience to make one, what I do are makeshift fixes to try to overclock more or get better performance with what I already have, but seeing those teams like yours from Jotole or Praimus and I drool, they are impressive and the work they represent.
Best regards
-
It's true, you guys get together and you can do an exhibition, people like to see teams like that, here where I live in an APP they had a team that wasn't even close to yours but a lot of young people used to go to see it.
Let's see how it turns out but it looks promising, the amount of components you're thinking of putting on it, I like to see the Mods but then I don't have the patience to make one, what I do are quick fixes to try to overclock more or get better performance with what I already have, but seeing those teams like yours from Jotole or Praimus and you drool, they are impressive and the work they entail.
Regards
One of the ideas of building this team is to be able to take it to gatherings so people can see it, since my current team is impossible in the way I have it set up. The truth is that I'm eager to go to a big party, see all the teams that are out there and exhibit mine.
The truth is that it's healthy envy to see a team like that finished, as you rightly mention for example the team of our dear Jotole, every time I see it I drool XD, and the one from Pramius I haven't seen finished, so I can't comment but I would love to see it.
It's normal Fjavi, I think that all of us who tinker with our equipment so often have it a bit messy and for one of many reasons that I decided to do the mod was because of the amount of R.L component material I have, a mix of brands XD.
At the moment I have it a bit on hold, between work, family and the call of duty ghost that has me hooked since I tried it jajaja, it will take me a long time to post new news, but as they say everything good is worth waiting for.
Regards.
-
One of the ideas for putting together this team is to be able to take it to gatherings so that people can see it, since my current team is impossible in the way I have it set up. Honestly, I'm looking forward to going to a big party, seeing all the teams that are out there and showing off mine.
Honestly, it's healthy envy to see a team like that finished, as you mention for example the team of our dear Jotole, every time I see it, my mouth waters XD, and Pramius's I haven't seen it finished, so I can't comment but I would love to see it.
It's normal Fjavi, I think that all of us who tinker with our equipment so often have it a bit messy and for one of many reasons I decided to make the mod was because of the amount of R.L component material I have, a mix of brands XD.
For now I have it a bit on hold, between work, family and the call of duty ghost that has me hooked since I tried it jajaja, it will take me a long time to post new news, but as they say, good things take time.
Regards.
Easy and calm is how that team will look best, honestly I find it very tiring to move my equipment because they seem like cupboards, they weigh quite a lot… I think that's why at parties private individuals should go with more manageable equipment.
Another thing would be if manufacturers or stores go, those can show the most powerful they have or the most novel, but don't rush, that mod will take shape, these things are not for running, although around here there is always curiosity to see equipment like that.
Regards
-
This post is being processed/translated. The original version will be shown:
Buenas compañeros.
Perdonar por teneros un poco abandonados, pero por motivos tuve que dejar el Mod parado pero ya estoy aquí de nuevo.
Llevo 1 mes con el proyecto dedicando aproximadamente unas 8 horas diarias, hay que tener paciencia para estos tipos de Mod. He avanzado mucho pero tengo que mejorar muchas cosas de las que he echo que no me gustan mucho y problemas que surgen cuando estas montando y tienes que modificar y hacer todo de nuevo.
Hice todo los tubos acrílicos de la caja, pero voy a modificar gran parte de ellos. Con el sleeving hay tengo mucho que explicaros, mas que nada por que he modificado todos los cables de la caja no hay ninguno original.
Quiero dejaros un pequeño resumen de todo lo que echo en estos días, como bien os comento no es el resultado final ya que he echo muchas modificaciones y las fotos son de antes.
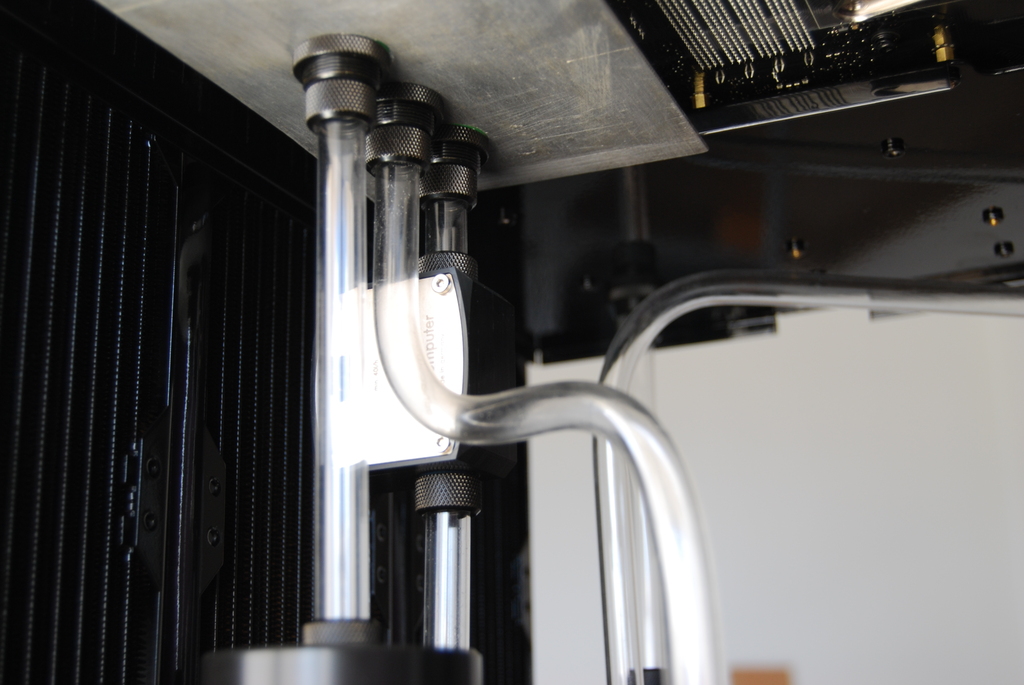
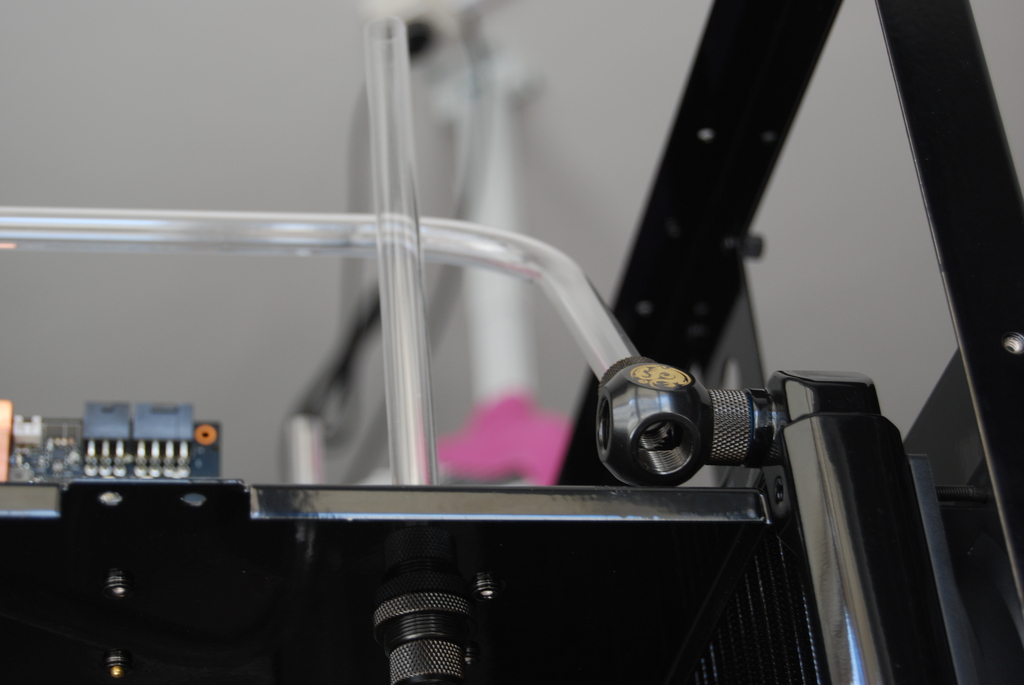
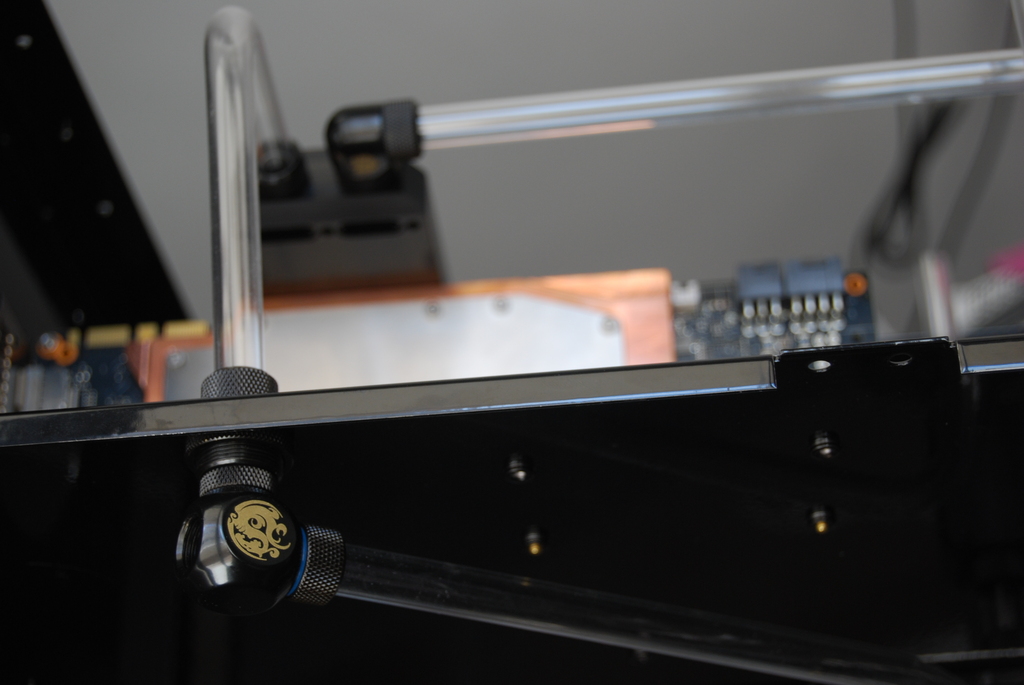
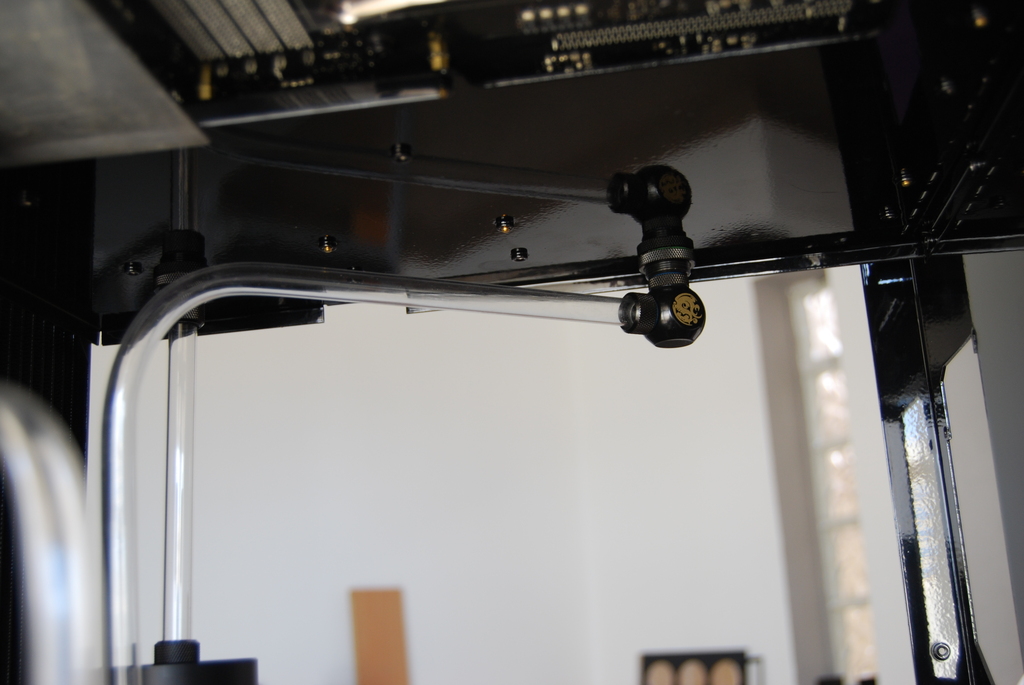
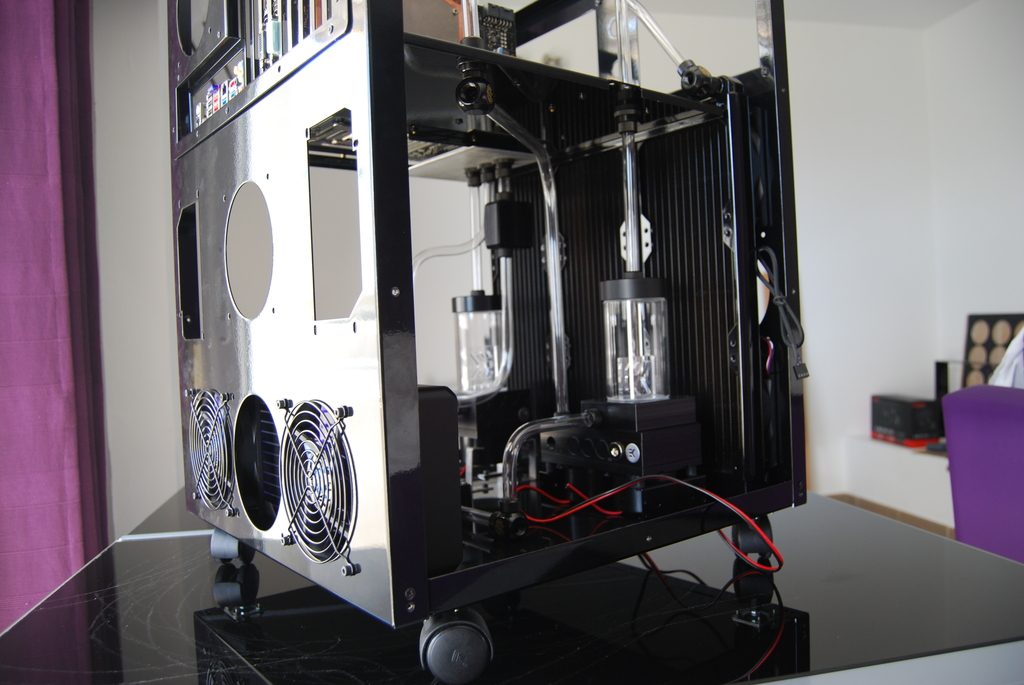
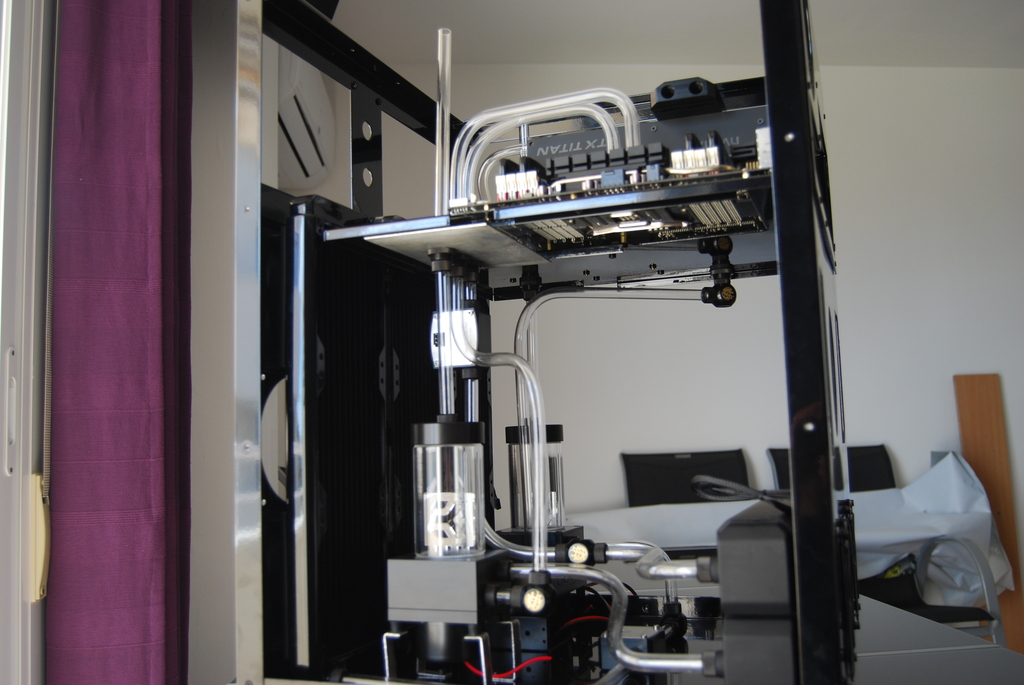
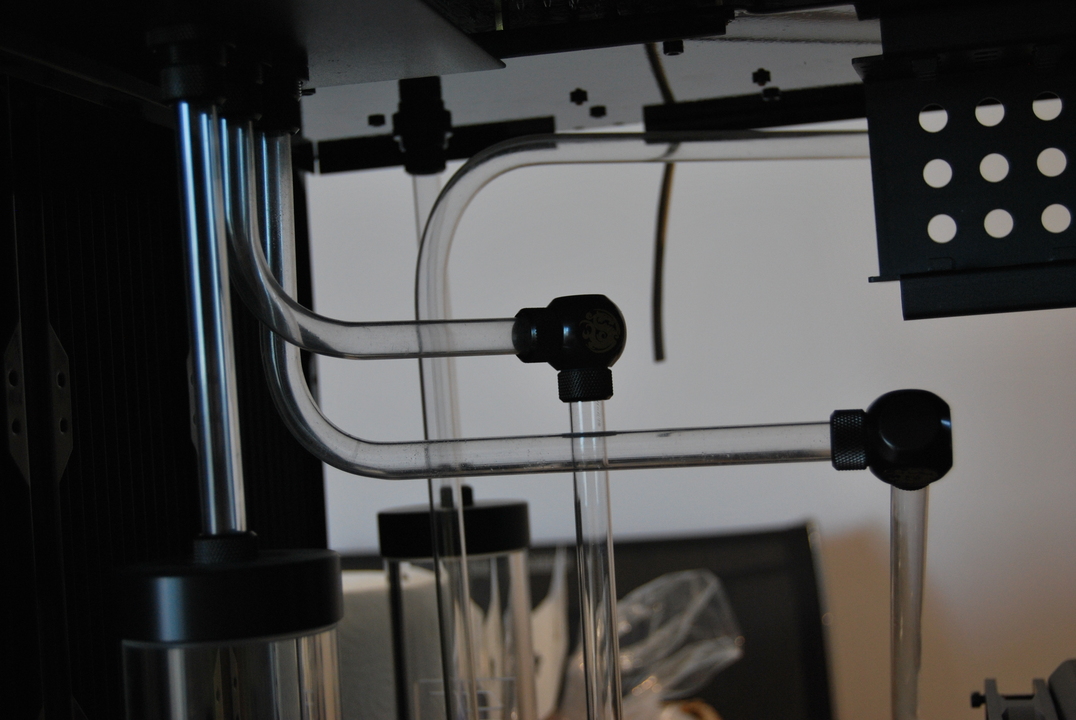
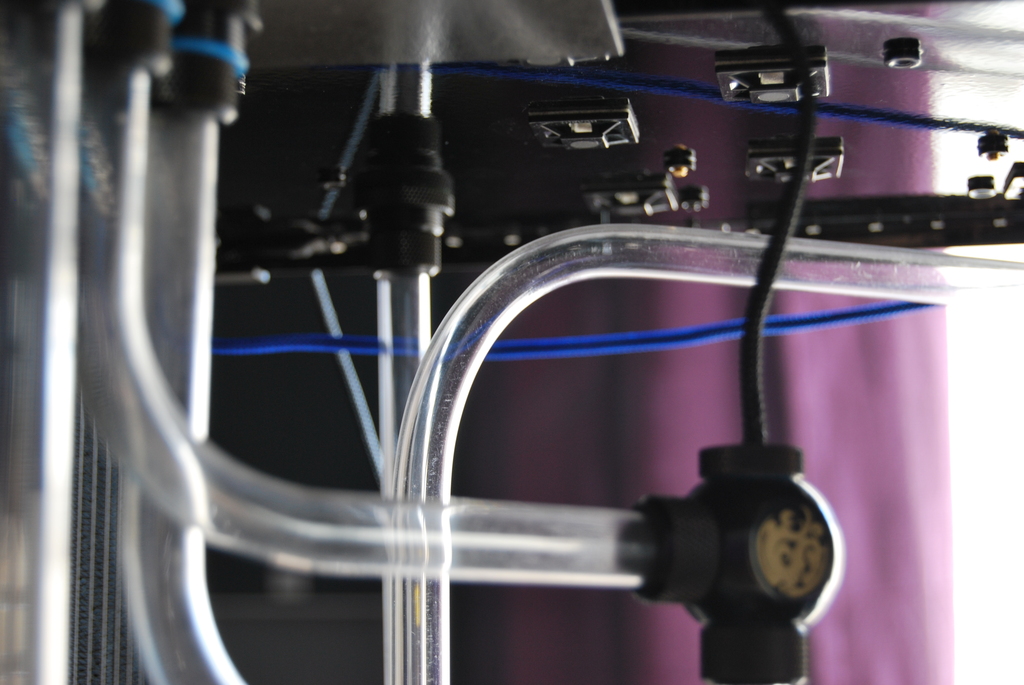
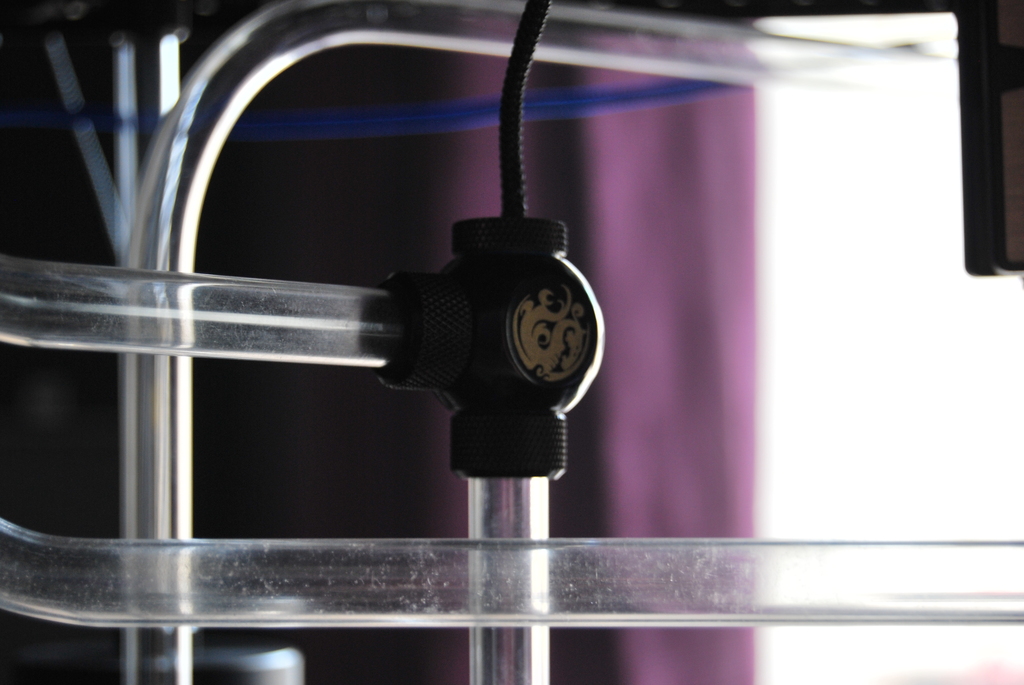
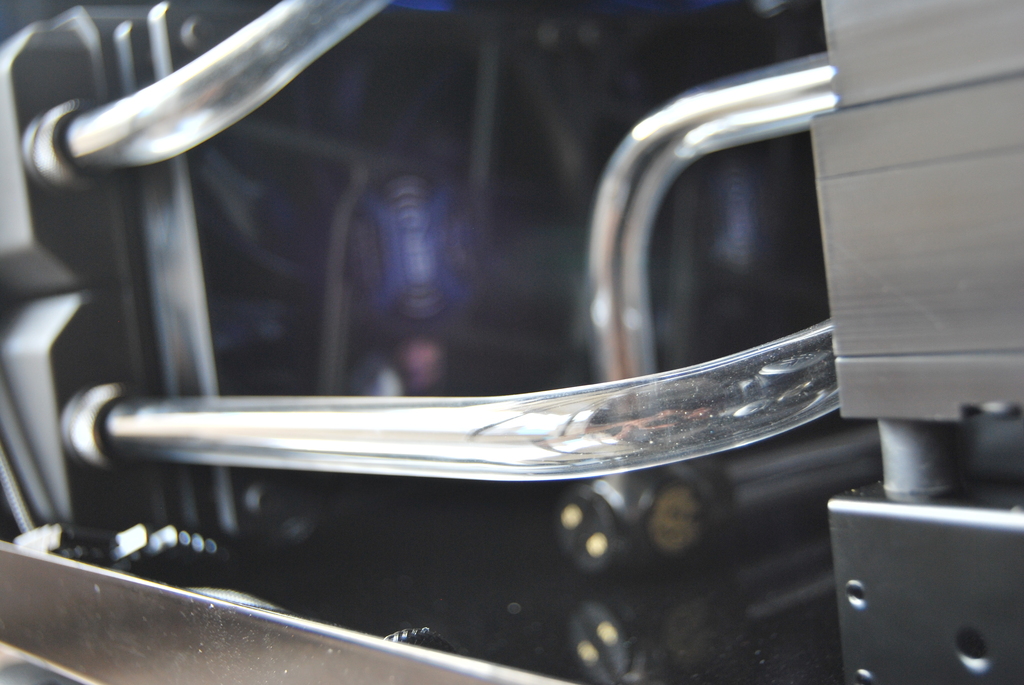
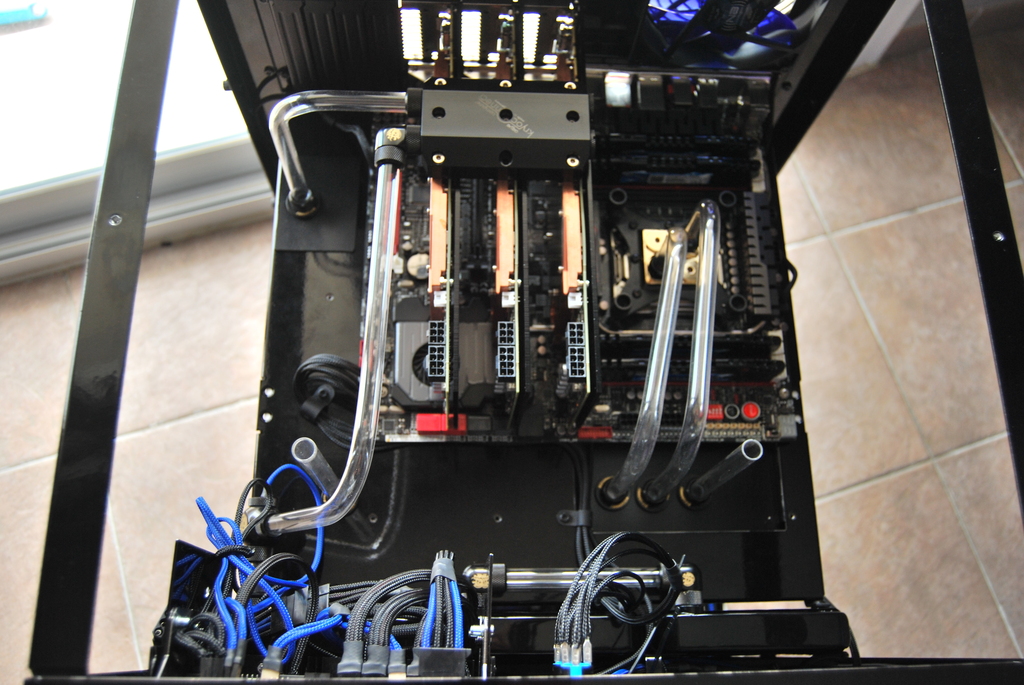
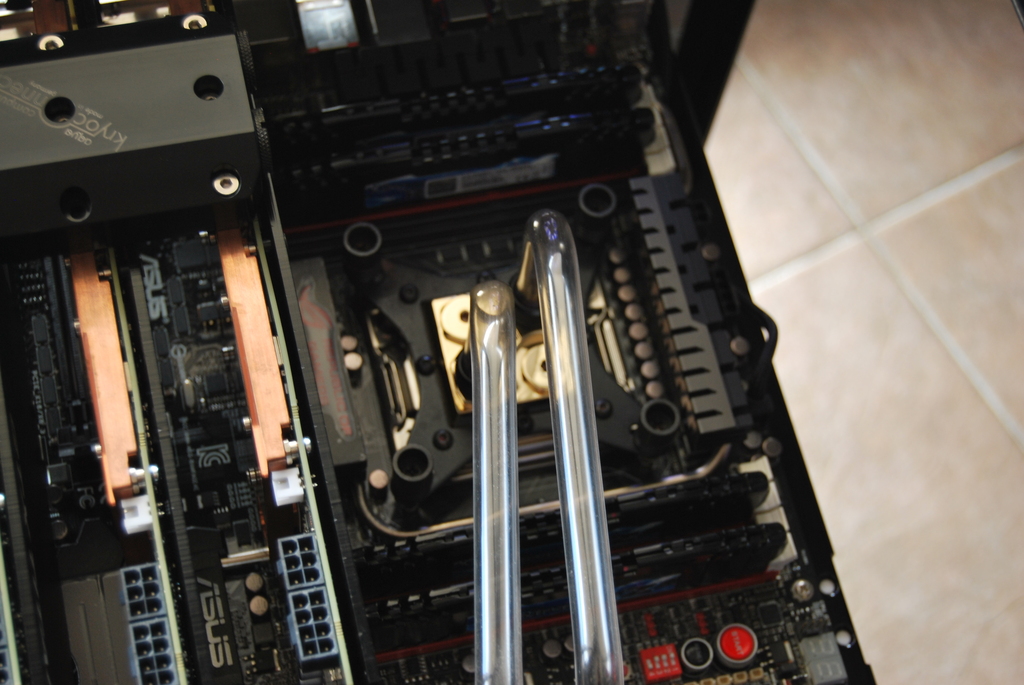
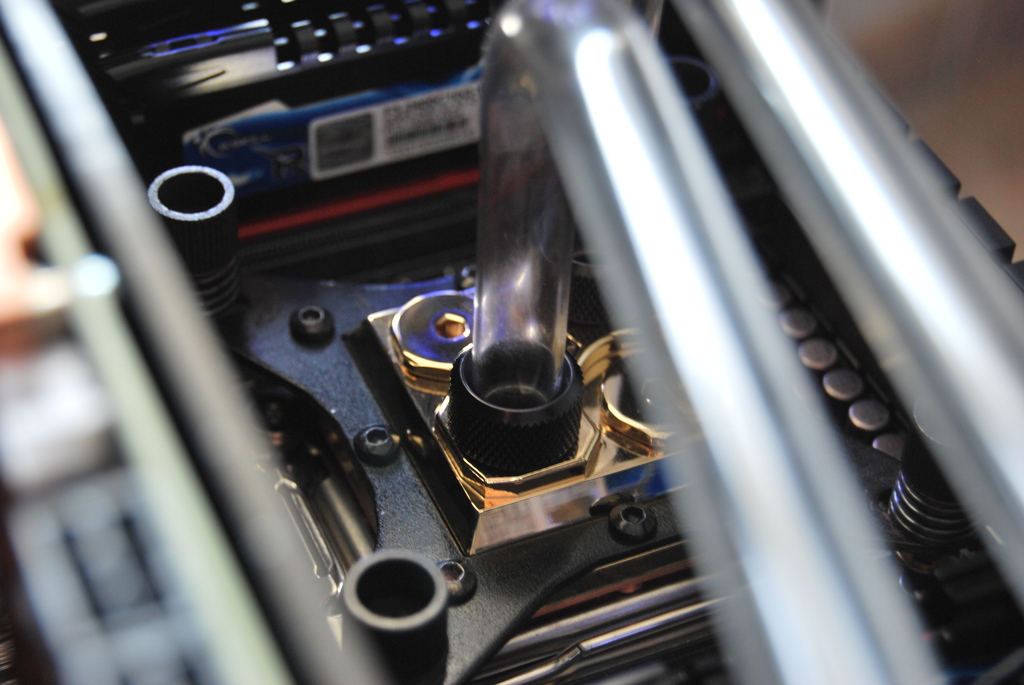
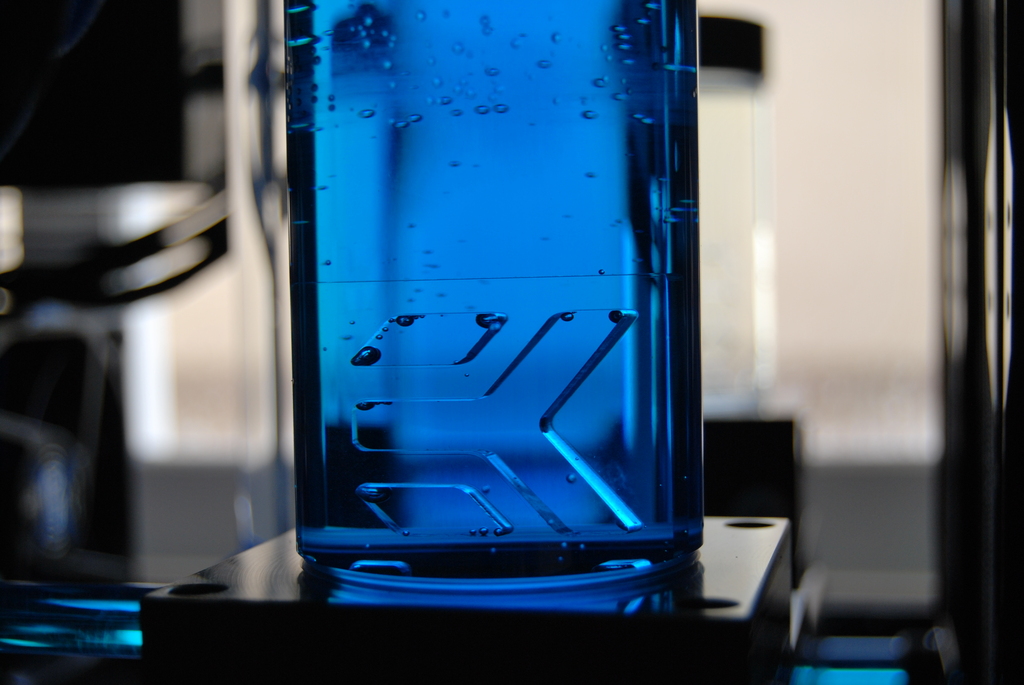
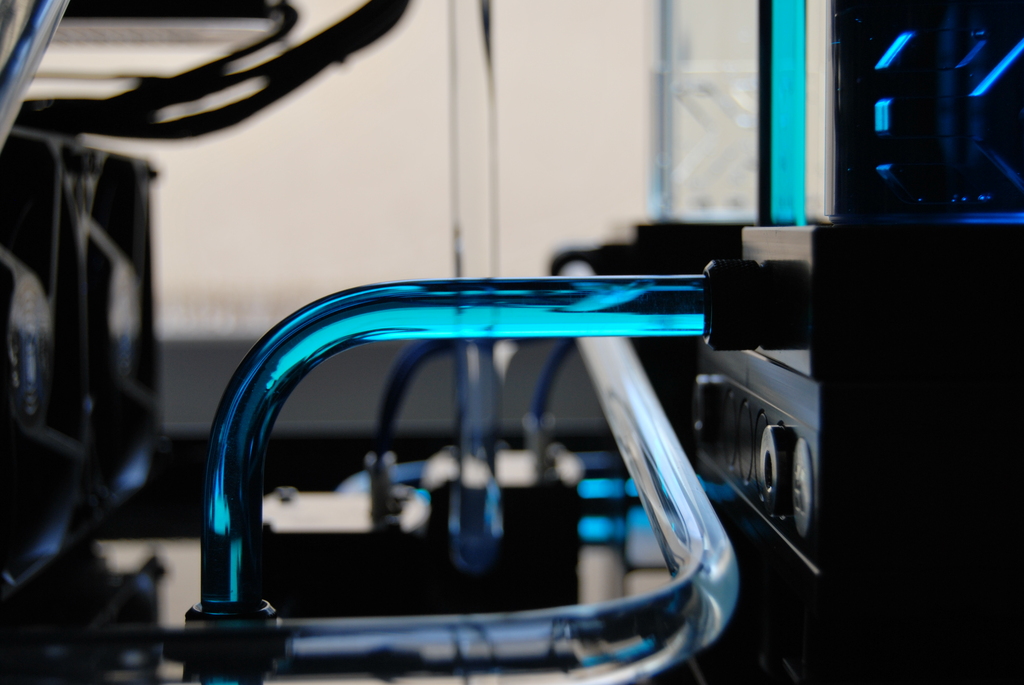
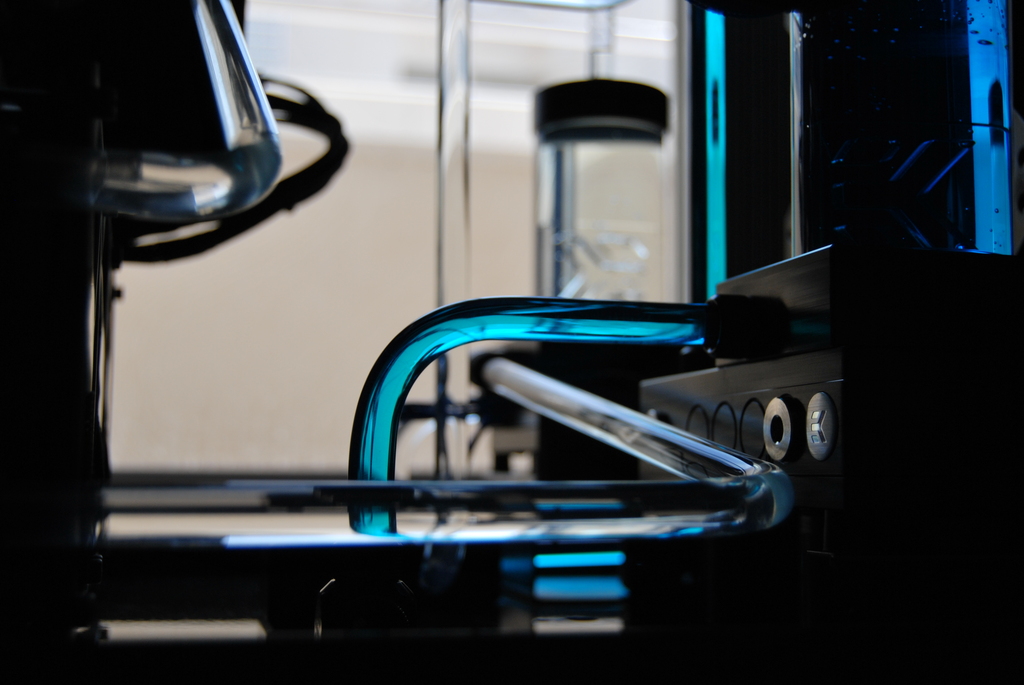
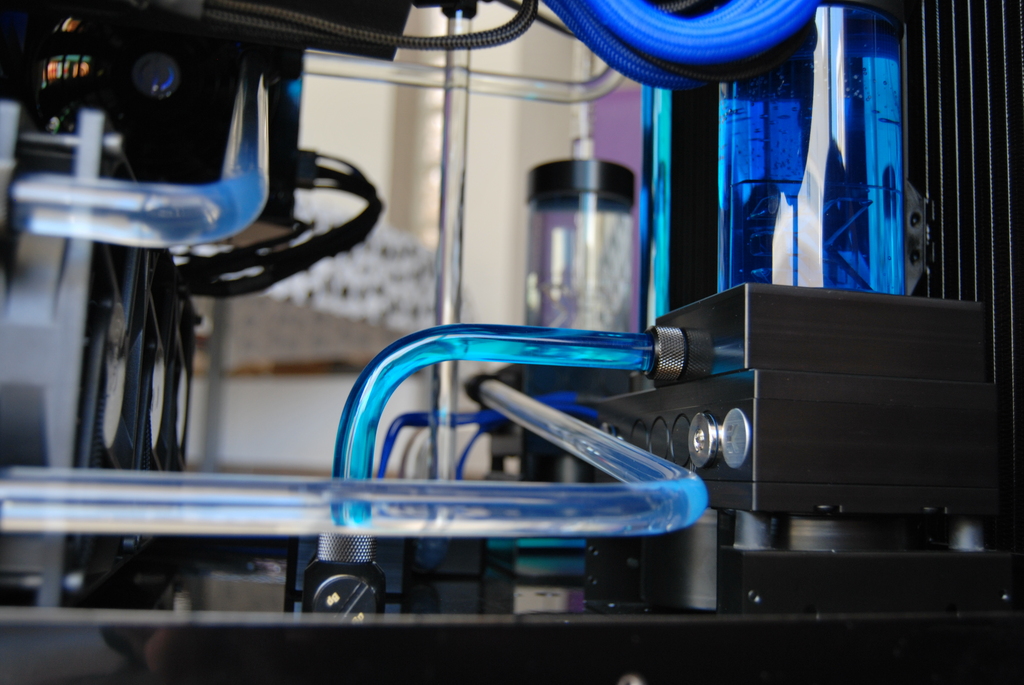
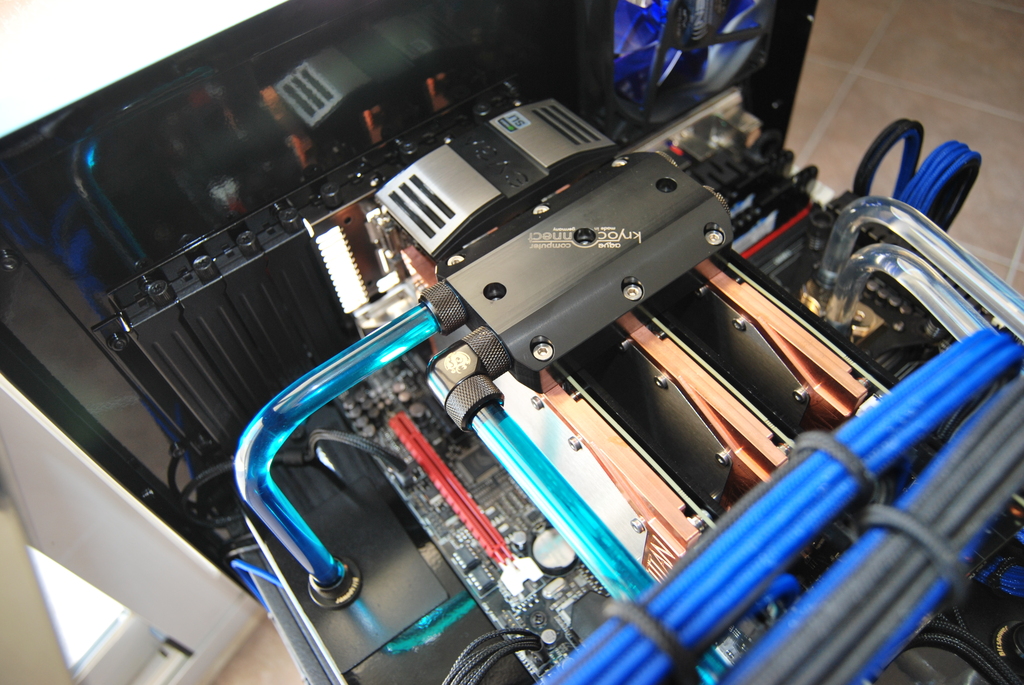
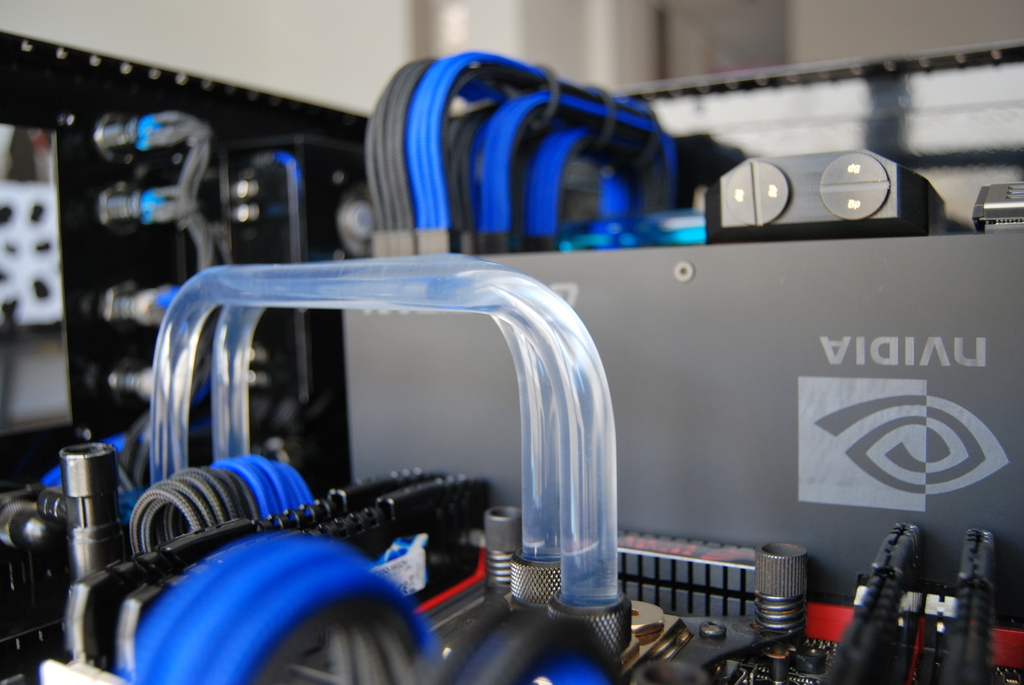
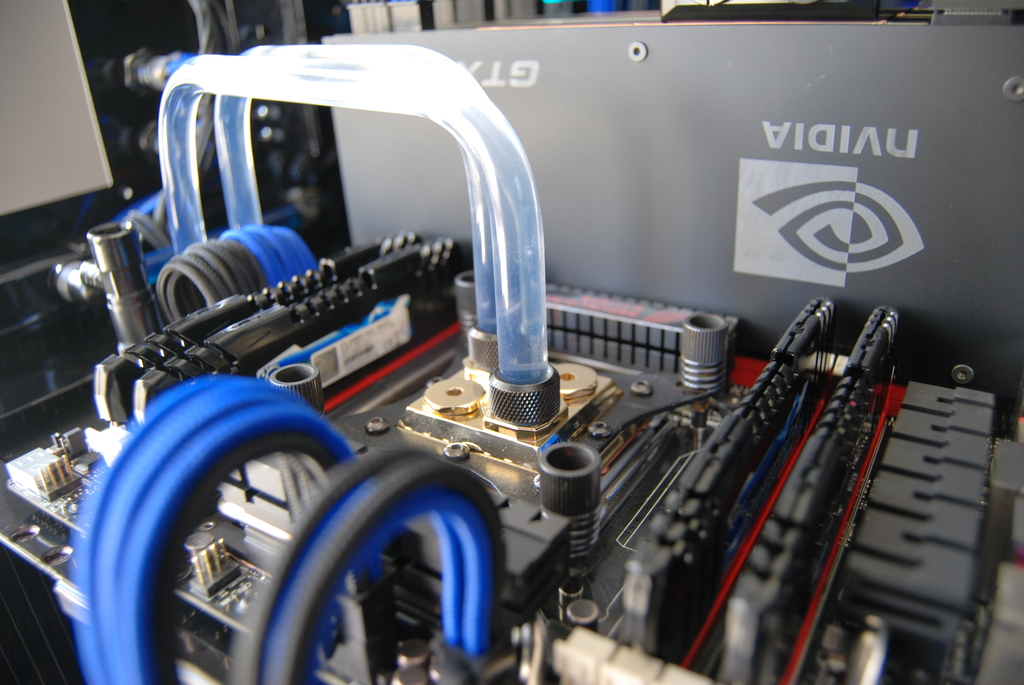
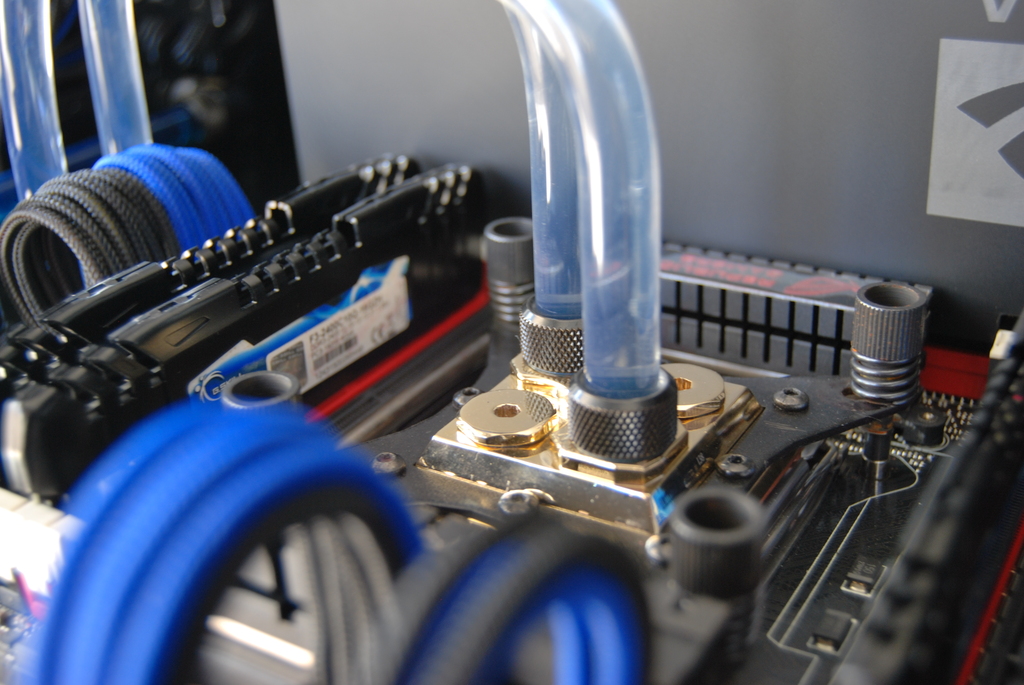
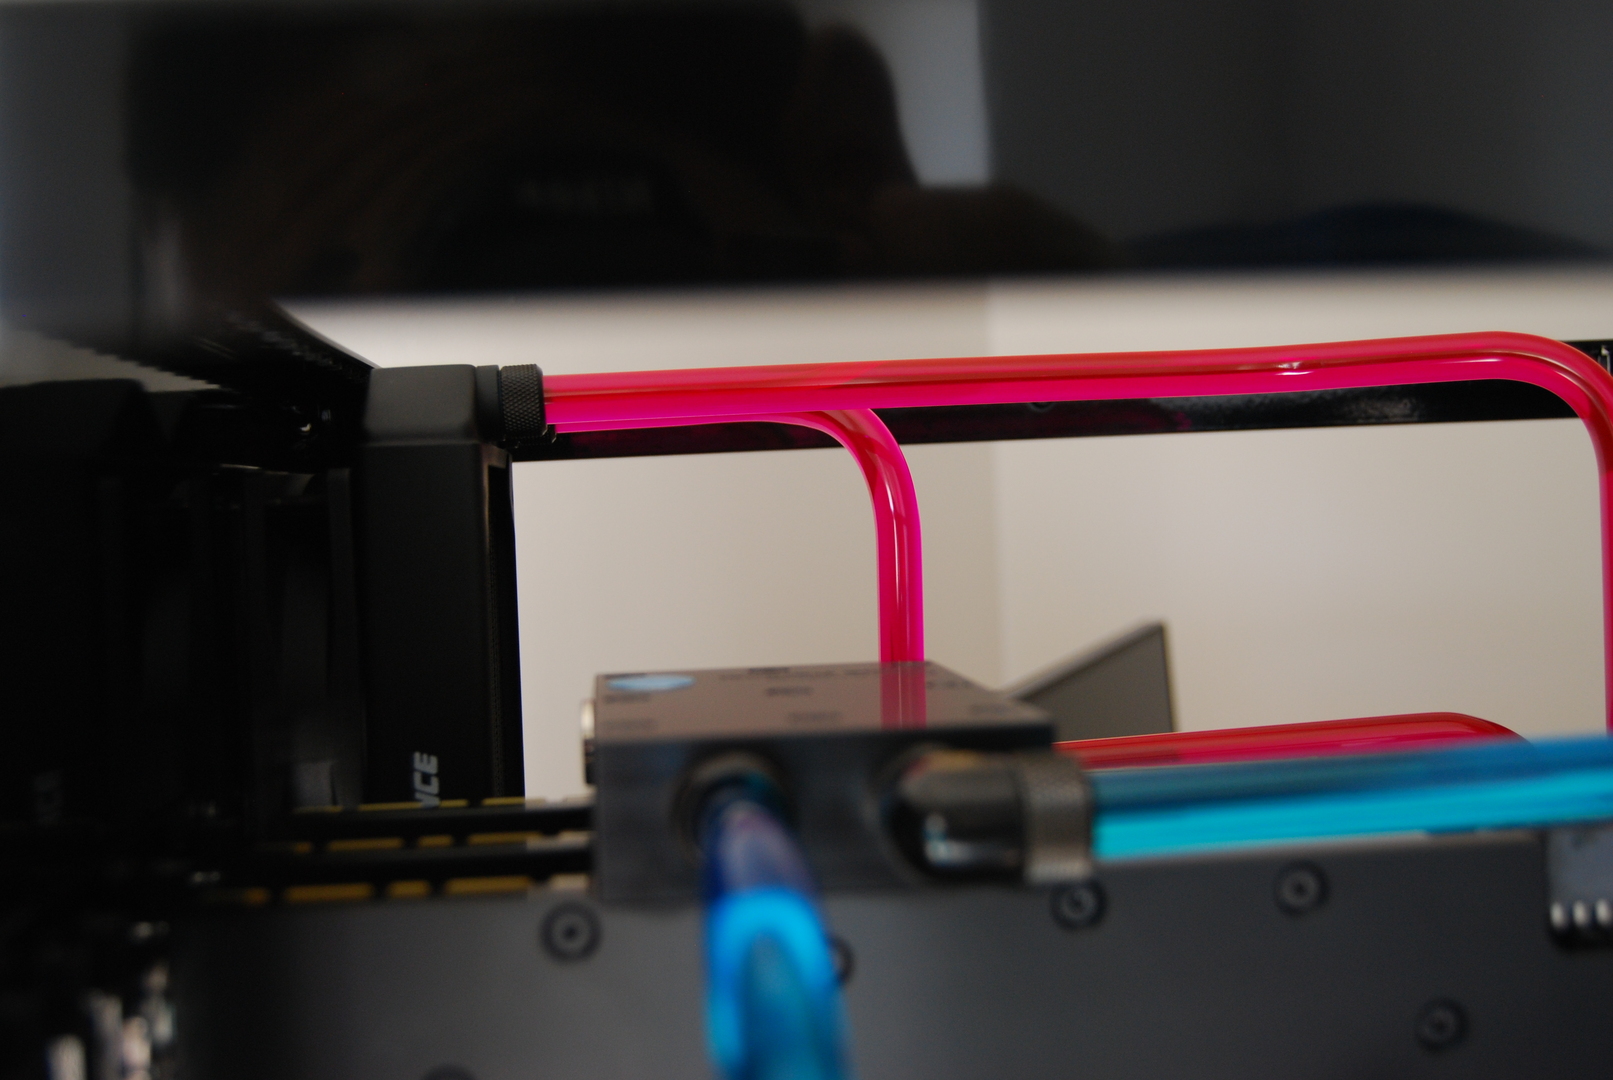
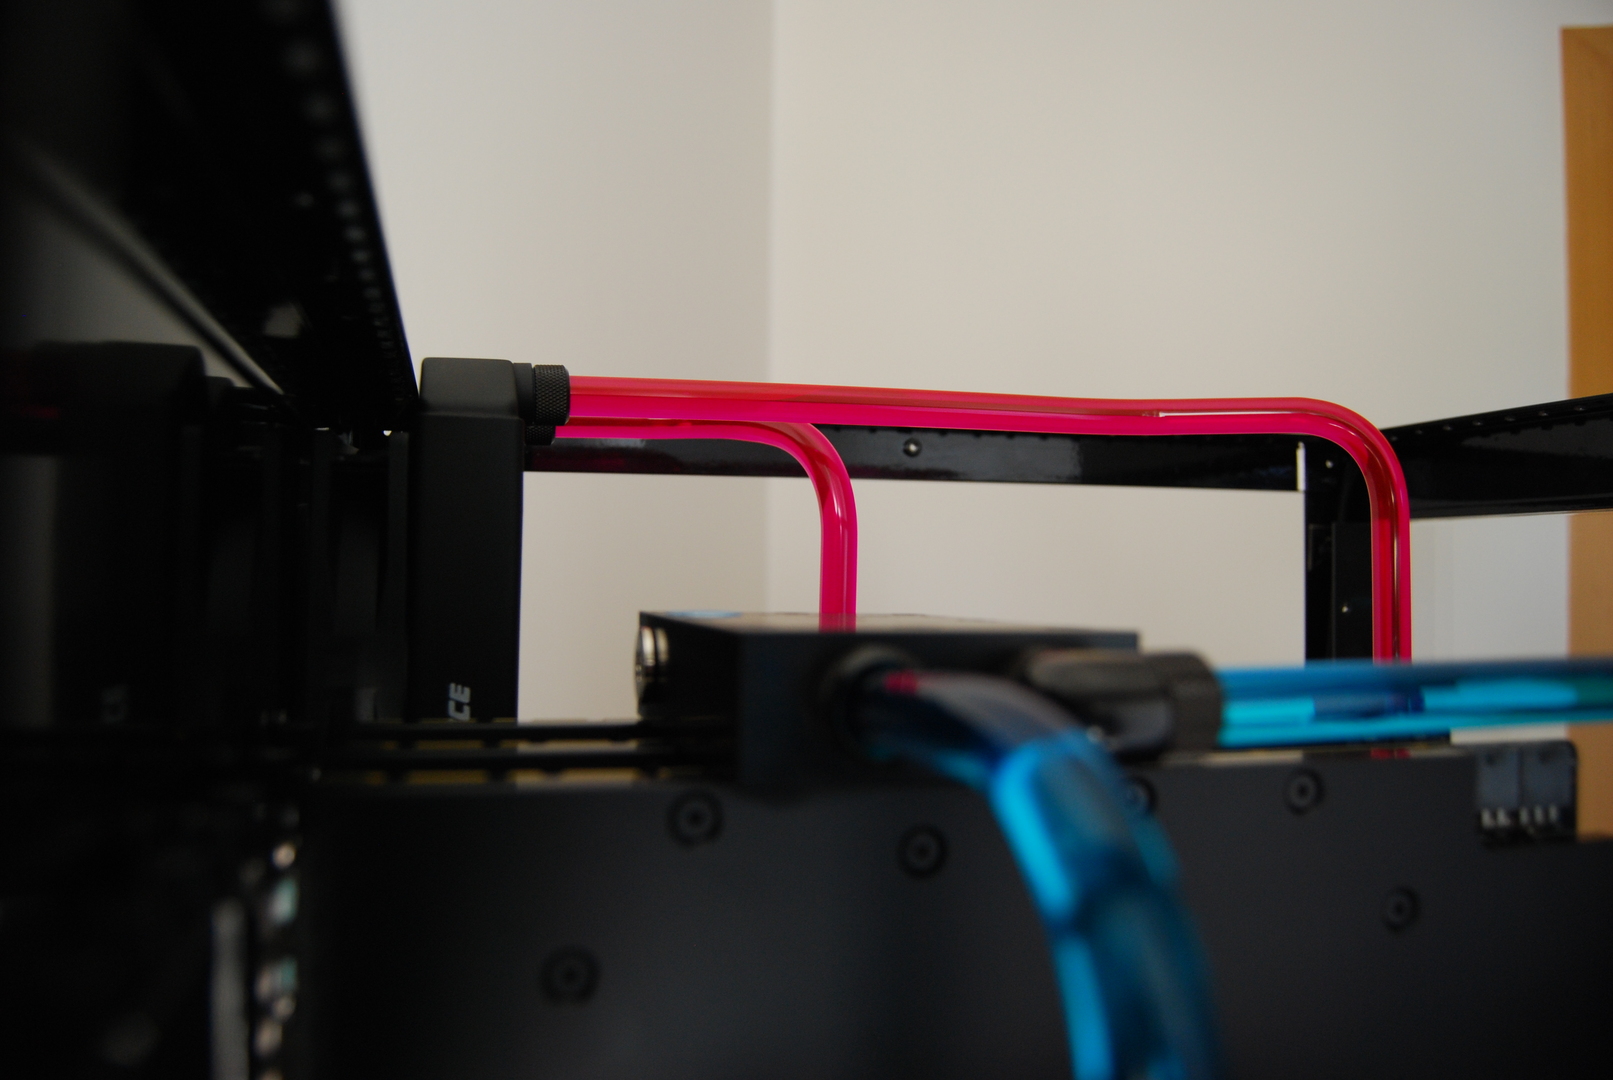
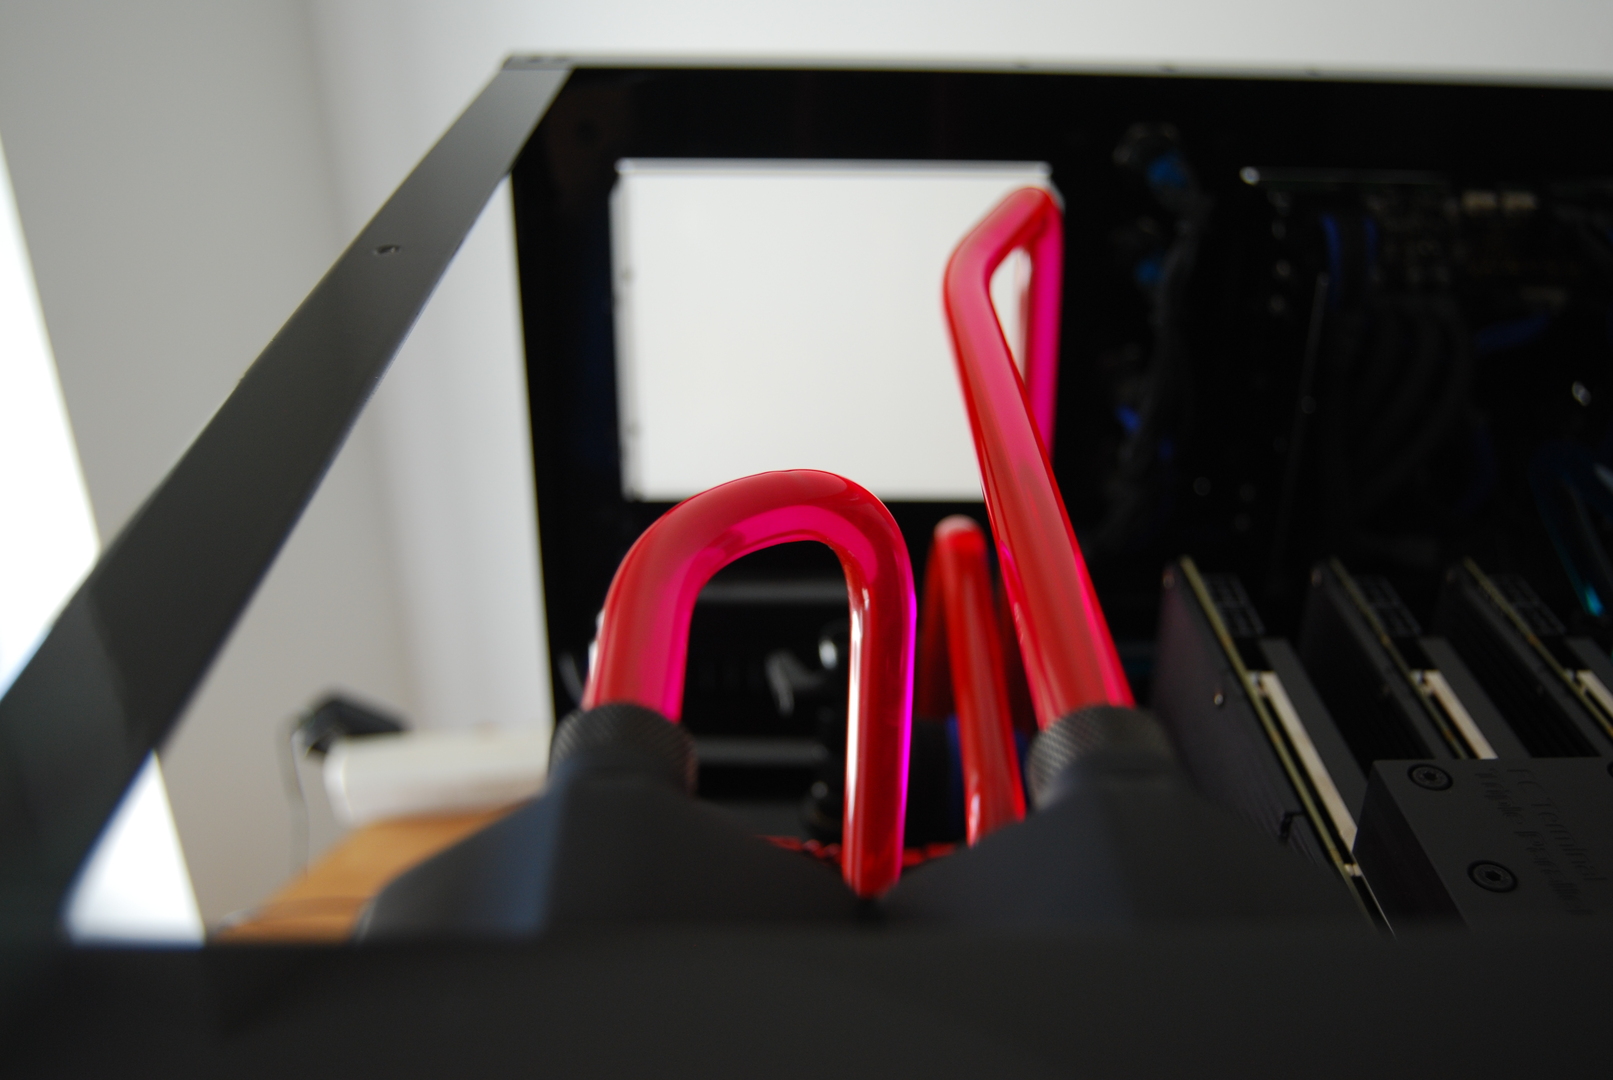
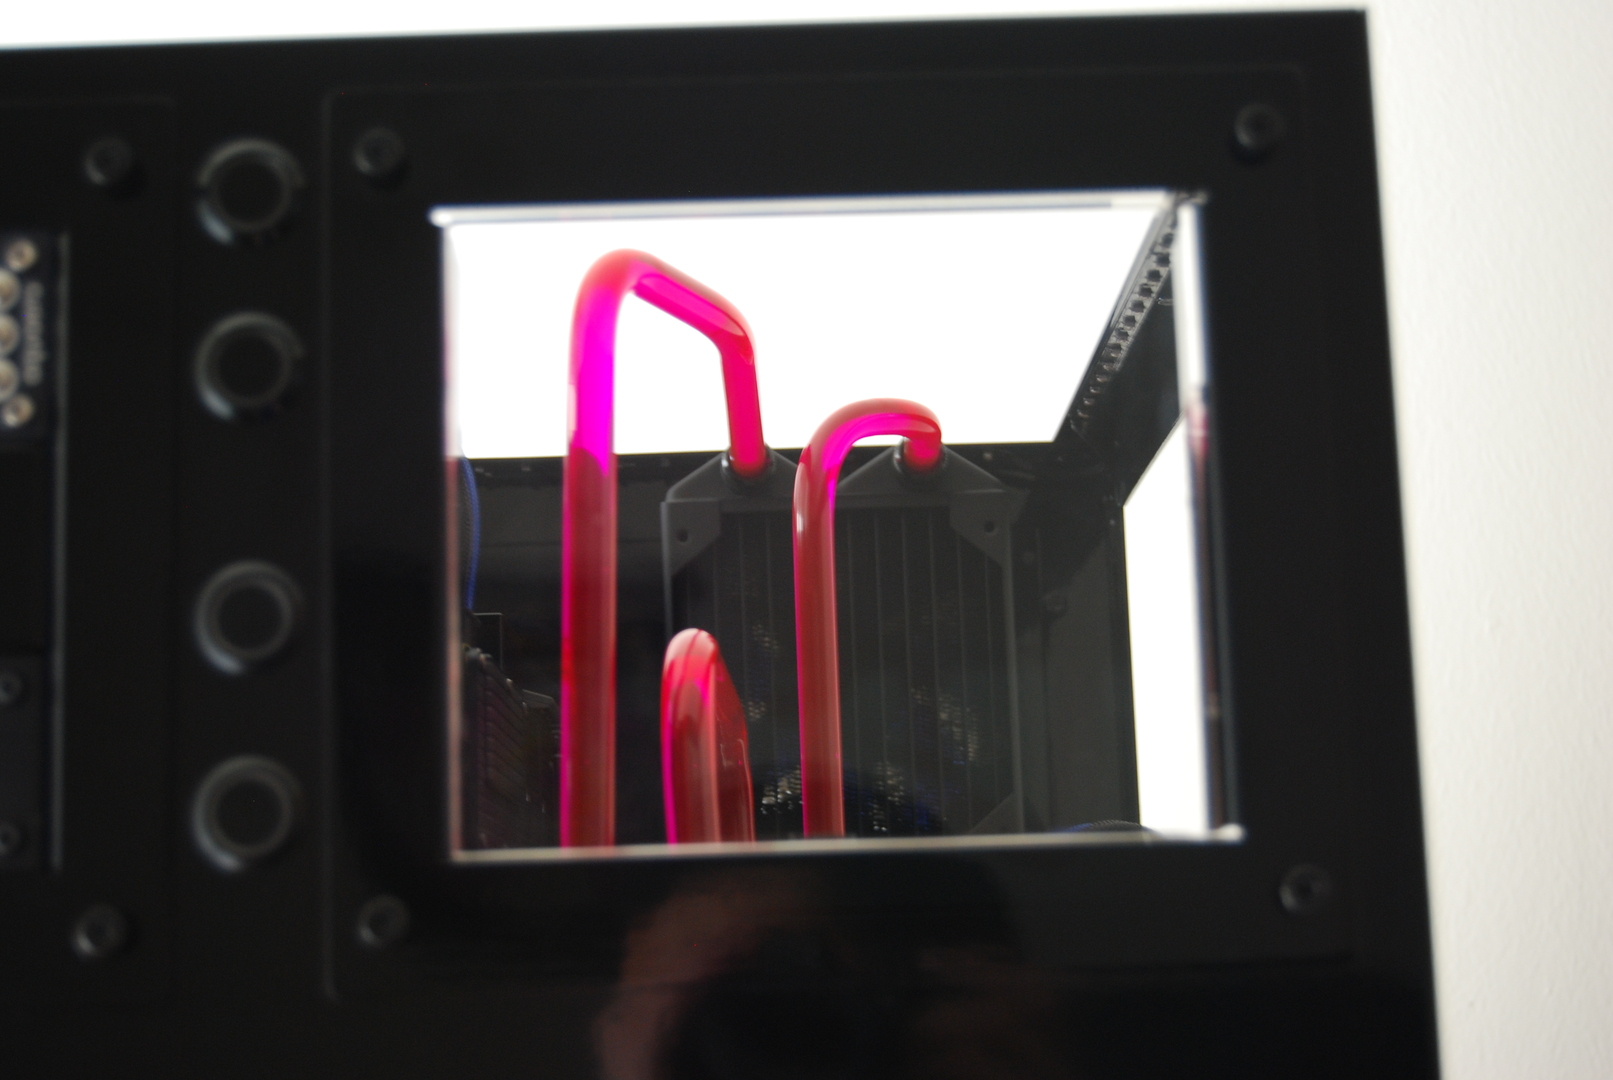
Lo primero que vamos haber es el montaje del tubo, tener en cuenta que este no es el resultado final.
! Aquí vemos los pasa muros que separan la parte inferior con la superior:
!
!
!
!
!
!
!
!
!
!
Como podéis ver los tubos no están del todo perfectos, pero todo tiene solución volver ha emplearme un buen rato con ellos XD.
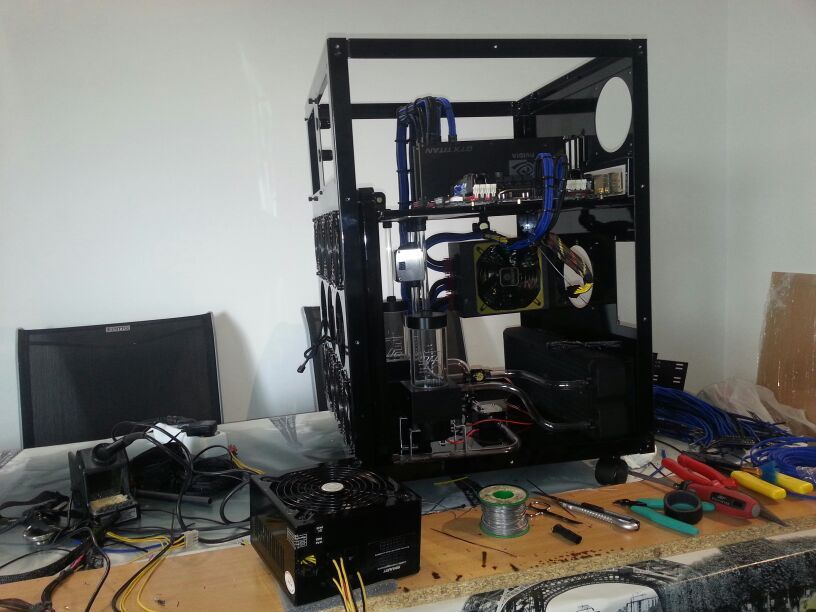
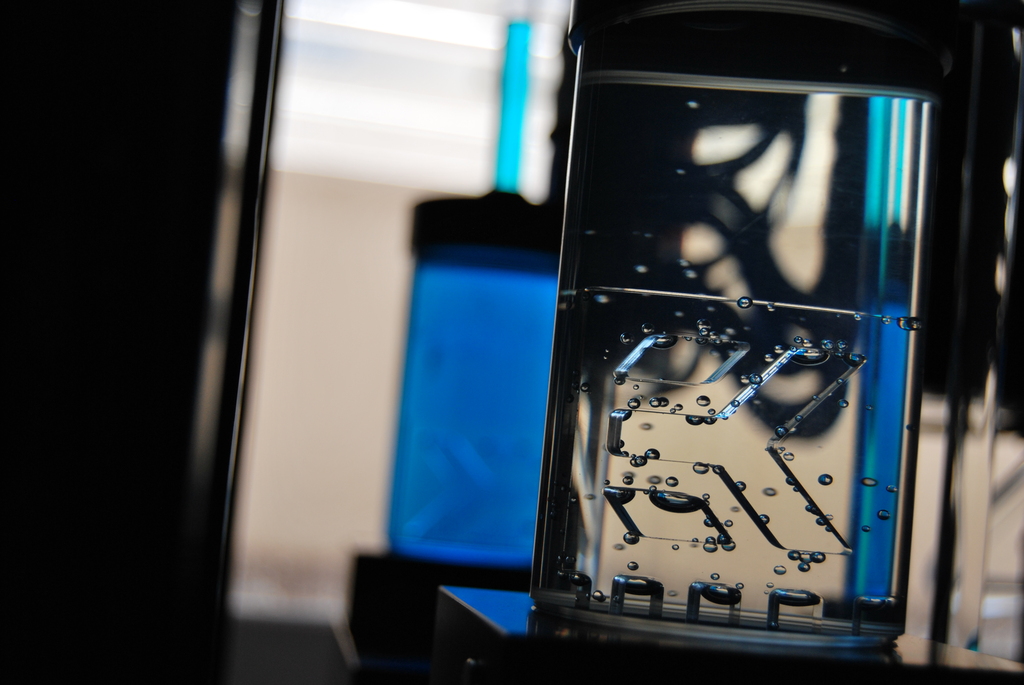
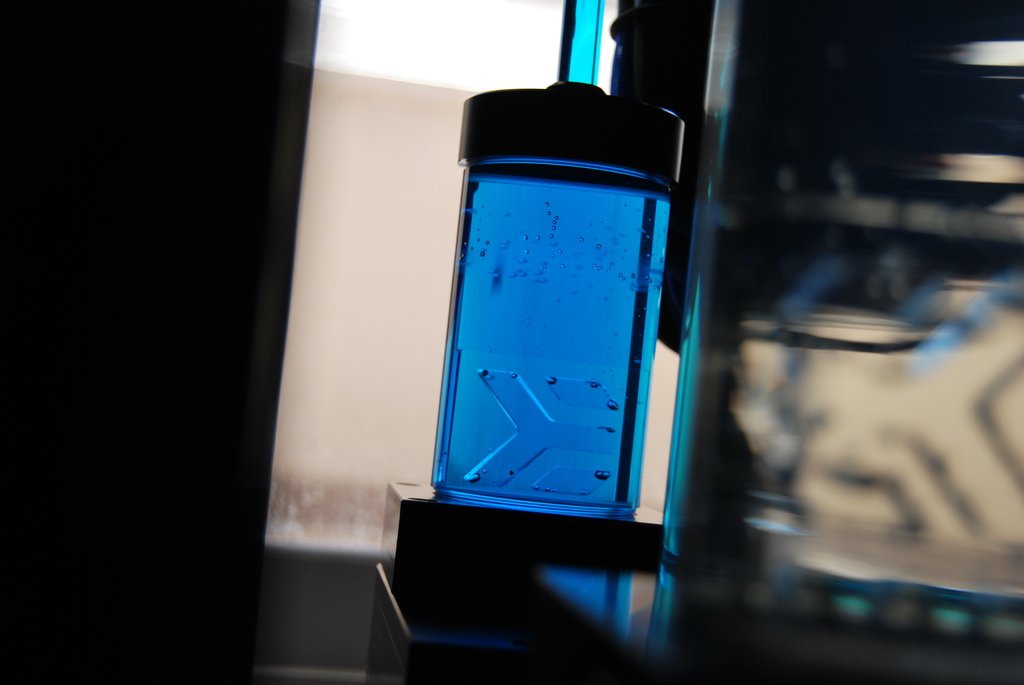
La Mountain va a llevar dos fuentes independientes, una para Hardware pcb-gpu-ssd ect, y la segunda solo para la R.L y ventilación. He modificado ambas fuentes de la siguiente manera:
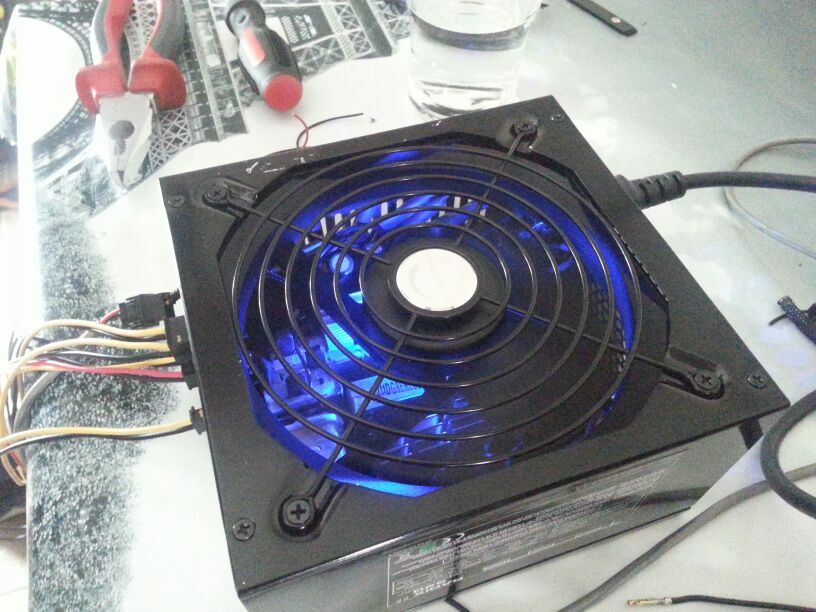
Enermax EVO1500:!
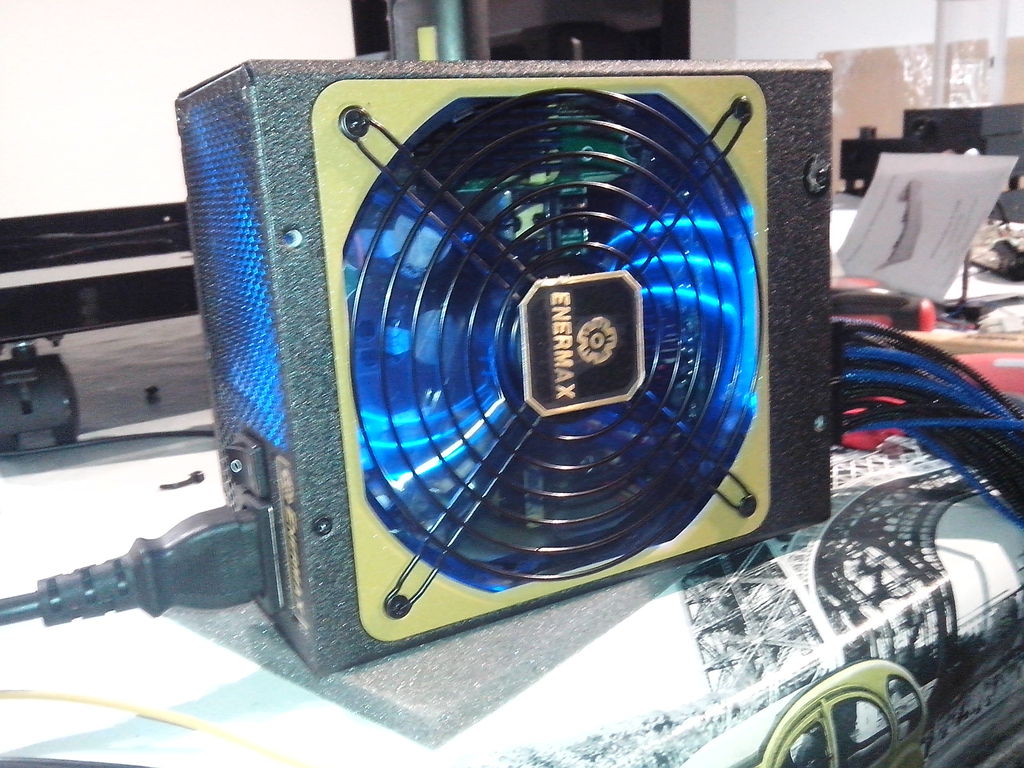
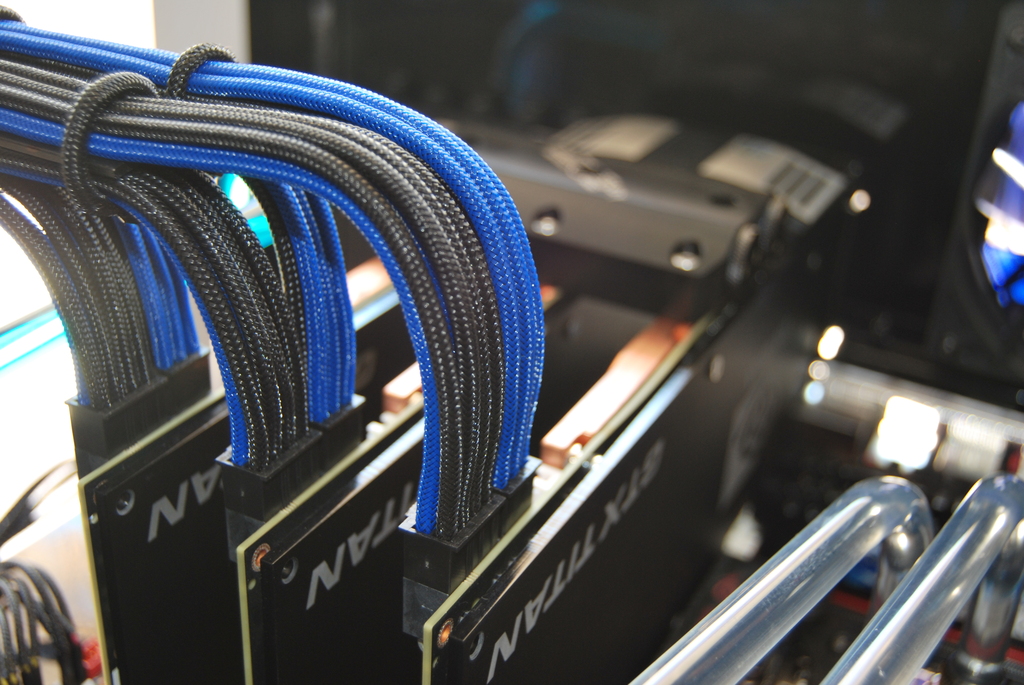
Como podéis ver en la imagen de arriba le he metido led azul para dar un efecto hacia el ventilador de la fuente. Al hacer los cables a medida he repartido los canales de la fuente. Esta en concreto da 30 AMP por canal y costa de 6. Lo que he echo a sido sumar 2 canales para cada TITAN ya que cada titan haciendo el Mod bios llegan a casi los 500W una pasada teniendo en cuenta que tengo 3 hayq ue estar muy seguros de que vayan bien alimentadas.
La segunda es una fuente normal de 550W transformada:
Ha esta también le he echo el Mod del led, pero con la diferencia que la he modificado entera por dentro. Le e desoldado todos los cables tanto los de 24 pines de la pcb, molex ect.He aprovechado un conector que trae modular en el lateral para sacar los voltajes a mi gusto. También le he sumado los 3 canales de 18 AMP y se lo he metido en la placa modular con un rele interno para que arranque cuando le mande señal la enermax.
Tengo en mente meterle una placa que trabaje en reposo para que cuando el PC se desconecte siga funcionando esta secundaría que es para el sistema de R.L con el fin de enfriar el circuito de R.L.
!
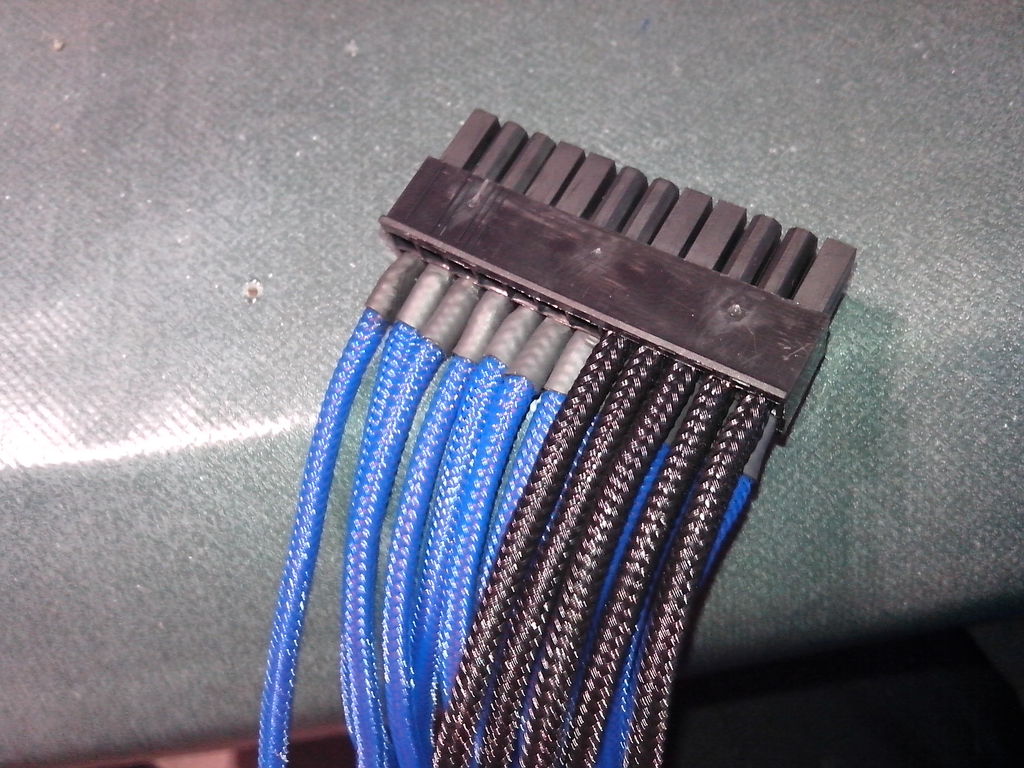
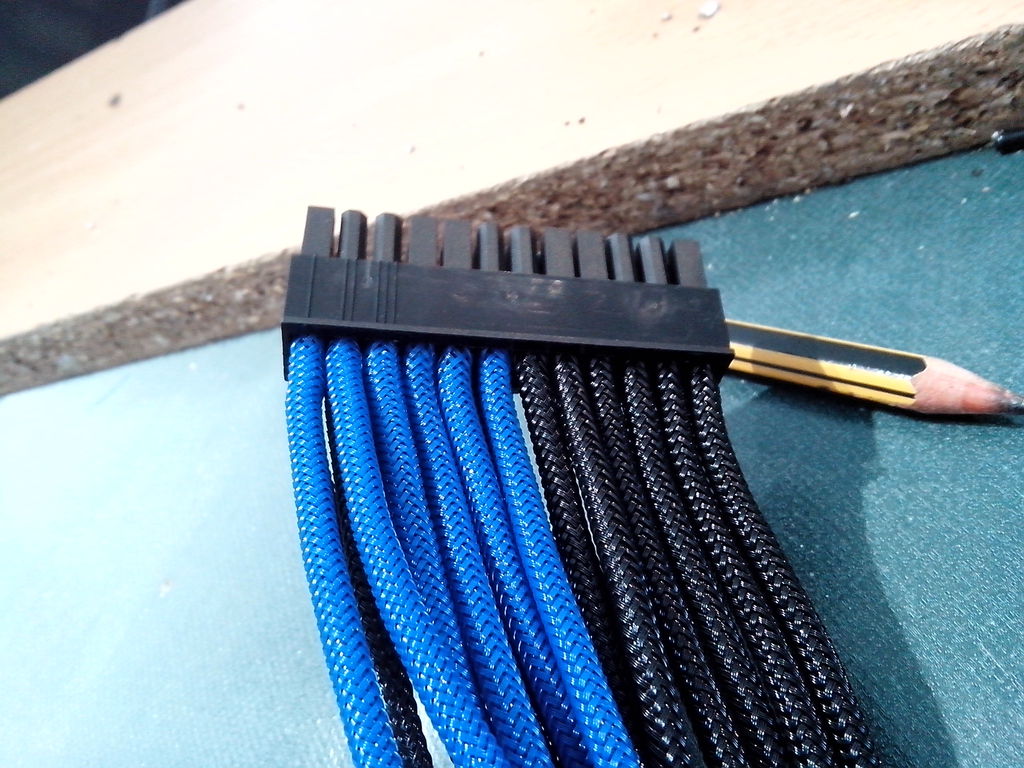
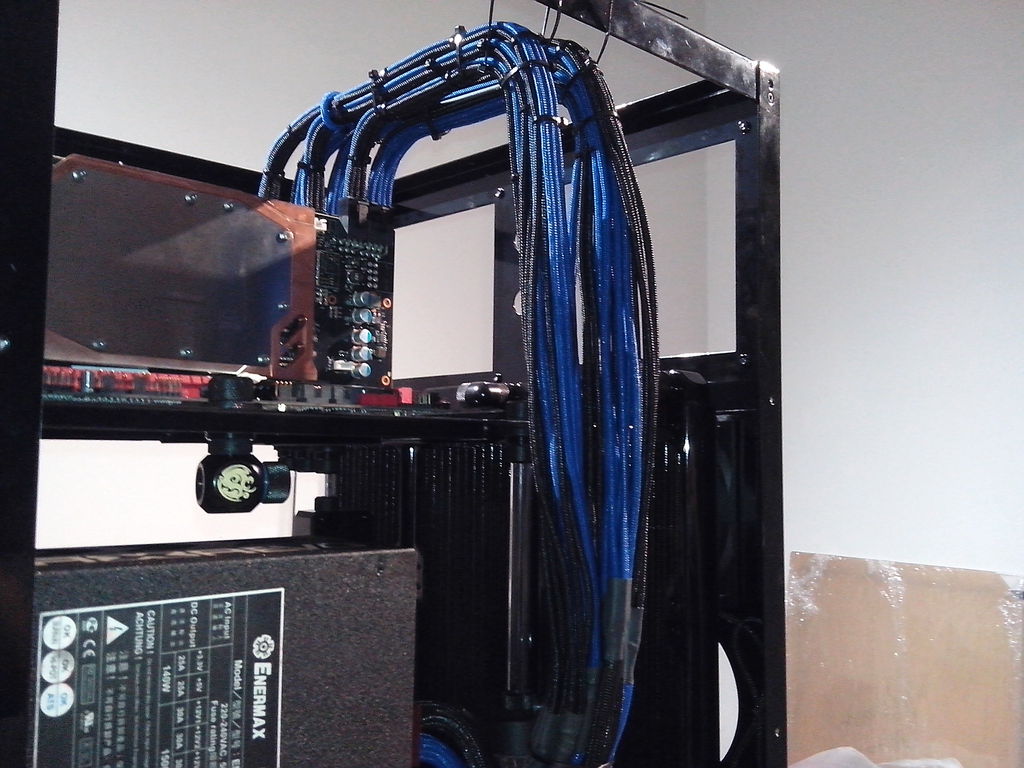
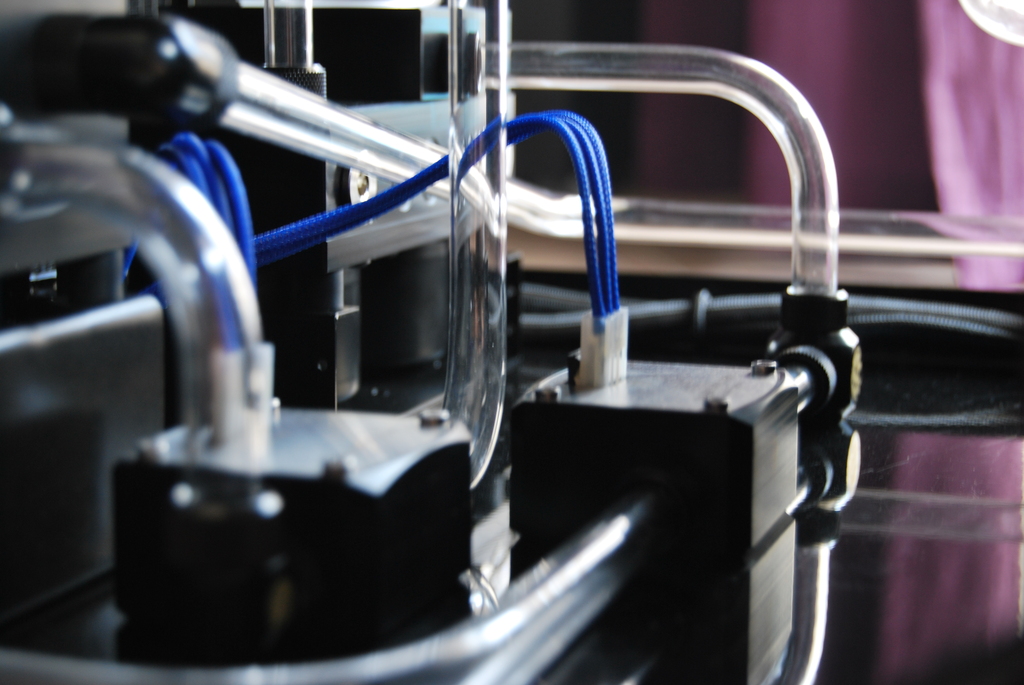
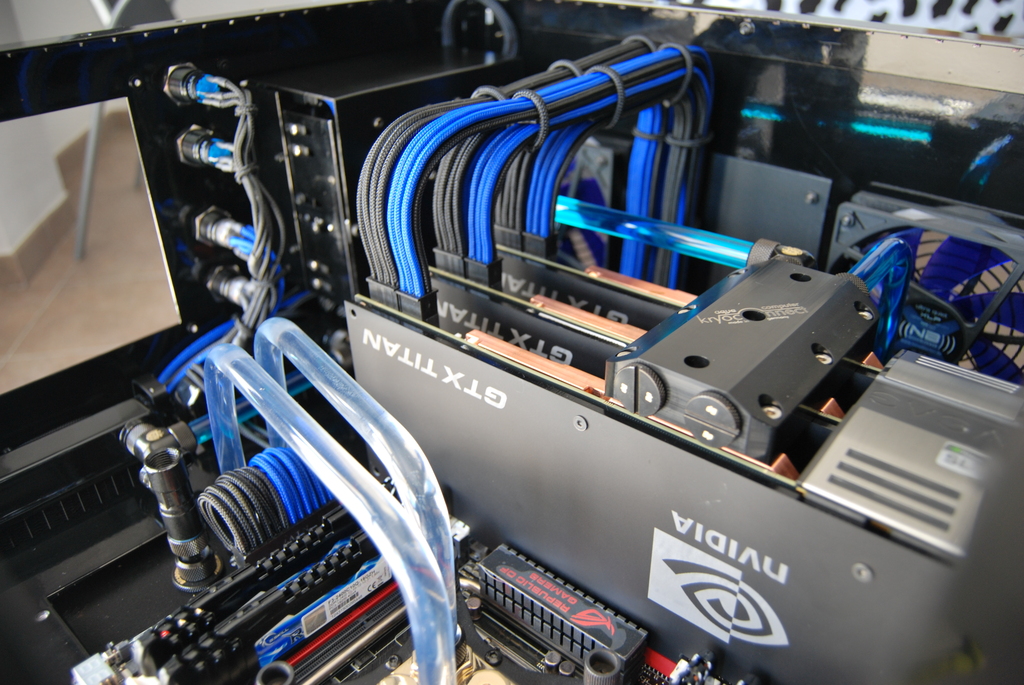
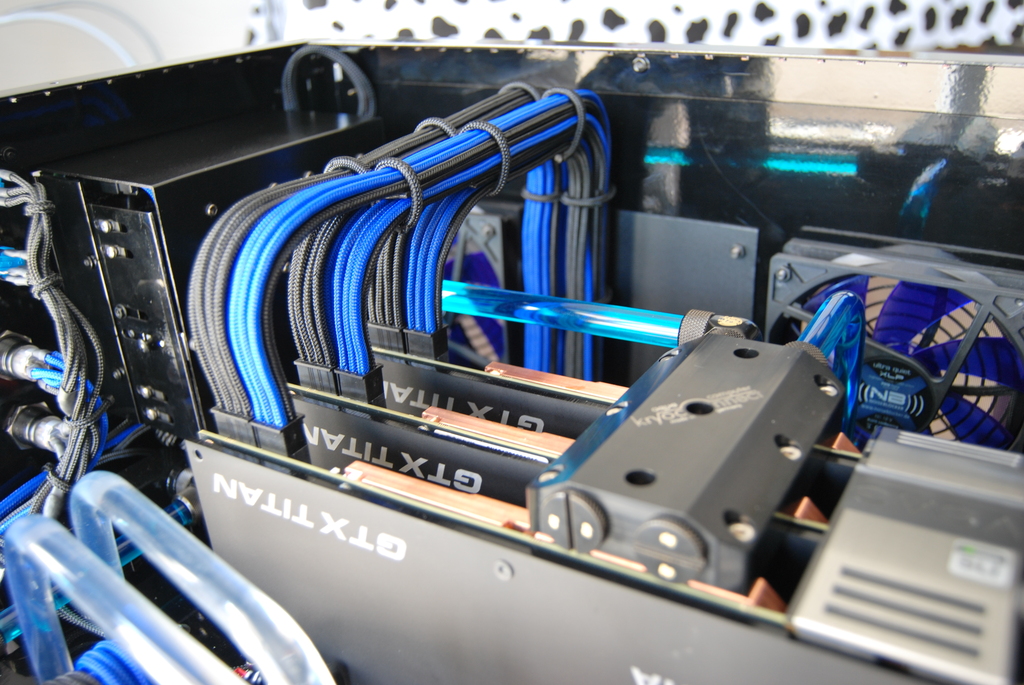
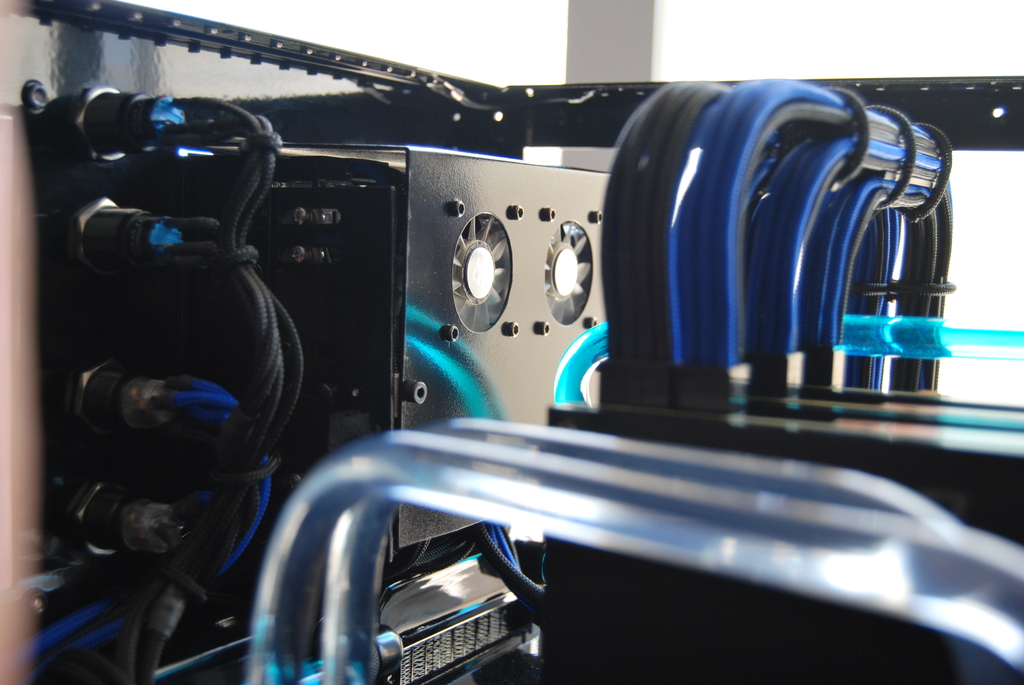
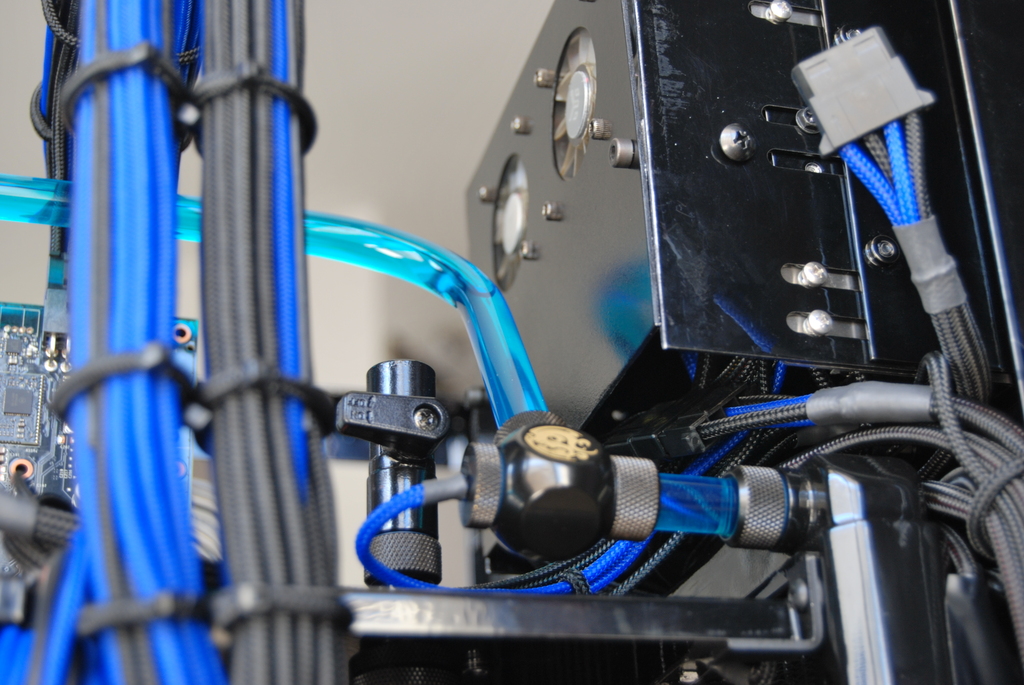
Ahora un poco de Sleeving XD.
He echo muchas pruebas sobre como dejar los cables enfundados, hasta me deje los dedos enfundando los cables XD. Aquí se me ha ido mucho tiempo y todavía lo que queda, pero hay que buscar la perfección con los cables que se vean los menos posible y la mejor manera de colocarlos segun nuestros equipos.
!
!
!
!
!
!
!
!
!
!
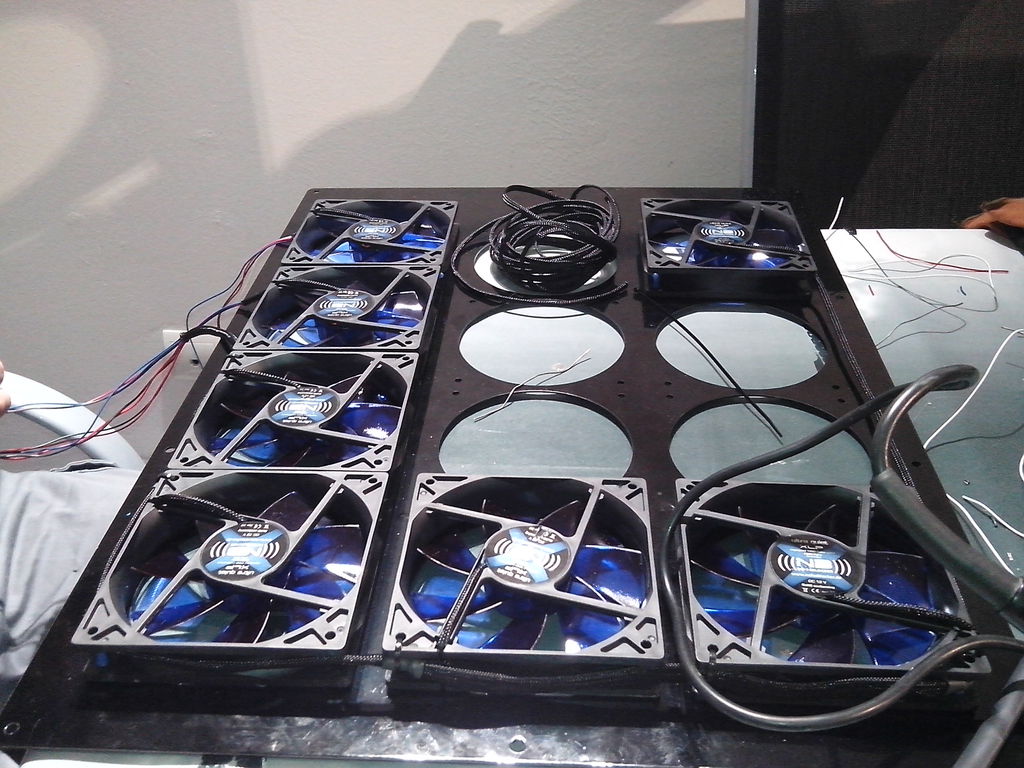
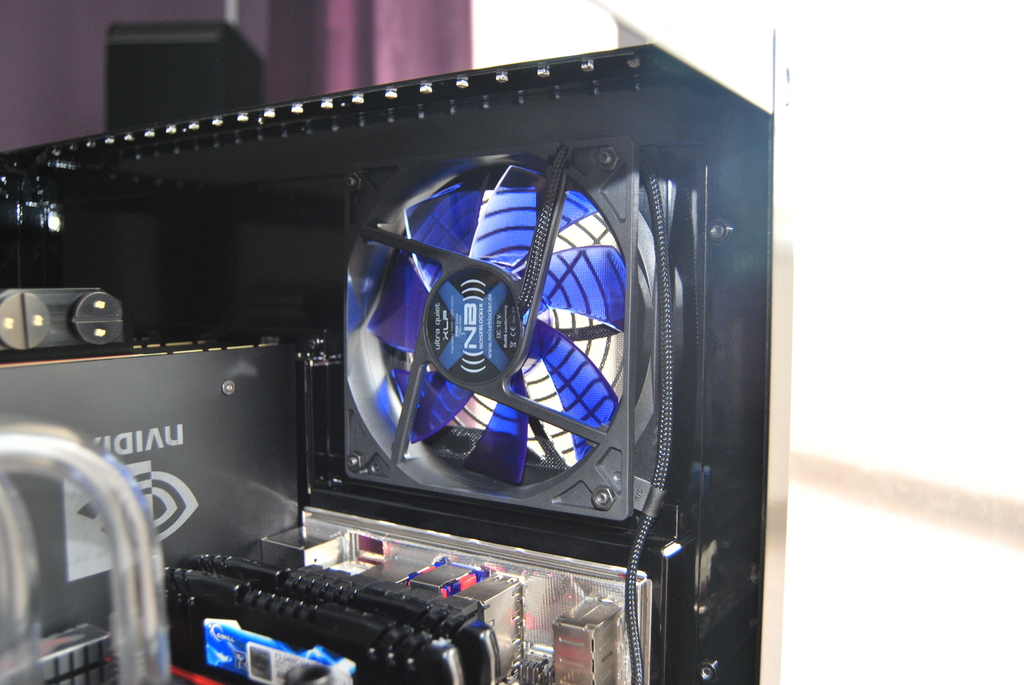
He estado haciendo pruebas con los ventiladores NB con el aquaero6, con el control PWM y sin el. De los 26 Fans que podemos colocar en la Mountain, al final he tenido que reducir por motivos de espacio, así que puedo enchufarlos todos al Aquaero, por una parte lo prefiero por que veo monitorado los voltajes y consumo de cada canal. La idea de un principio era alimentarlos directos de la fuente y utilizar el control de impulsos PWM para controlas el giro de ellos con el aquaero.
También he modificado las bombas lain d5 con el cable tacometro, esto aún no lo he probado pero en teoría debe leerlo el PA2 con la interfad aquabus hacia el Aquaero.
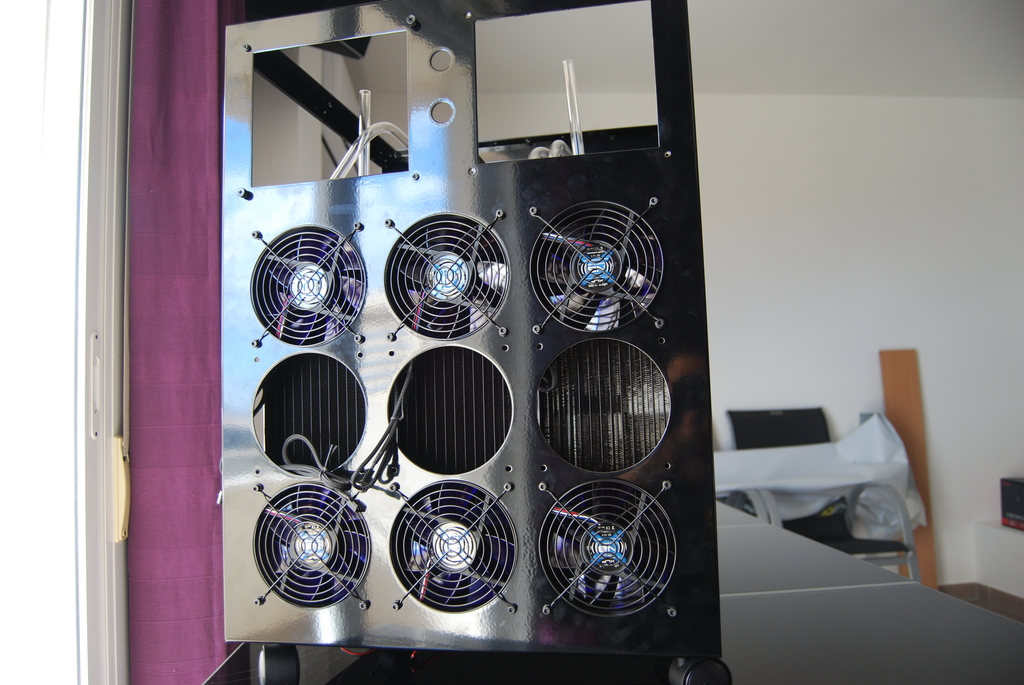
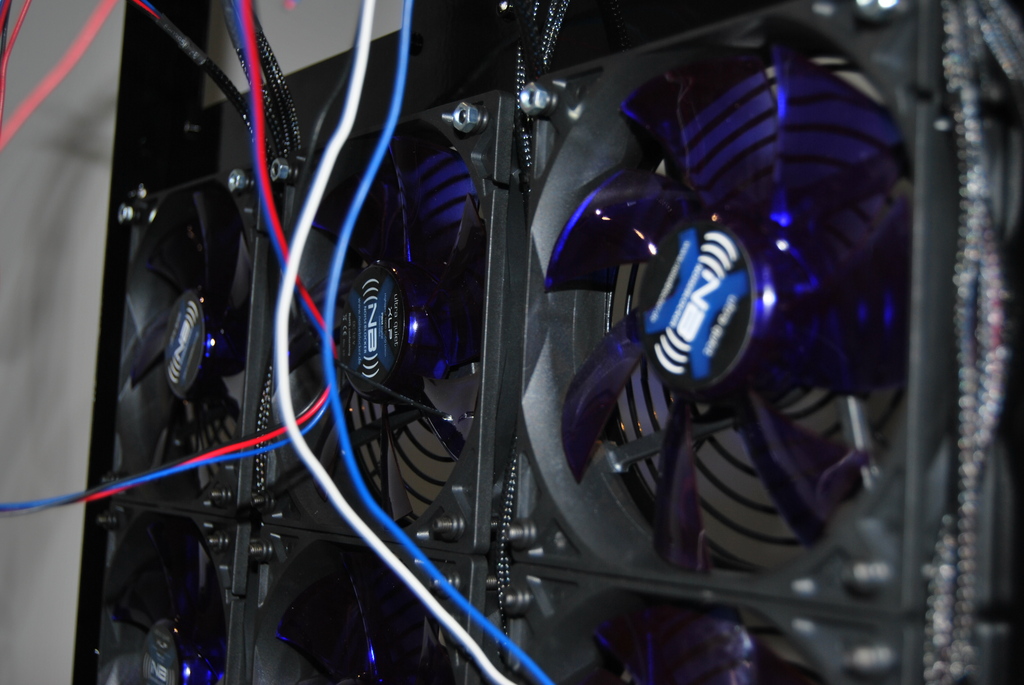
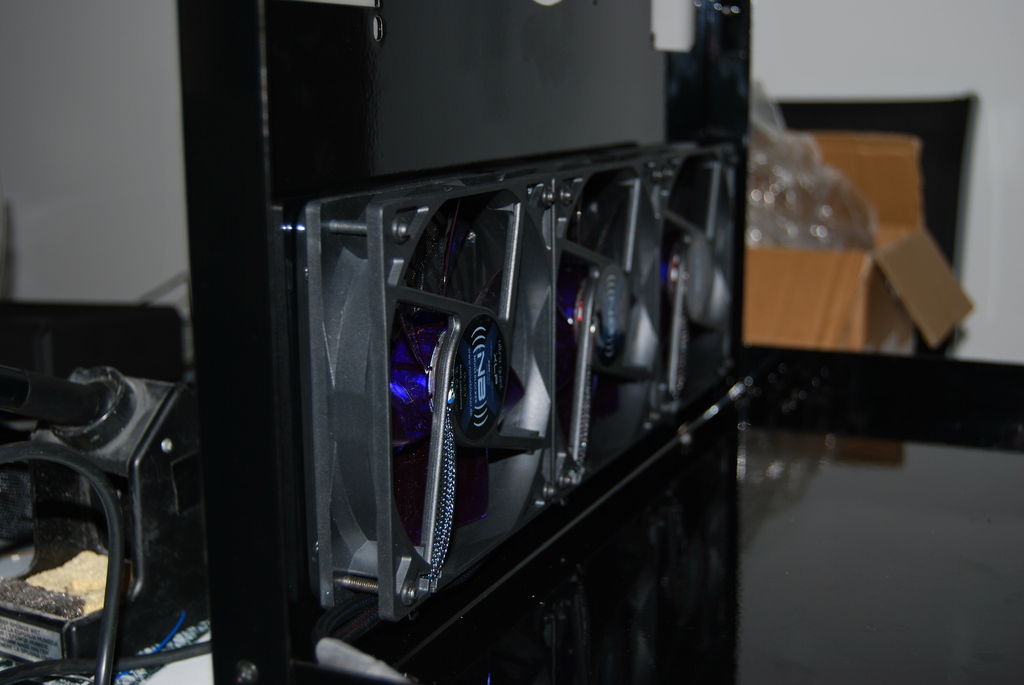
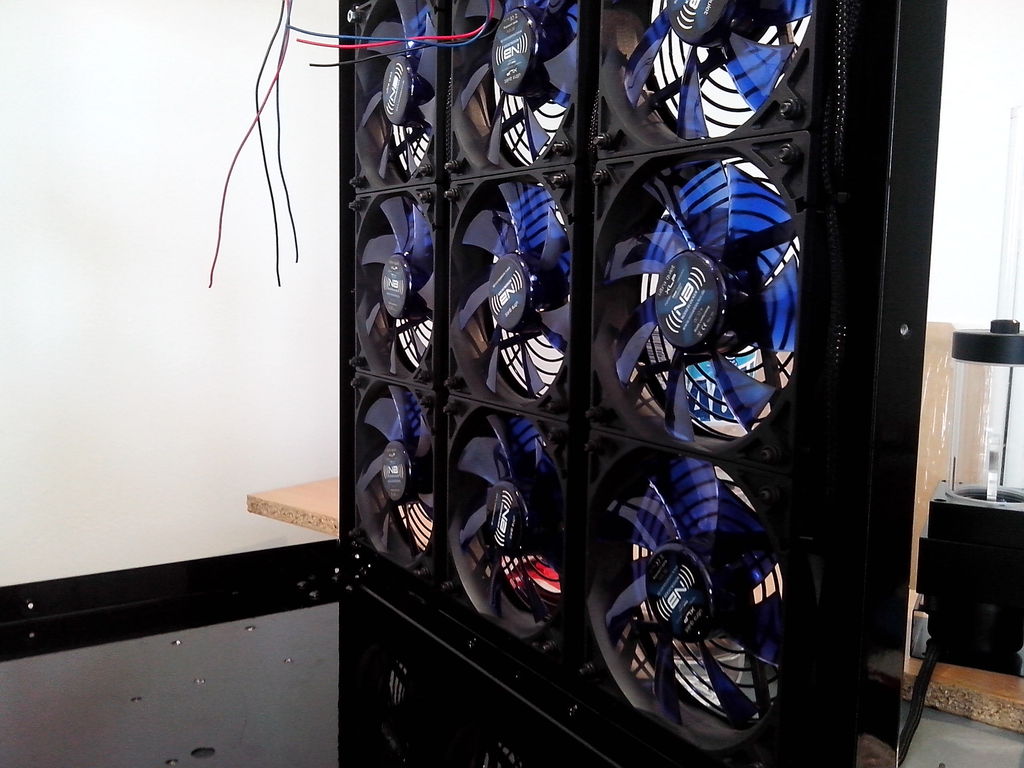
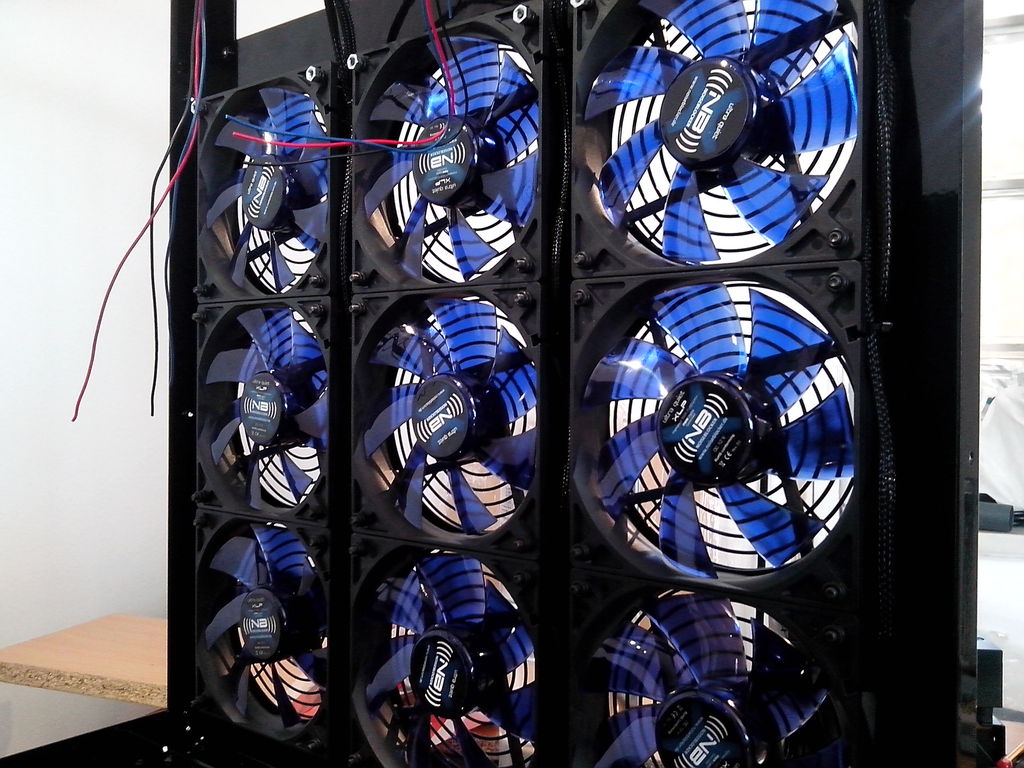
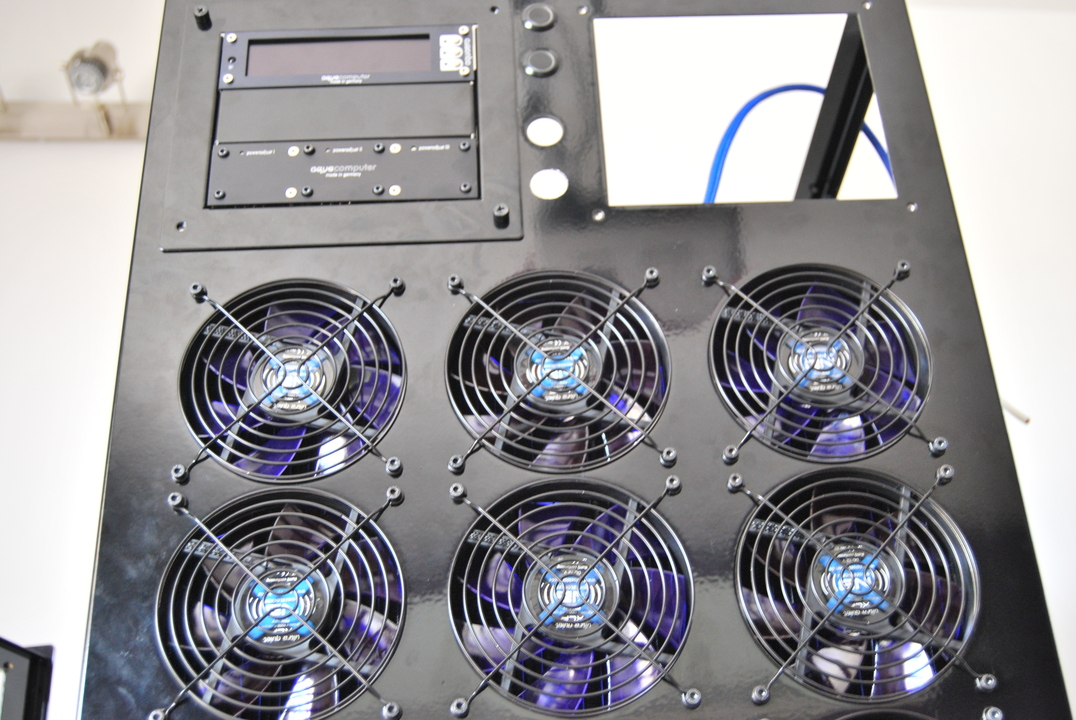
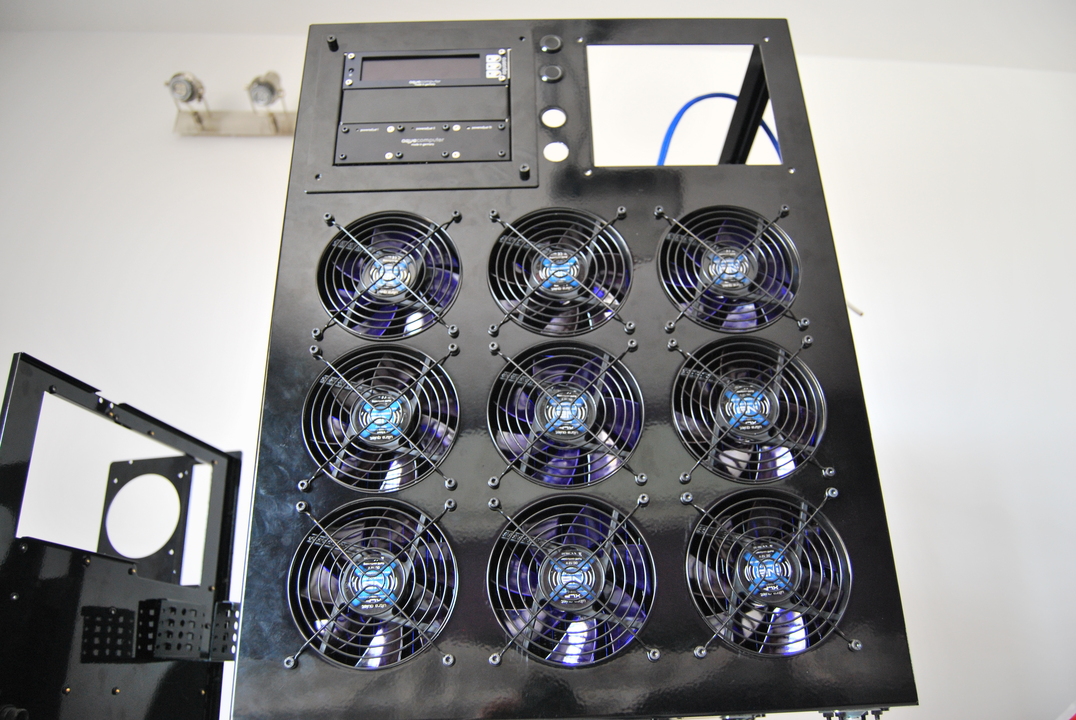
Los ventiladores NB colocados en los paneles:
!
!
!
!
!
!
!
!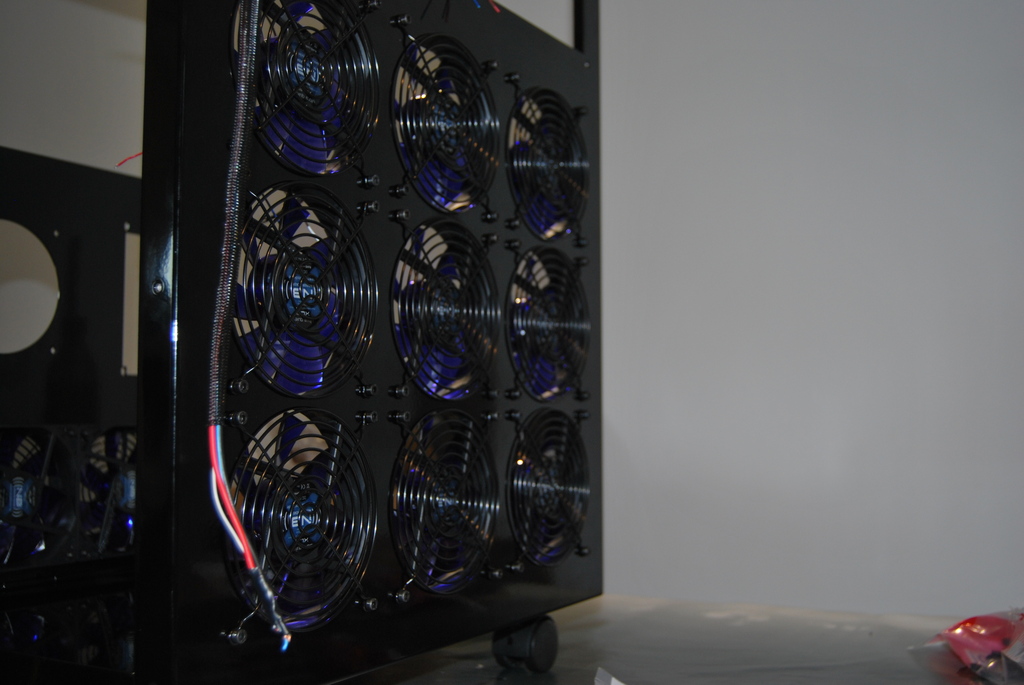
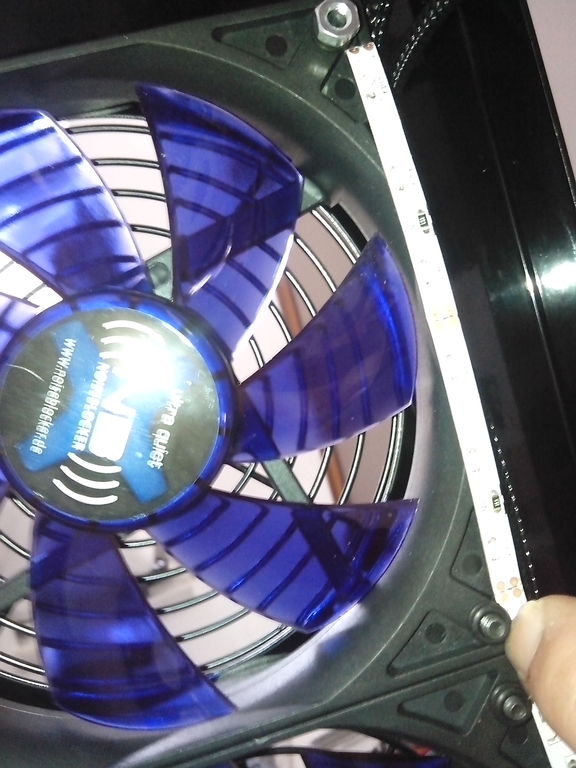
!Con el tema de la iluminación he conseguido un led azul bastante caro para iluminar el panel delantero hacia los ventiladores para dar el efecto que conseguí en las fuentes pero mas cargado ya que eso si quiero que se vea mas intenso.
La diferencia con cualquier led normal, este el chorro de luz lo echa hacía un lateral, no hacia adelante. La idea es colocarlo al lado de los ventiladores que aún estoy mirando como colocar para su iluminación.En esta foto vamos haber la idea pero lógicamente con el dedo no se va a quedar pillado XD.
!
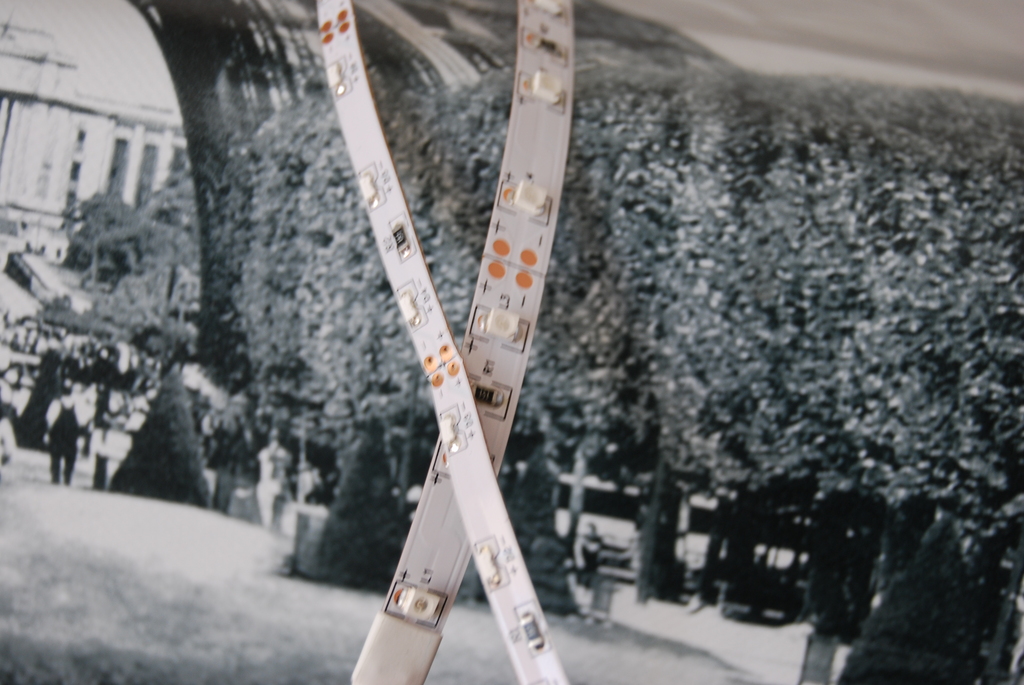
! En esta foto no se puede apreciar bien, pero fijaros el grosor de este led. La mas gorda es led Negro para la luz UV y el mas pequeño es el azul:
!
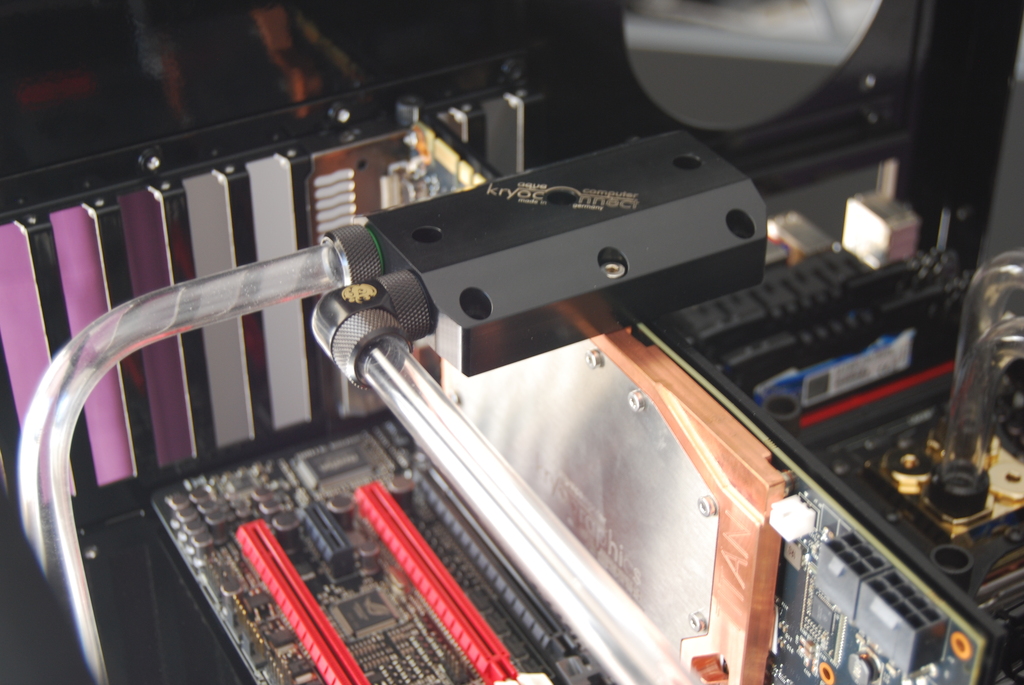
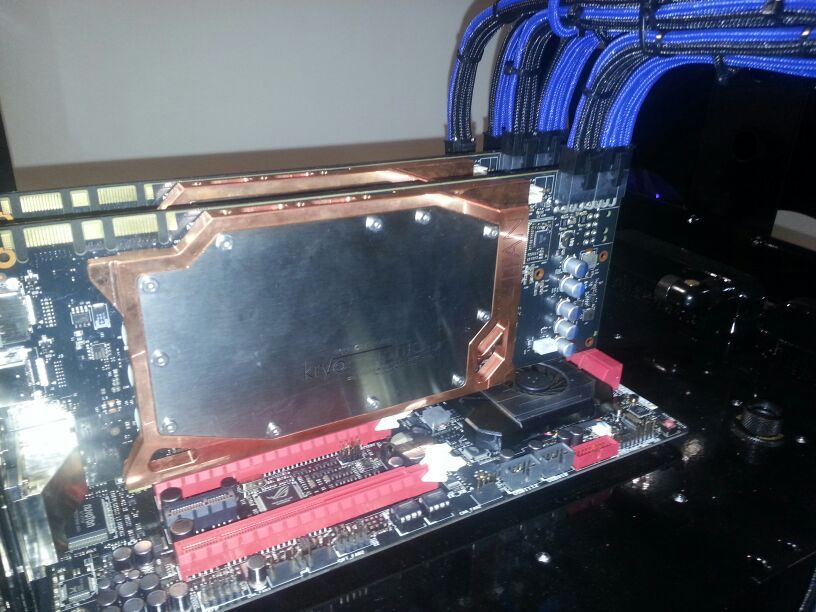
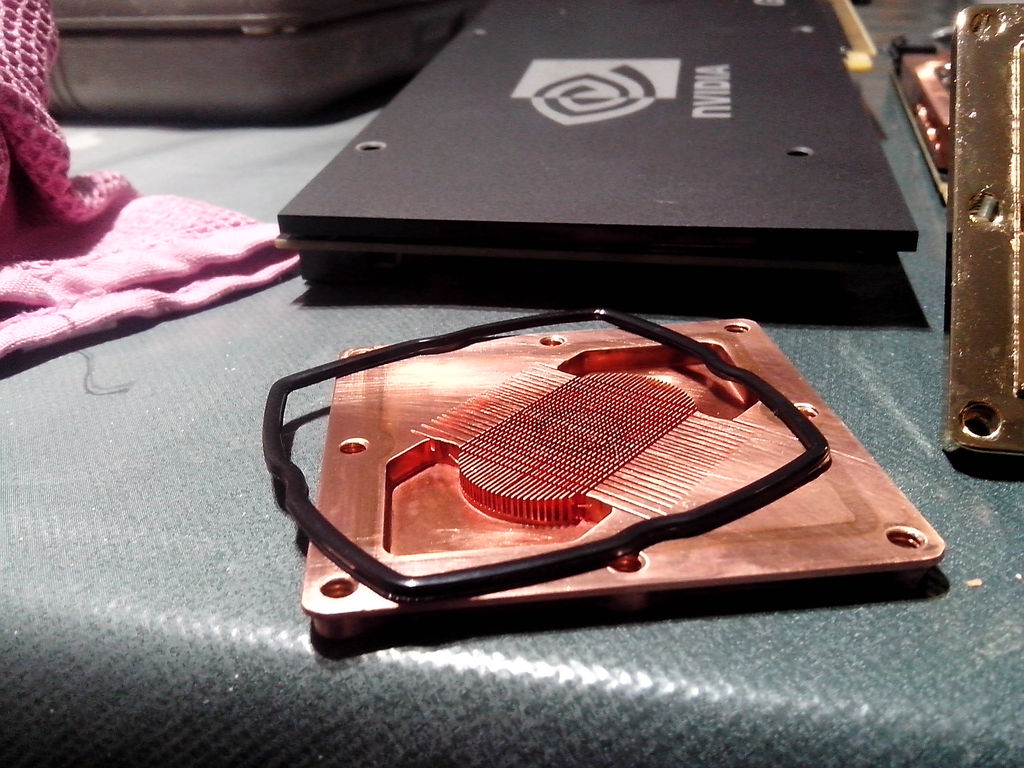
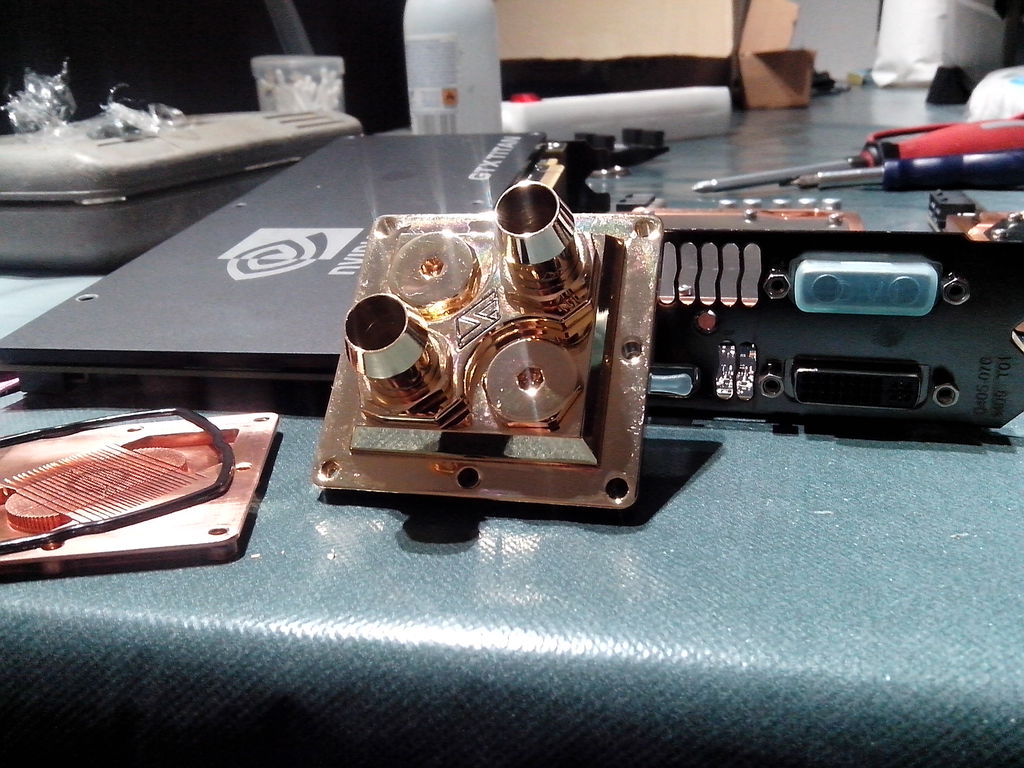
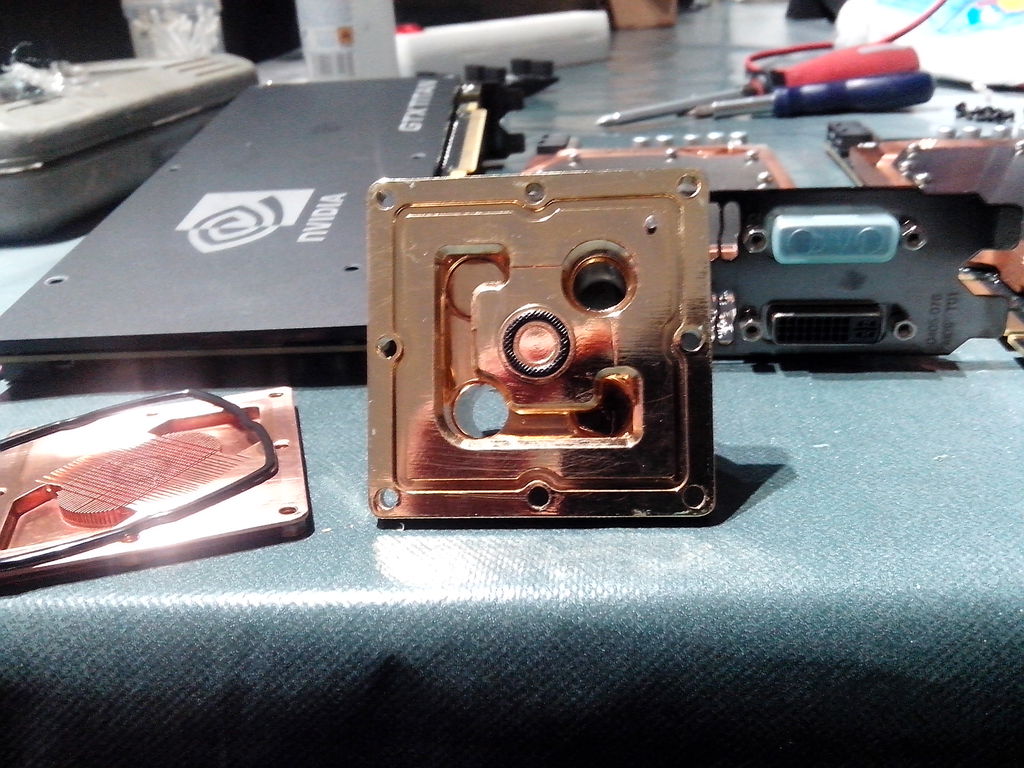
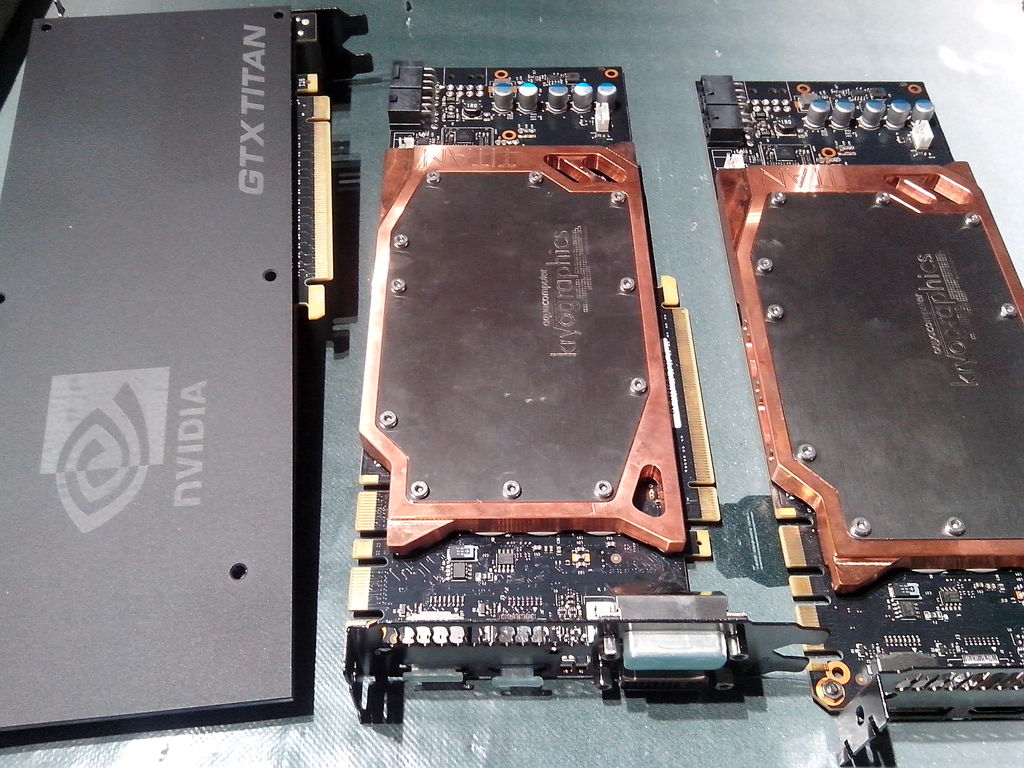
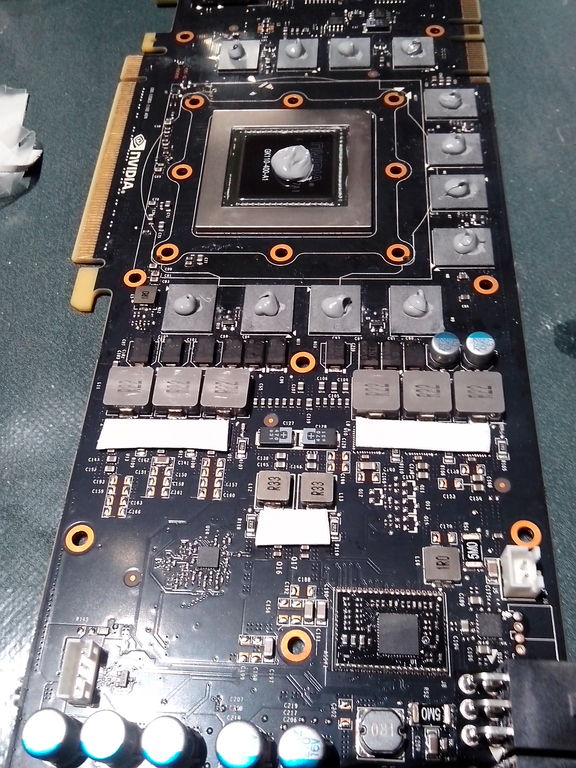
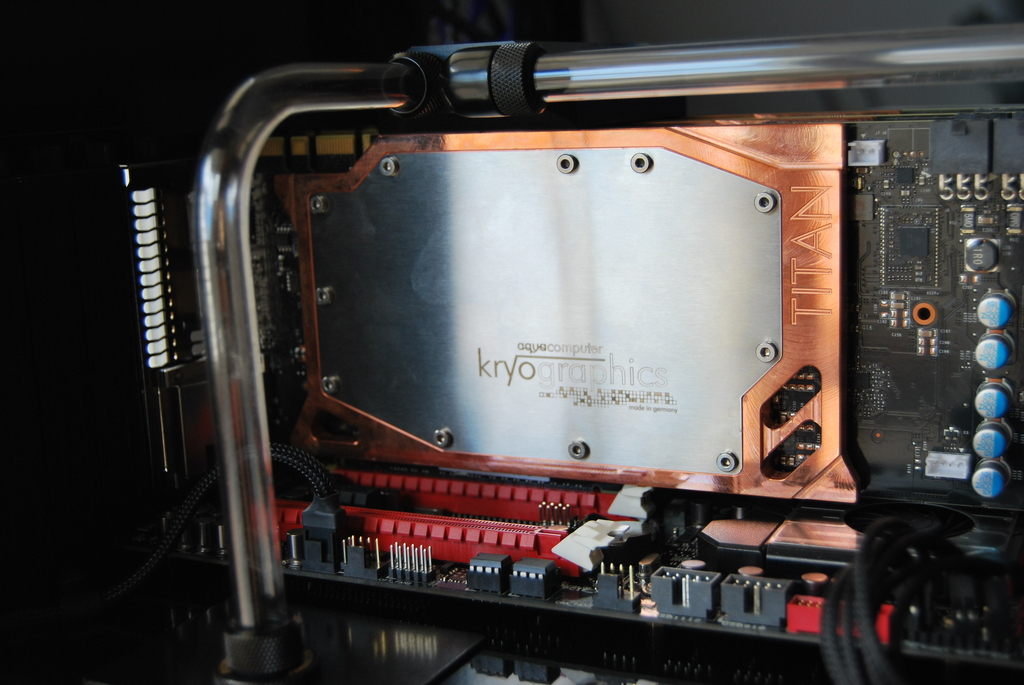
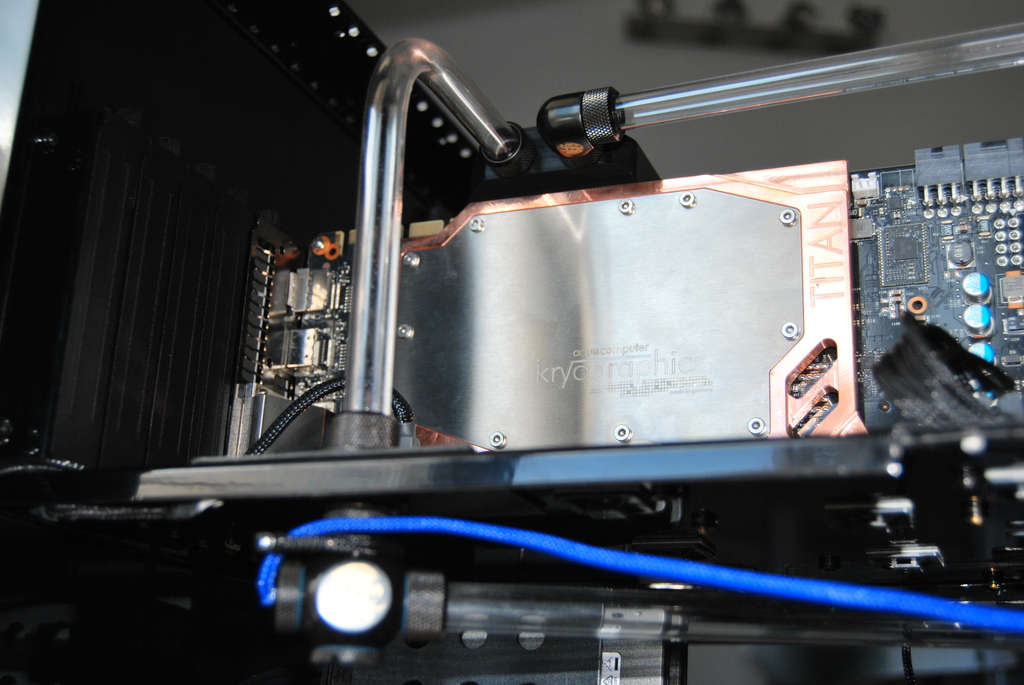
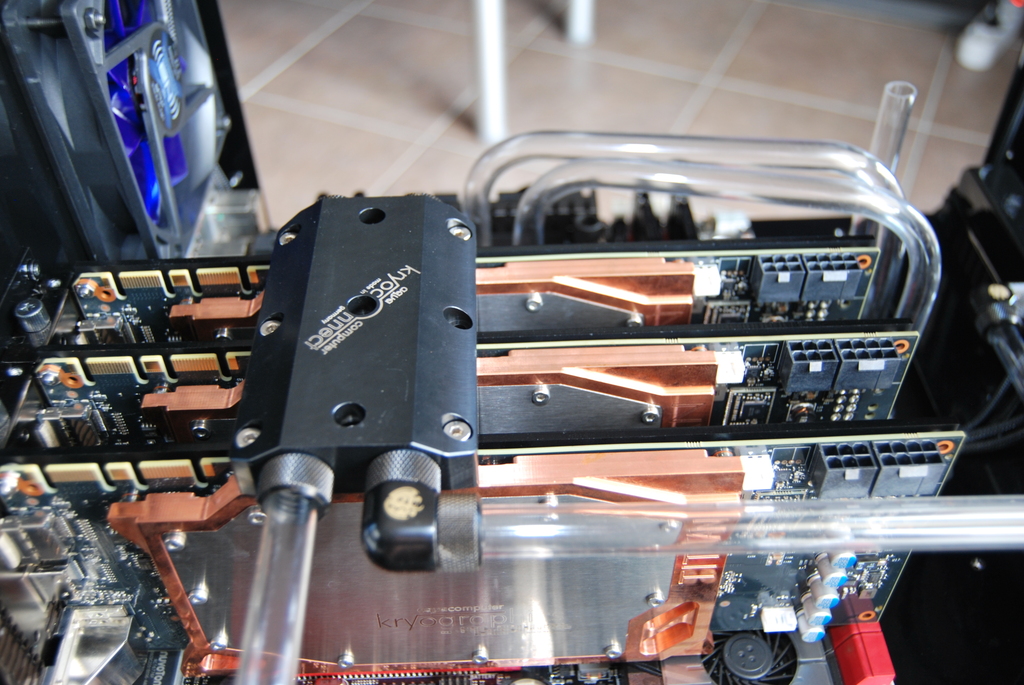
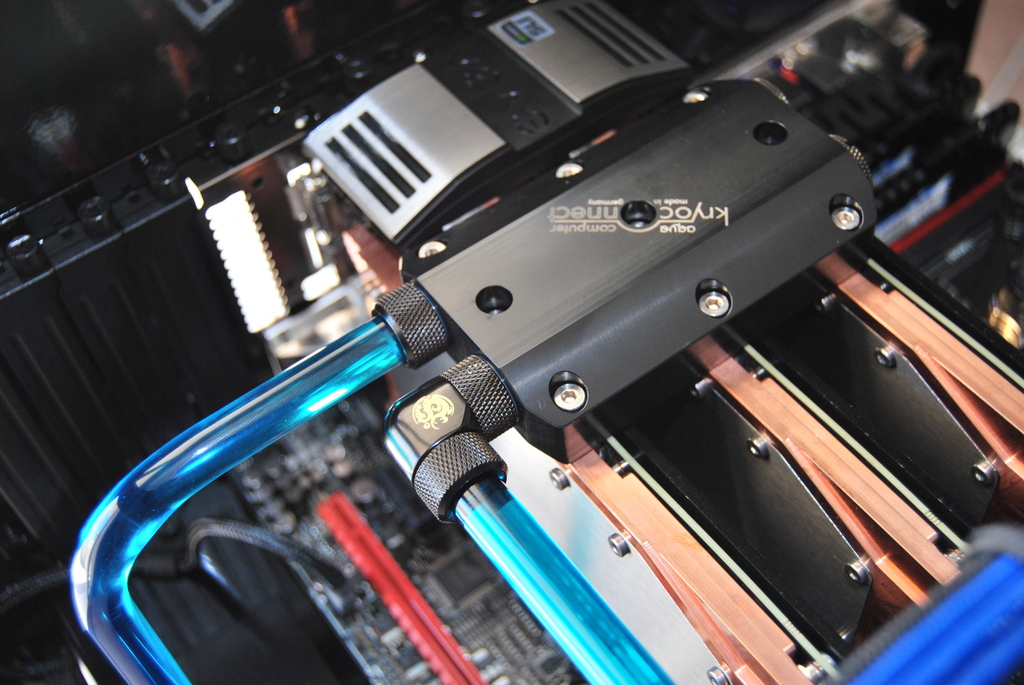
Limpieza de los bloques y aplicación de pasta térmica en los bloques aquacomputer kryographics:
!
!
!
!
!
!
Me quedan muchísimas cosas que enseñaros, pero hoy me toca descansar que vaya mes que llevo sin salir de casa XD.
Seguiré actualizando con la marcha.
Saludos y de nuevo perdonar por la tardanza.
-
Hello.
I bring you a small update of what I have done these days. I have finally arranged the tubes as best as I could, the good thing about the Mountain is that you have thousands of alternatives to place everything to your liking.
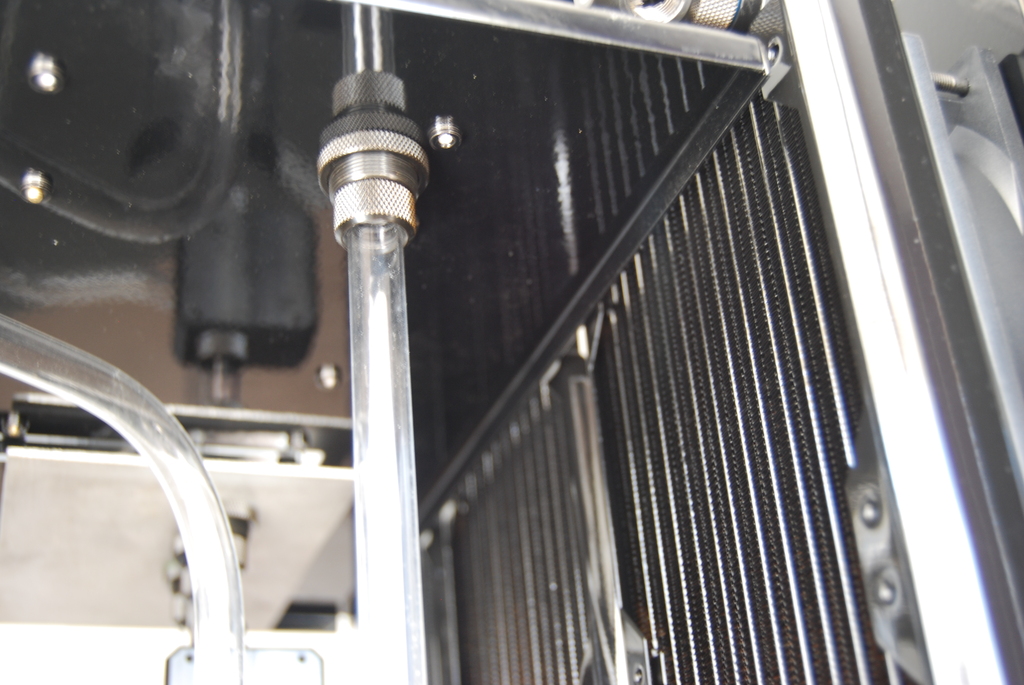
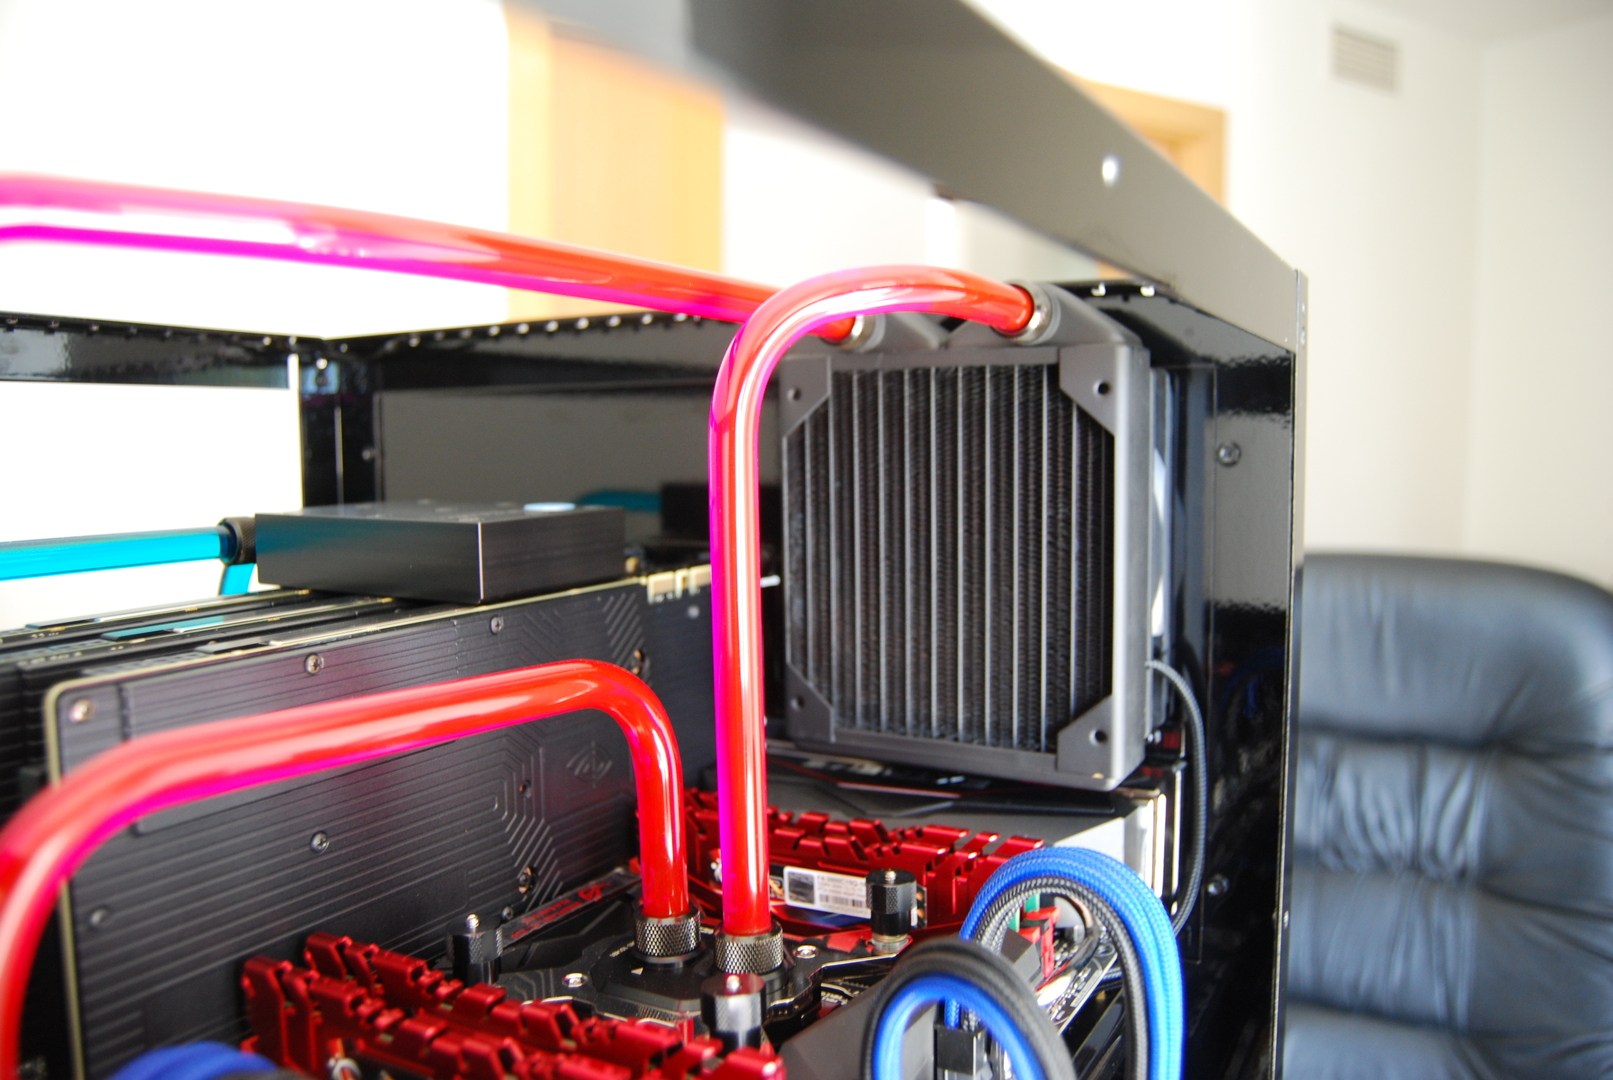
The Hardware Labs Black ICE radiators:
!
!
!
!
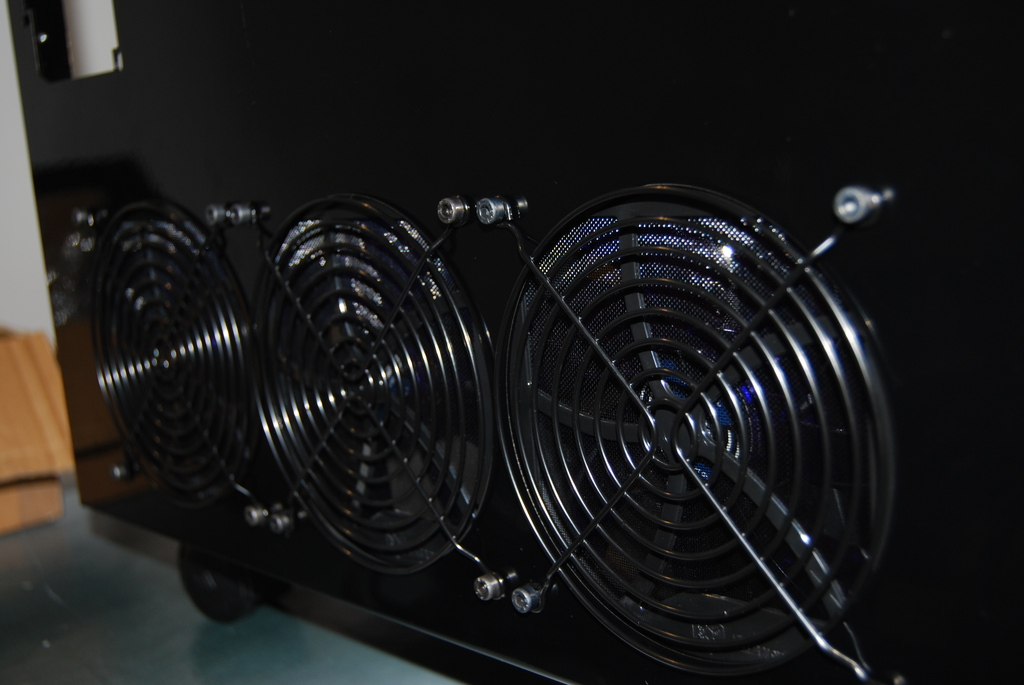
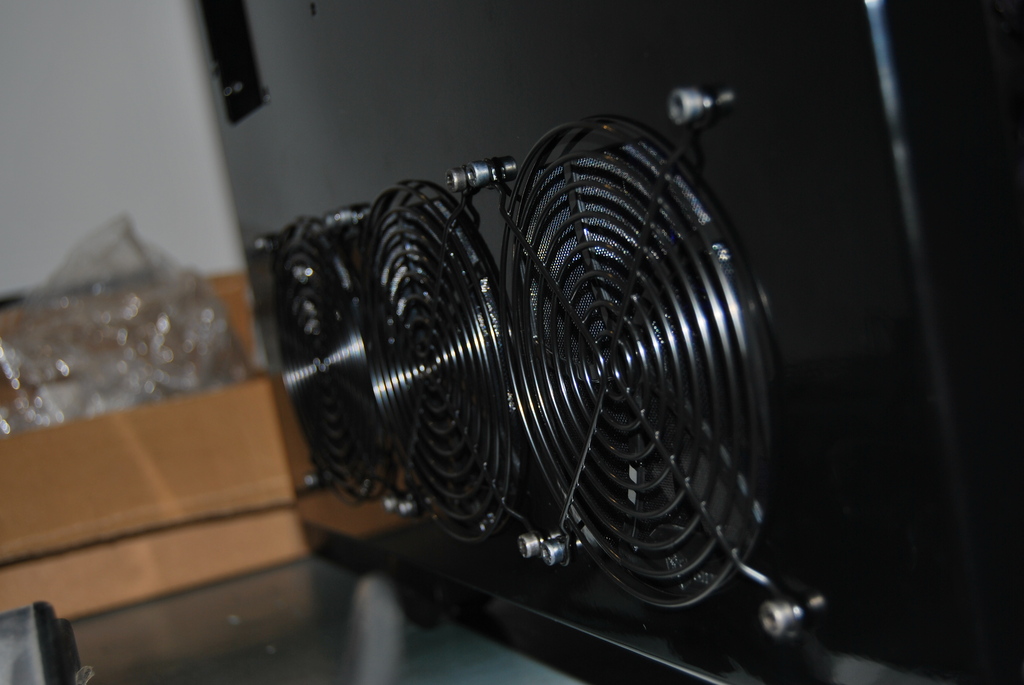
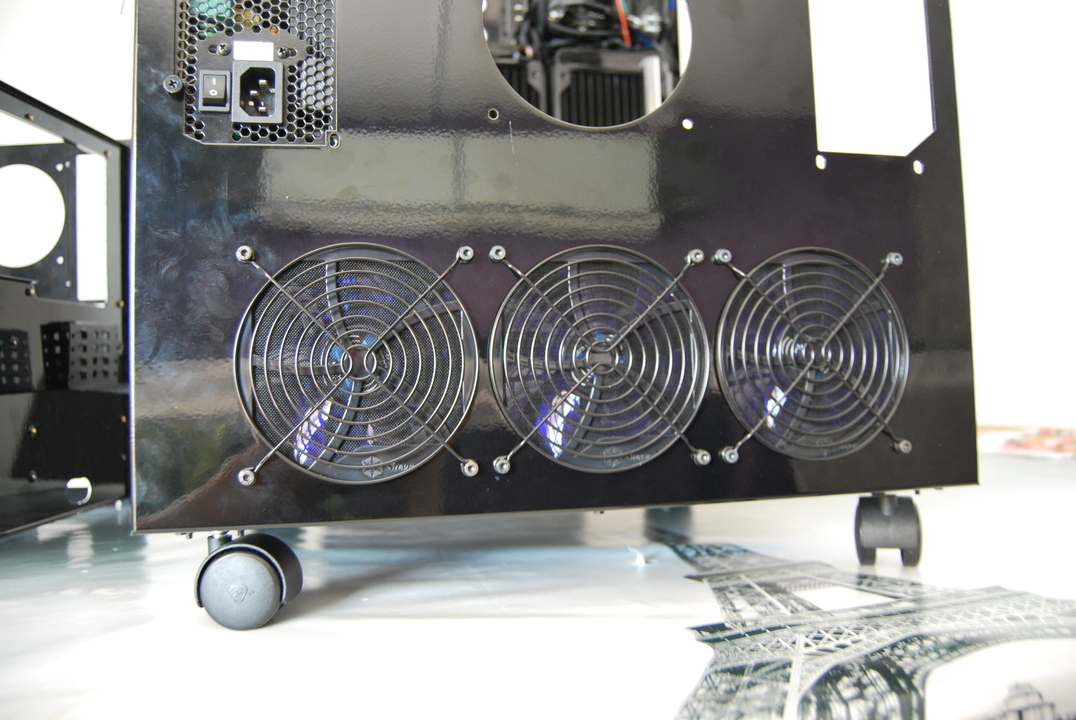
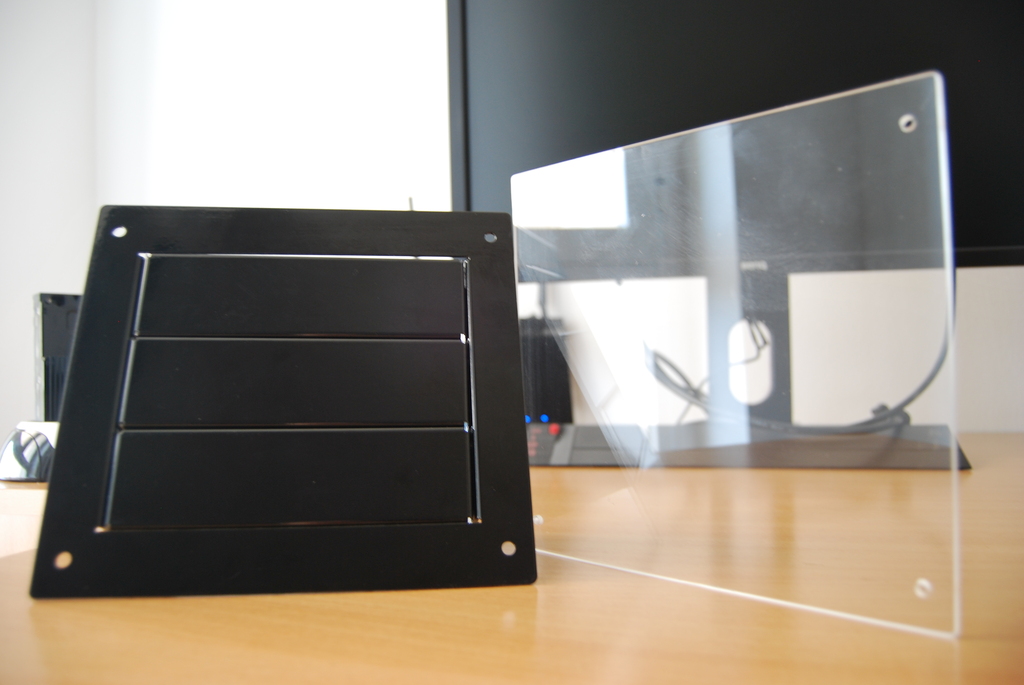
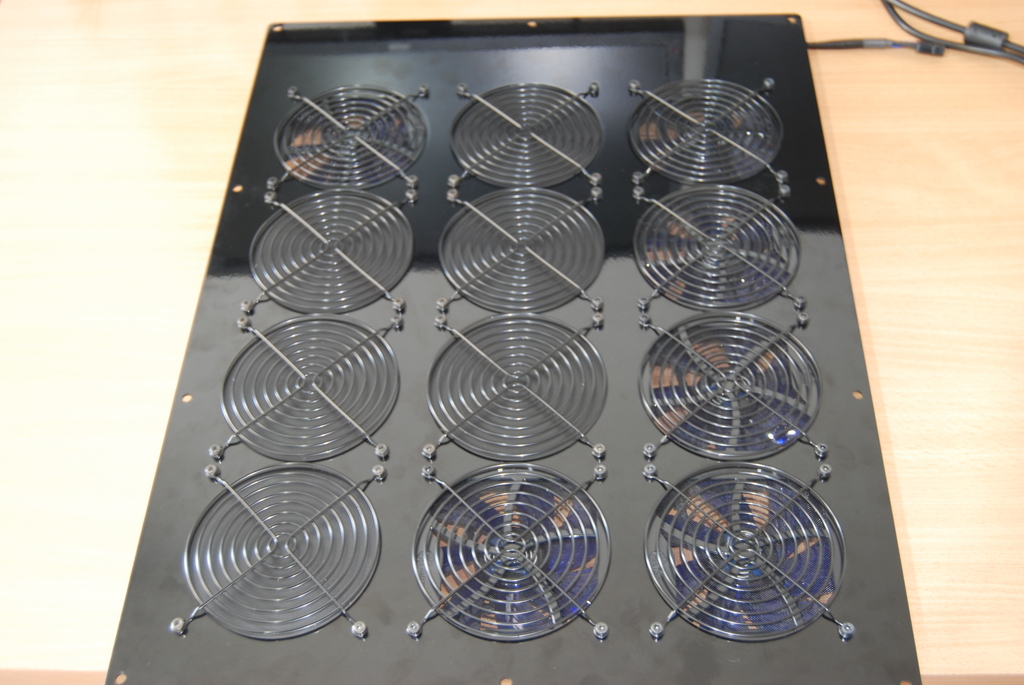
The SilverStone FF122B grilles and filters:
!
!
!
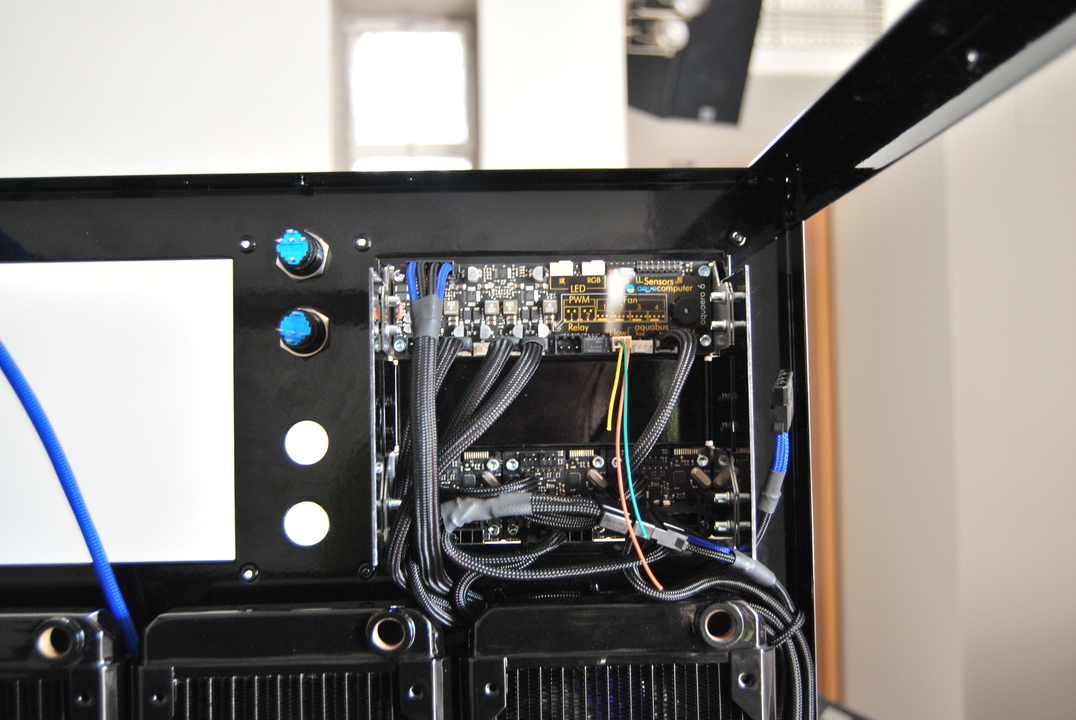
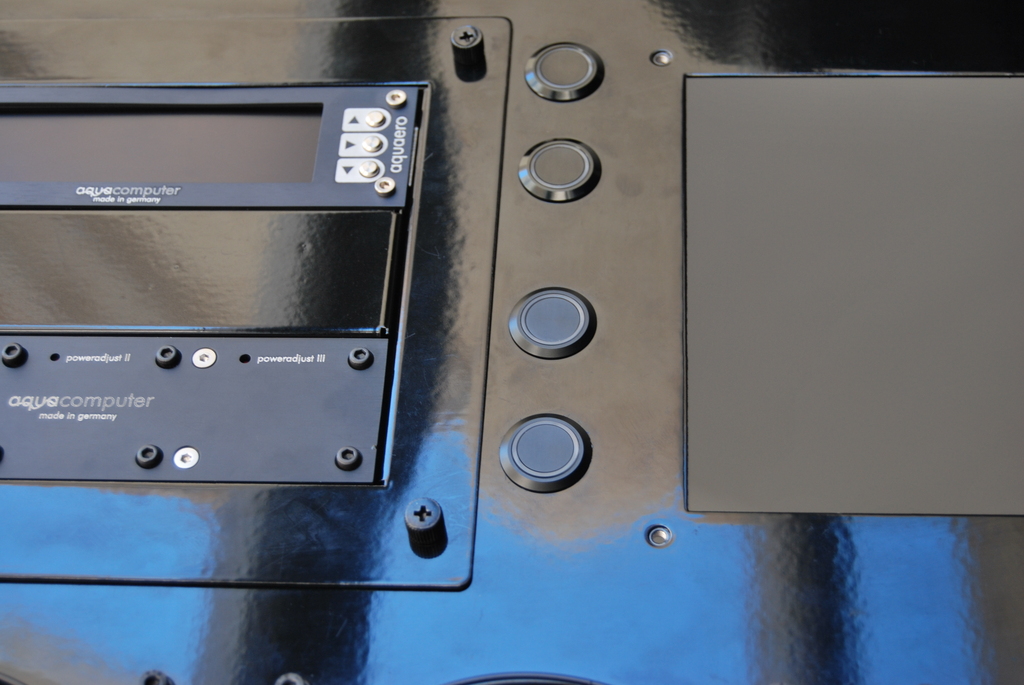
Aquaero6 and PA2:
I still have to finish the connections of the probes and flow meter to the Aquaero. I want to make a custom cover on top where the Aquaero is located to hide all the cables that come to it and at the same time I will put a fan to cool it. I was about to modify the Aquaero to separate the display from it, in order to move the screen to the bays and thus be able to hide all that mess of cables that come to it.
!

!
!
!EK-D5 Cover Kit (Black) Acetal:
!
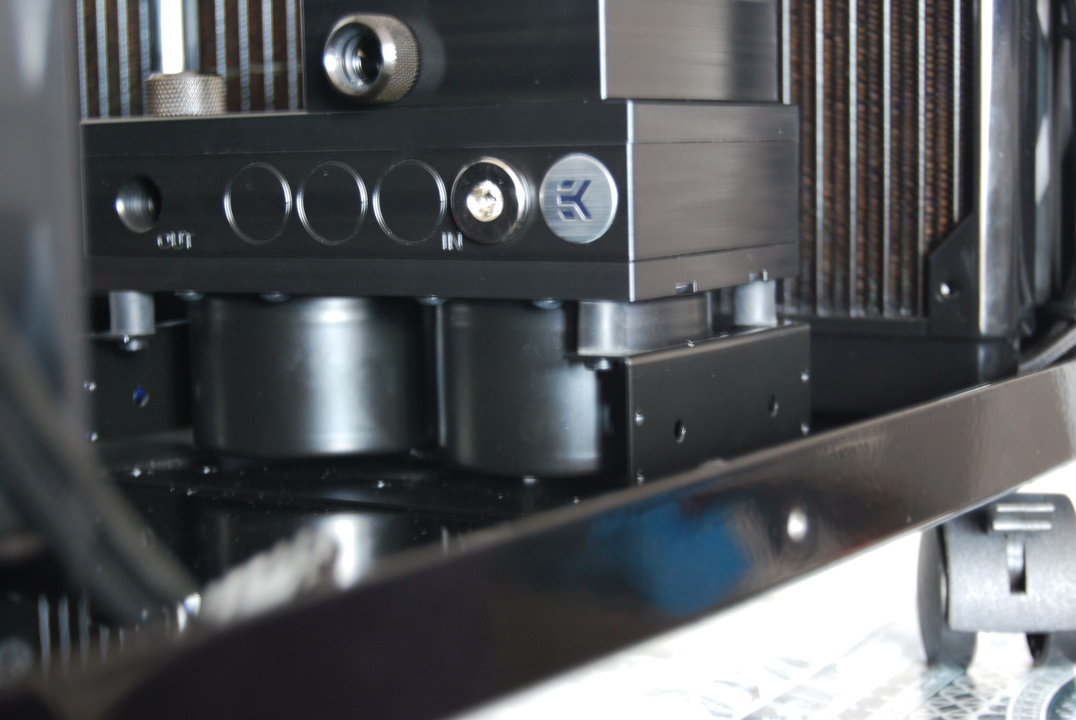
!
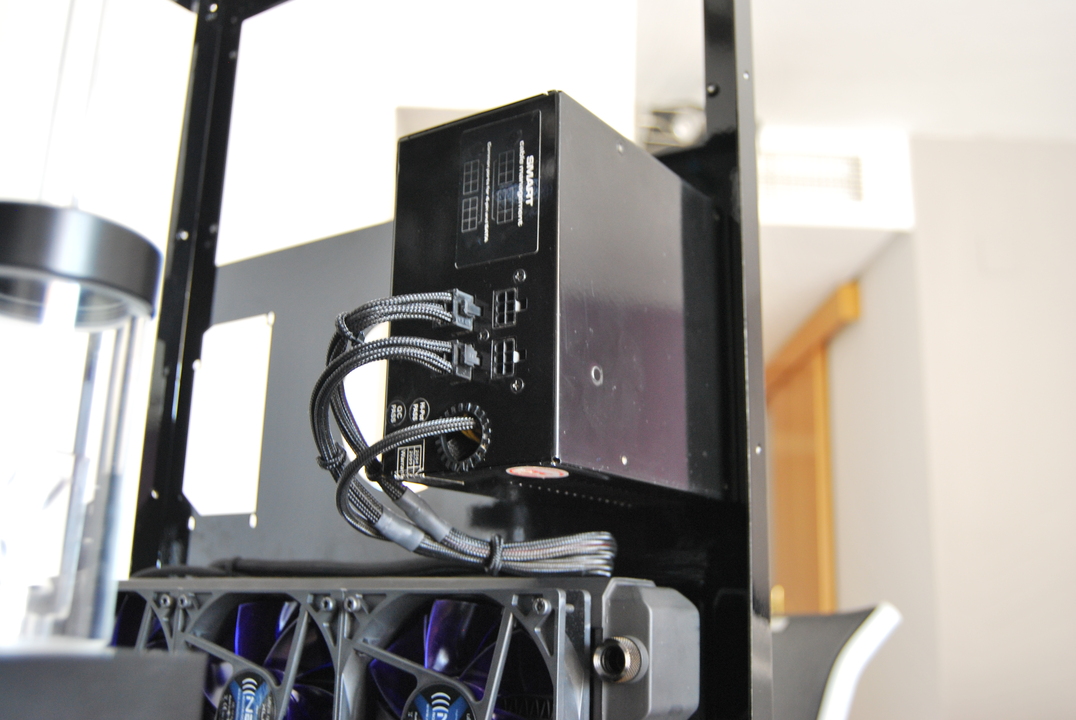
Look at the NO modular power supply specific for the R.L:
!
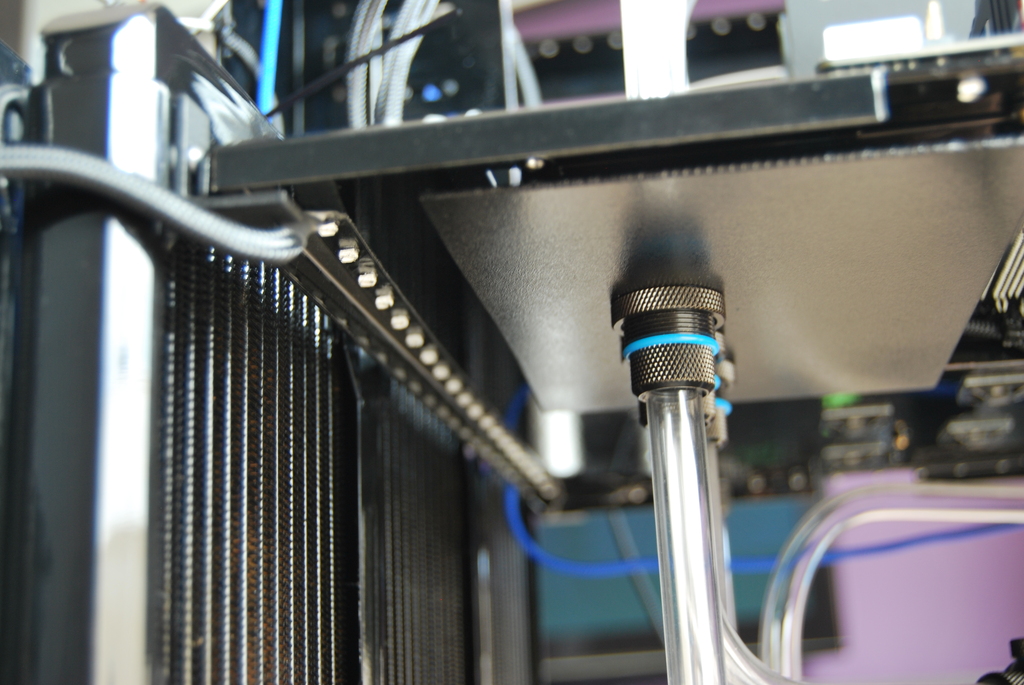
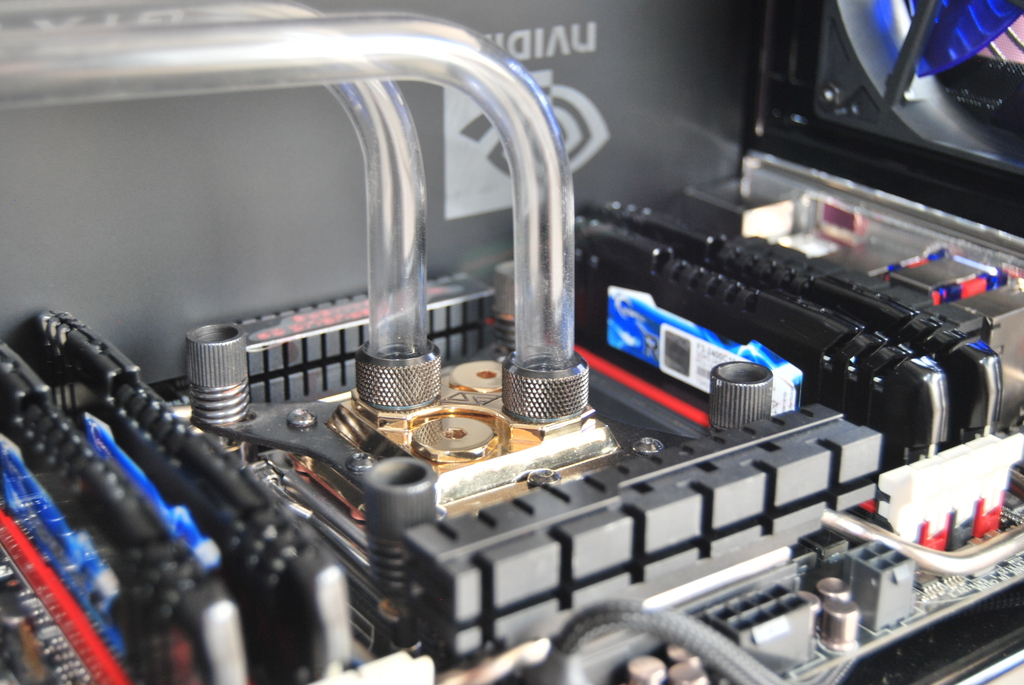
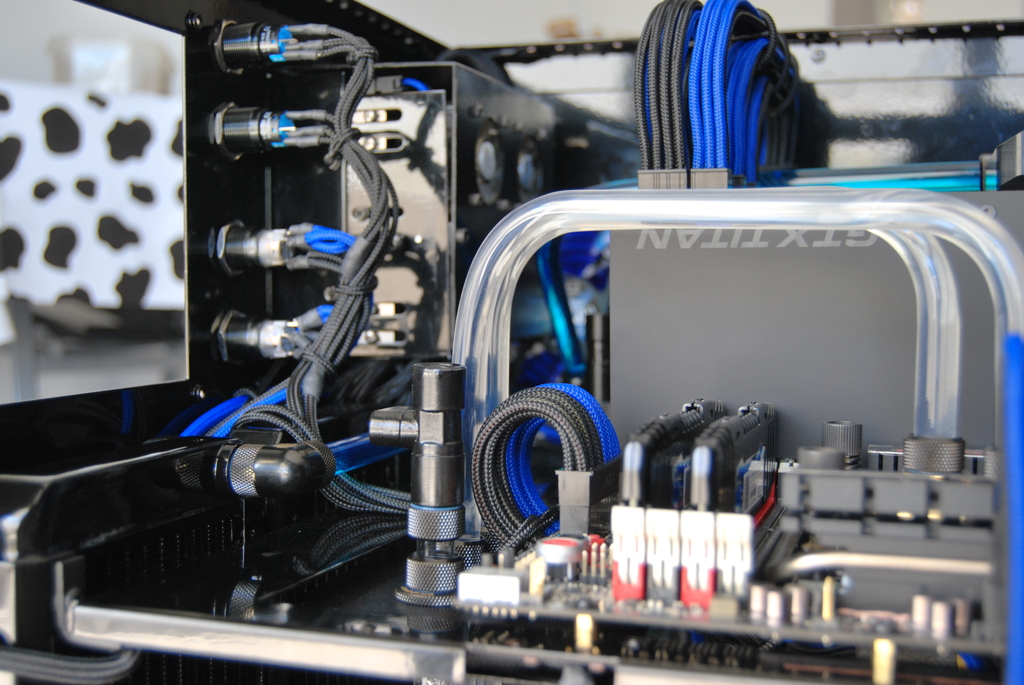
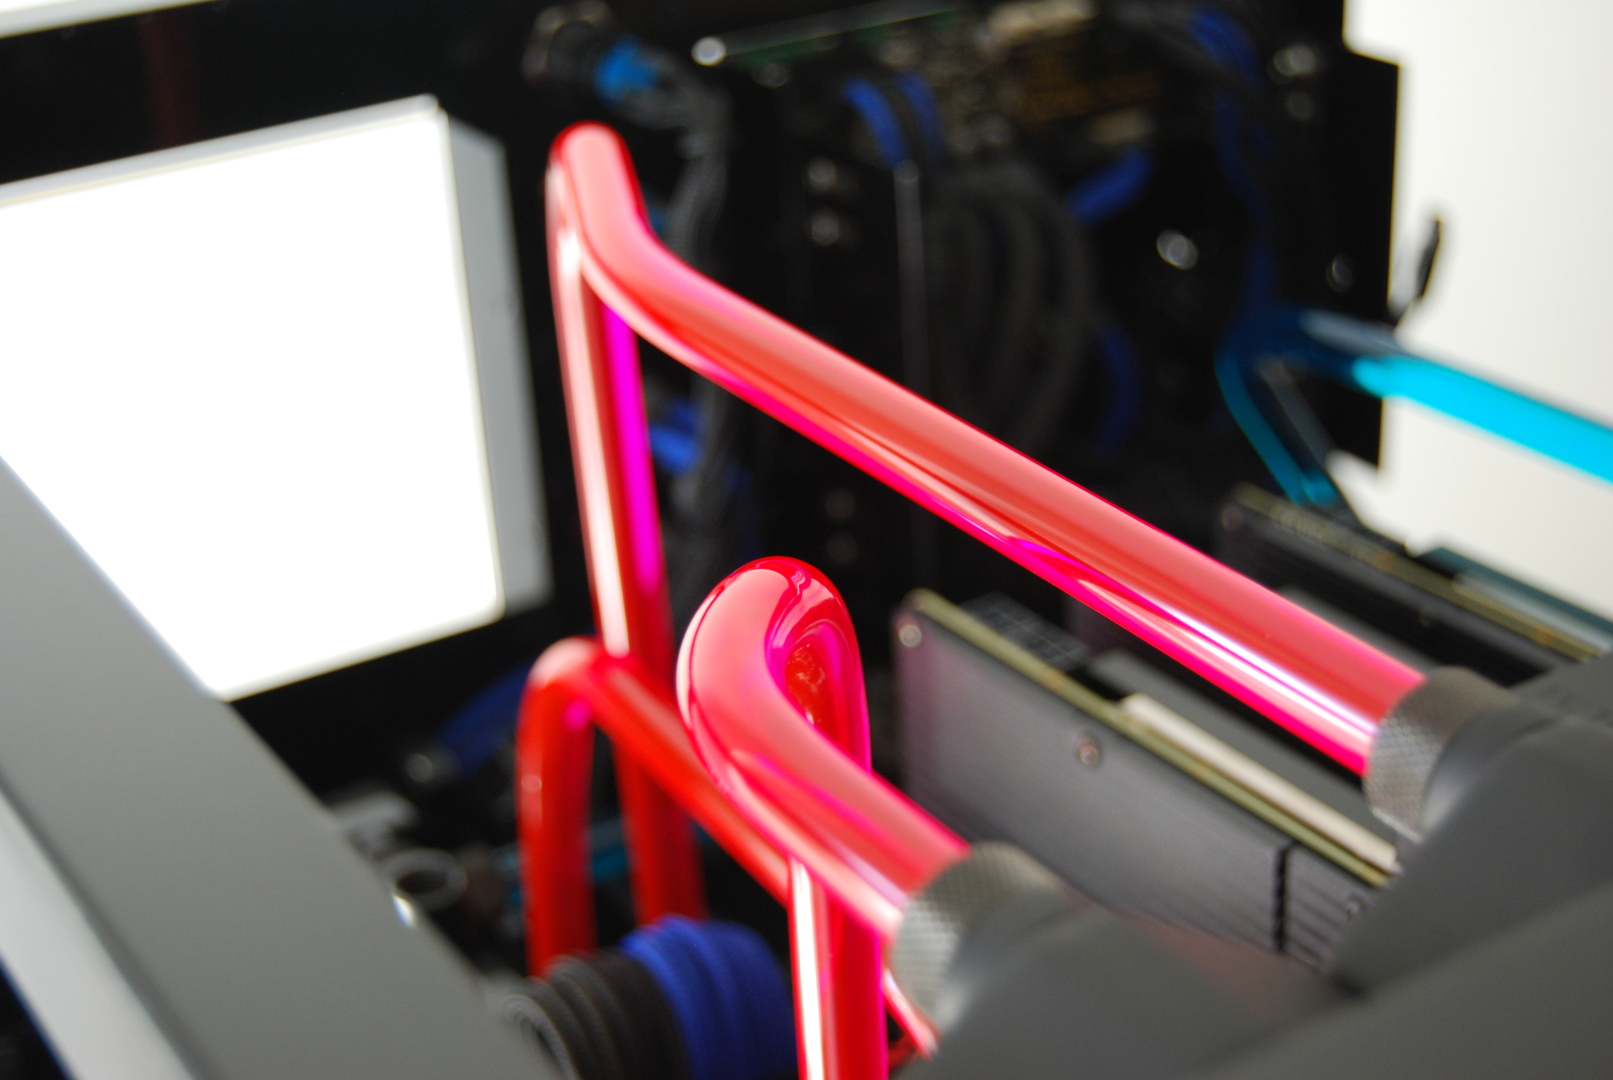
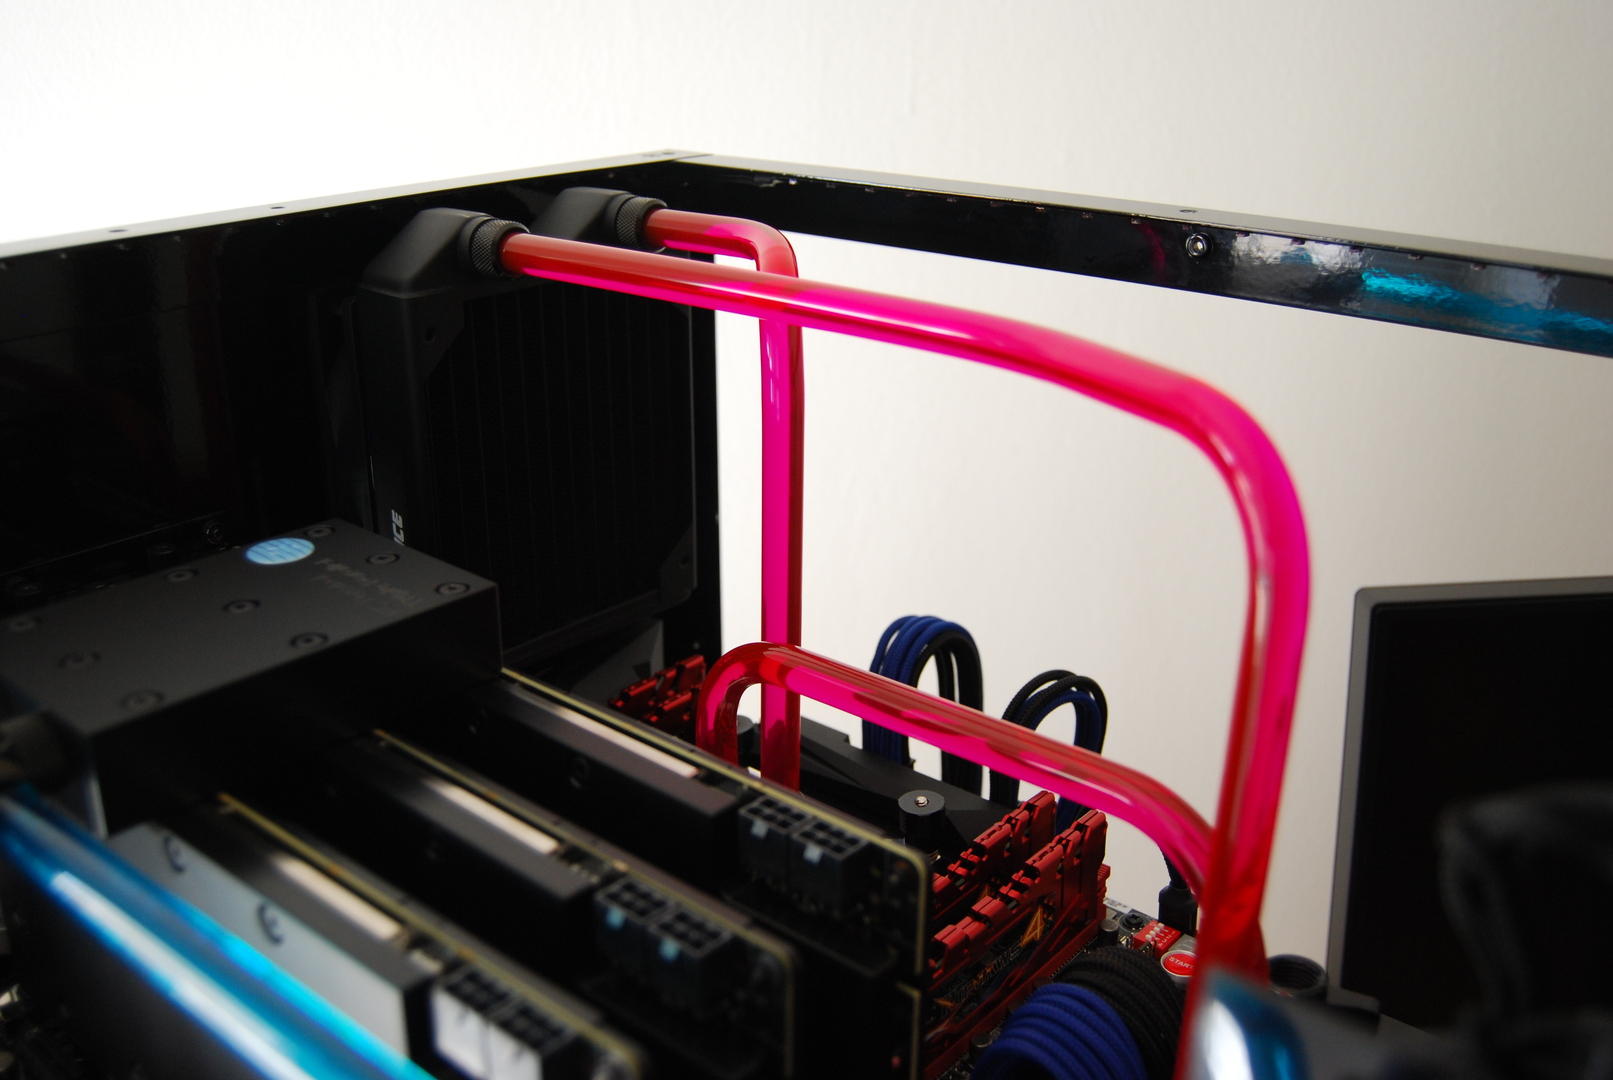
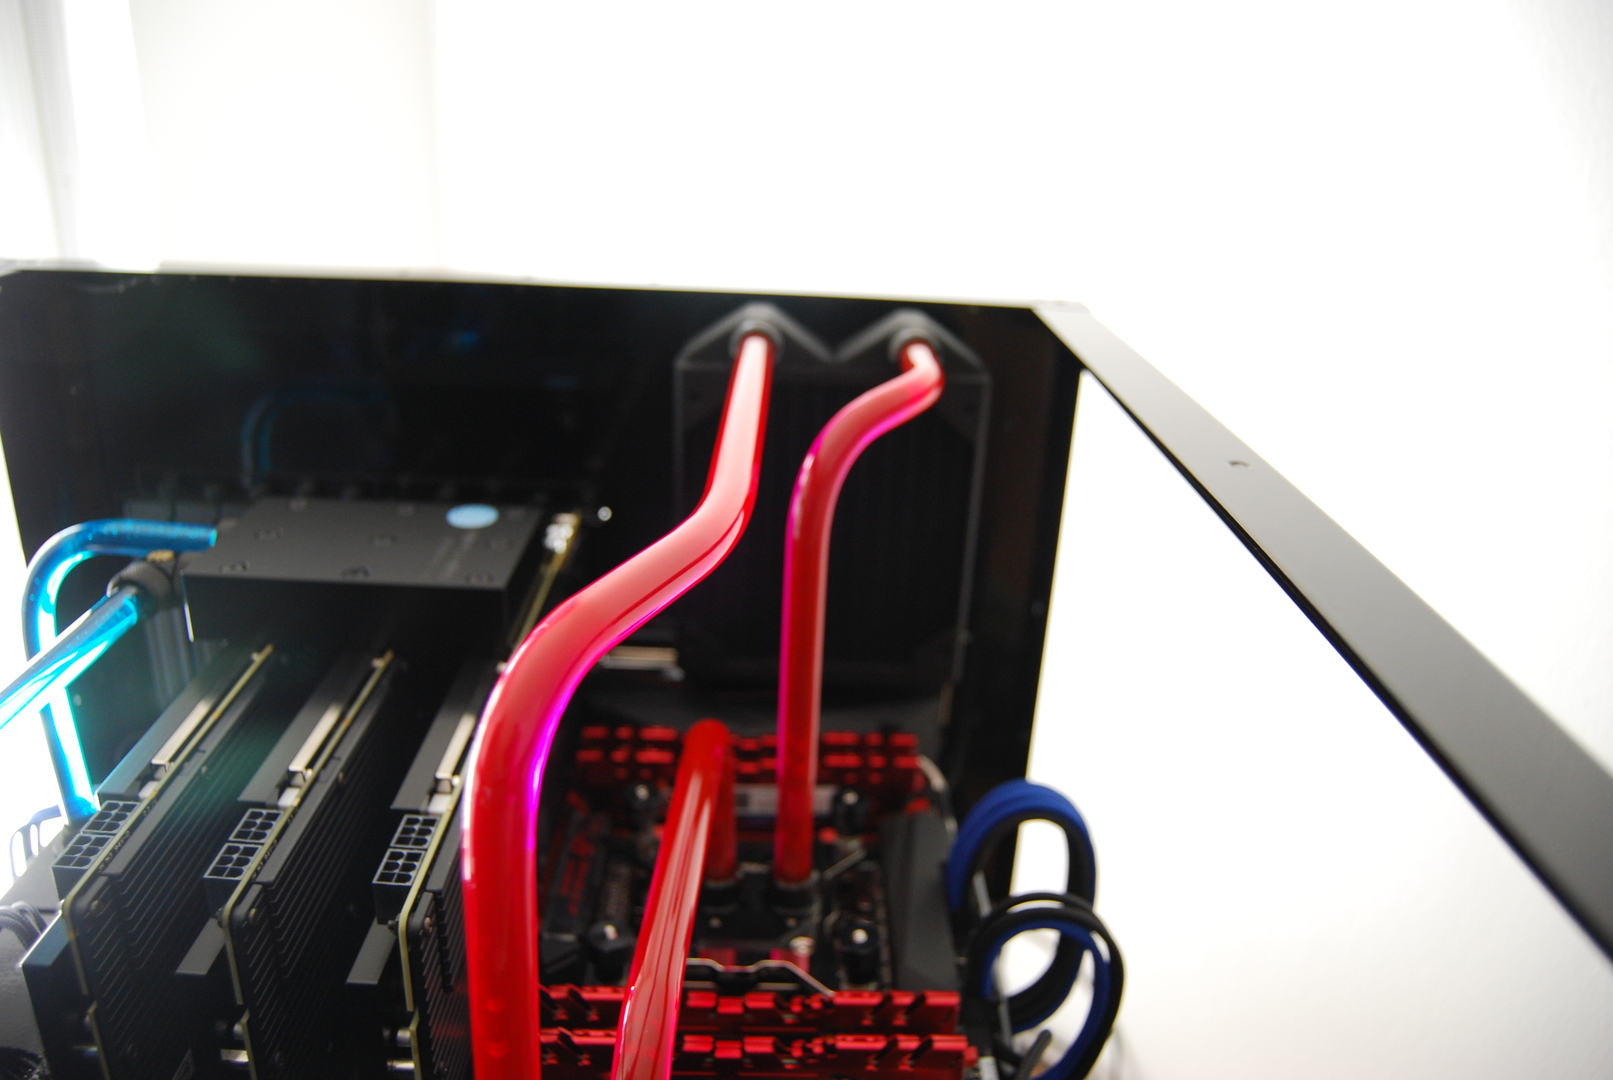
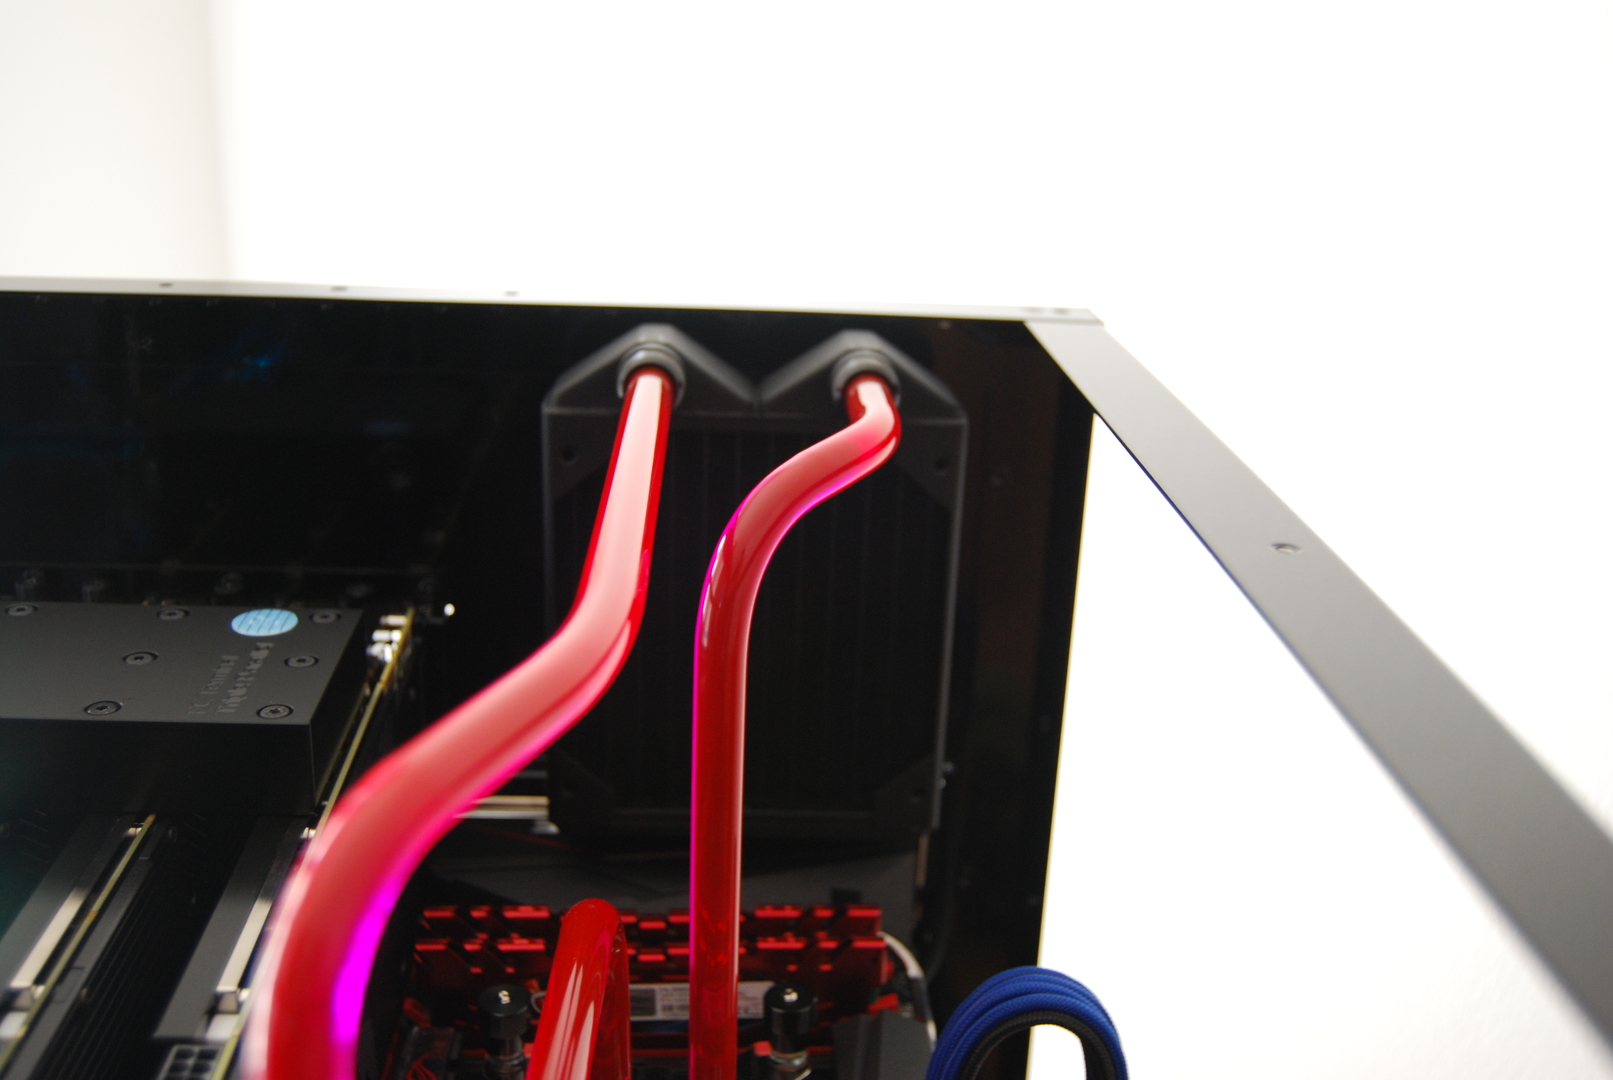
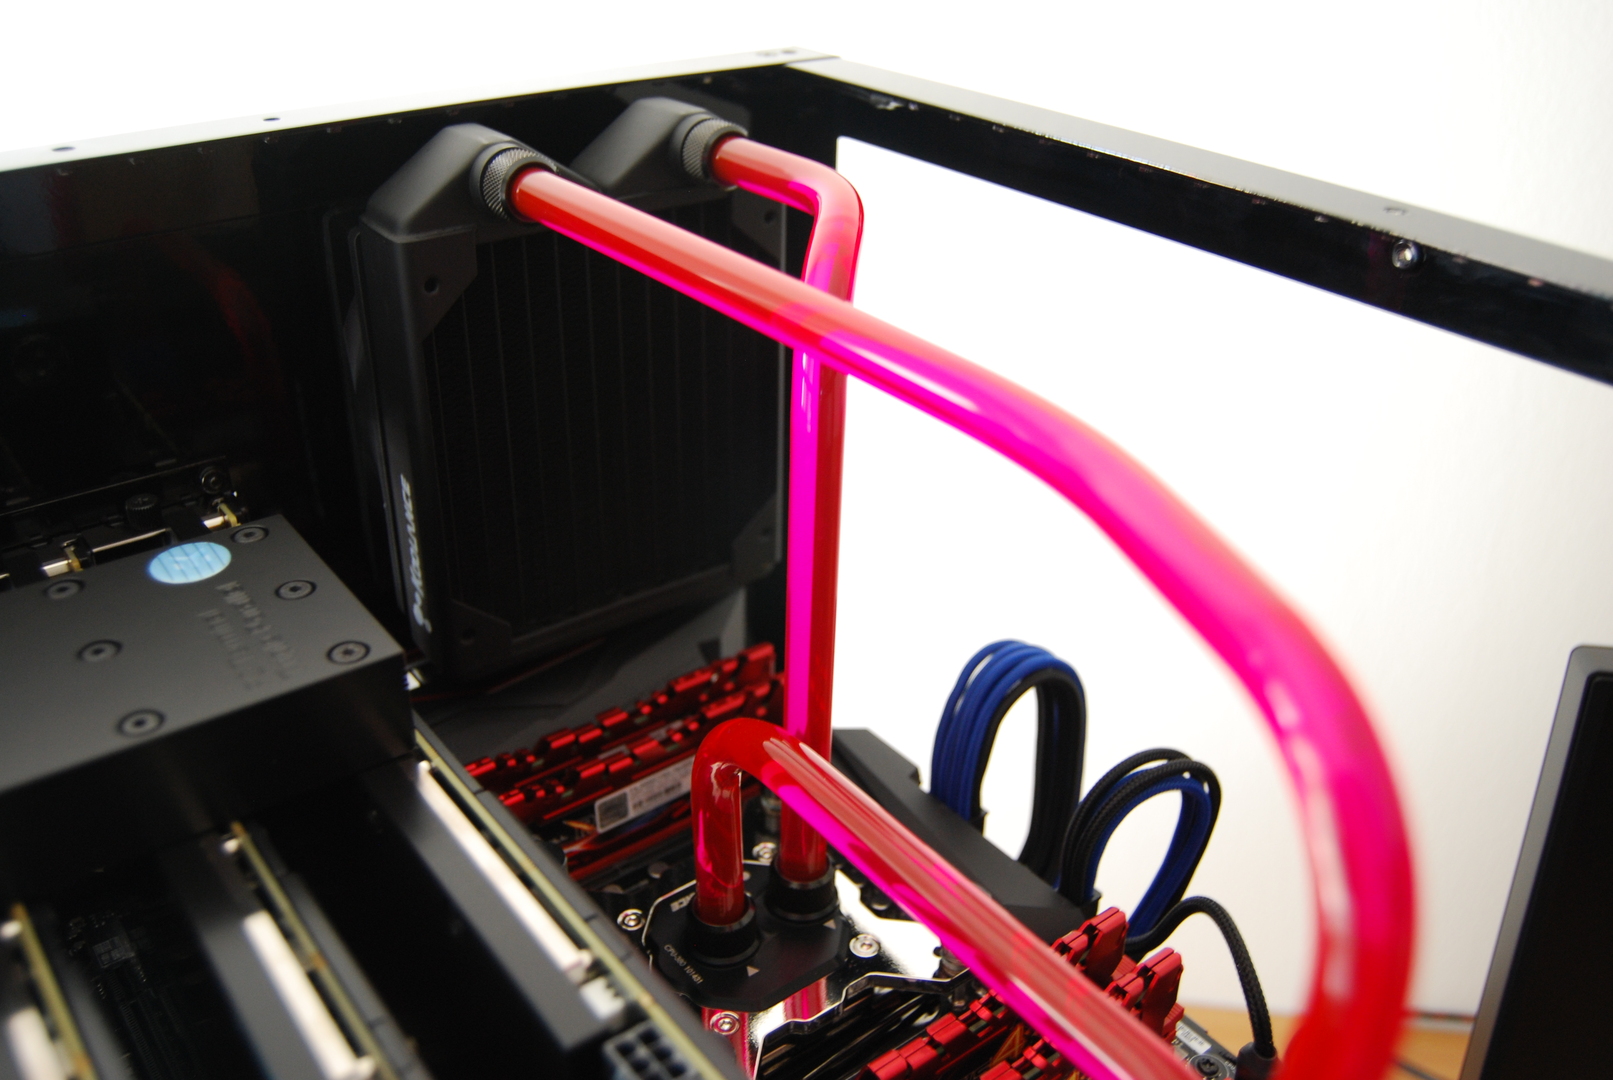
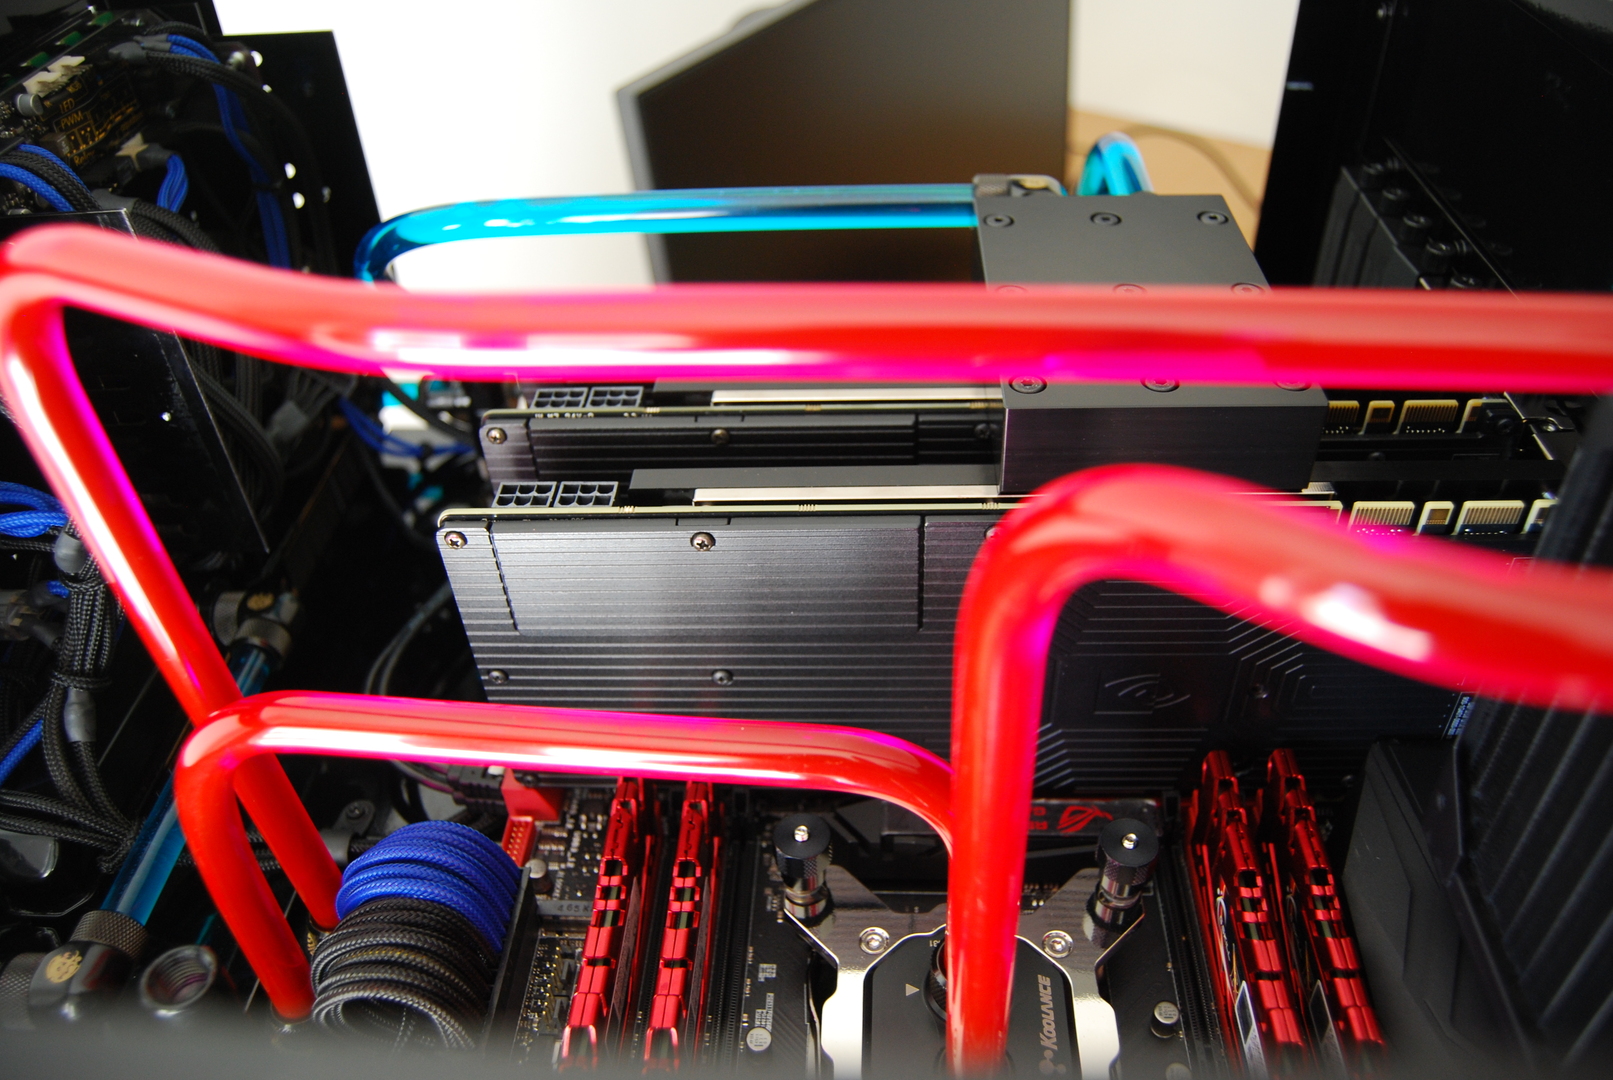
Installation of the rigid tubes:
!
!
!
!
That's all for now, I will keep updating as I go XD.
Regards.
-
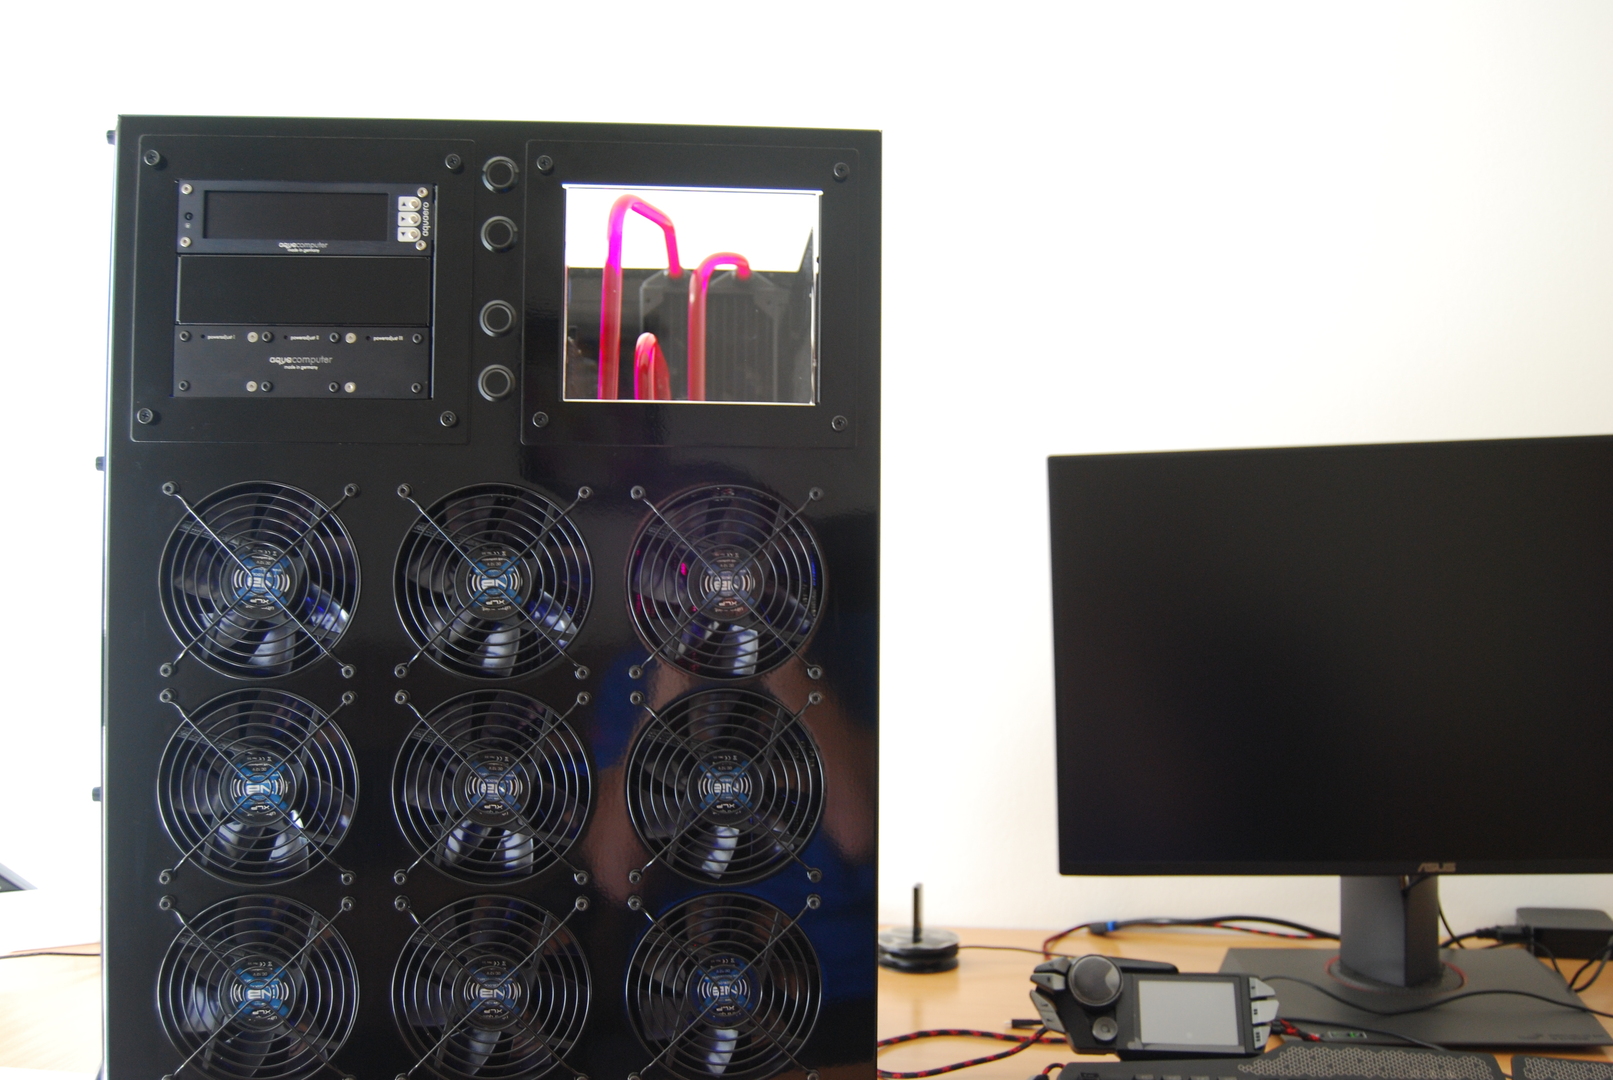
I'm going to show you a small update from these last few days.
I've created a methacrylate cover to replace the bay covers. When I made the project I thought I would fill it with power adjusters and floppy drives, but I haven't needed so many PA2s and the floppy drives are still without use for now.
!
As I told you in a previous post, I wanted to make a frame for the Aquaero6, that would serve as a cover so I couldn't see the inside and at the same time would cool that area.
!
!
!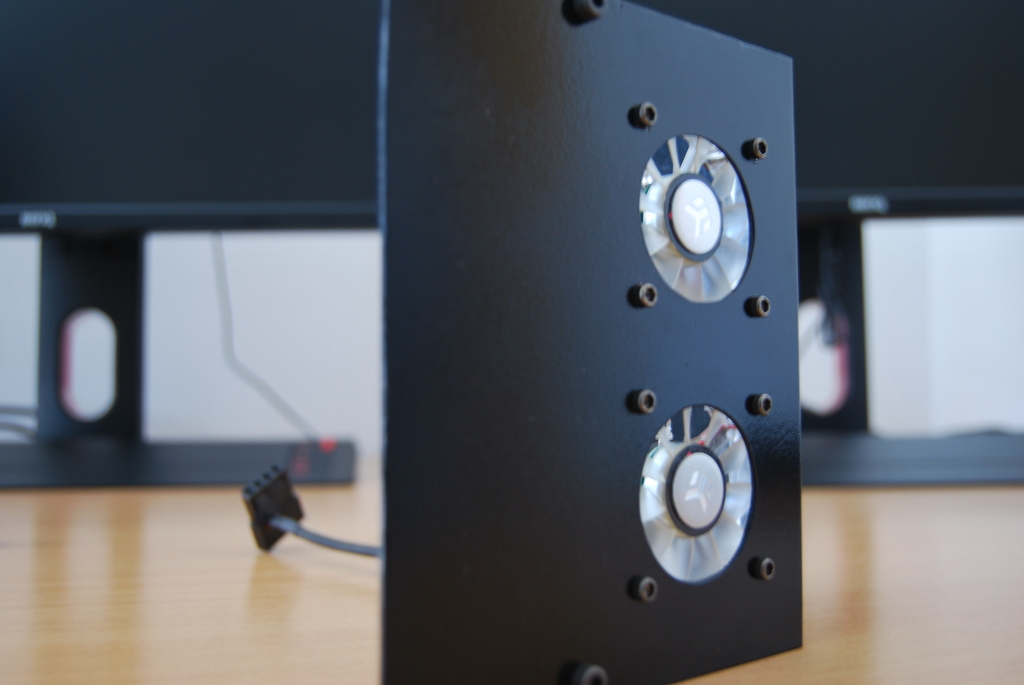
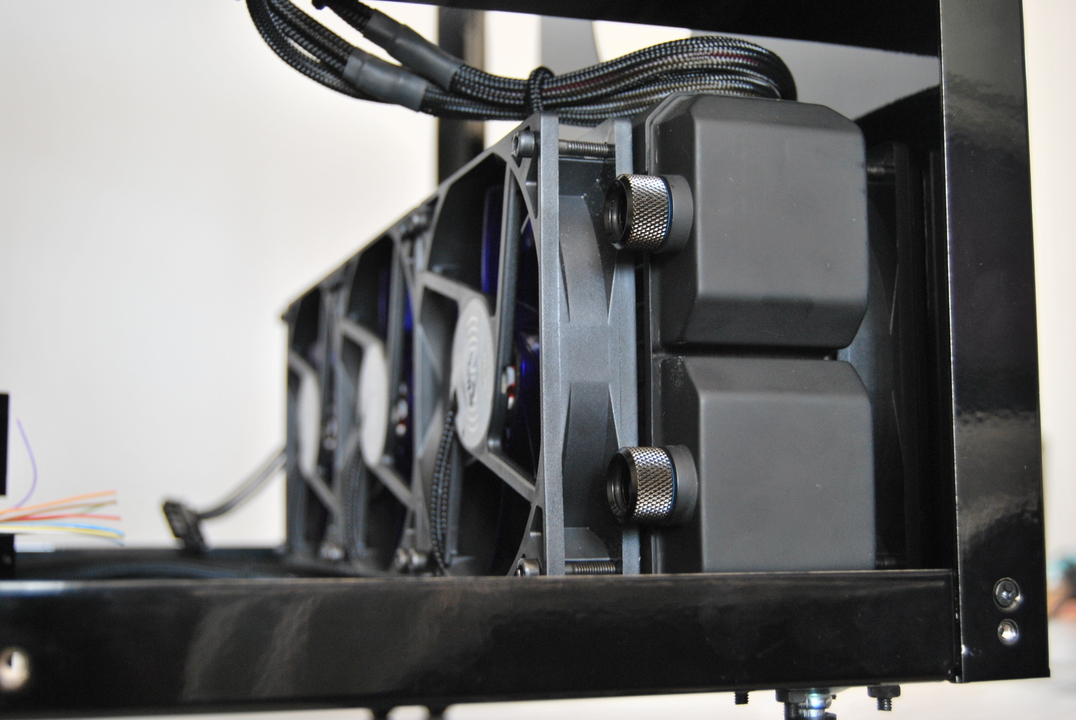
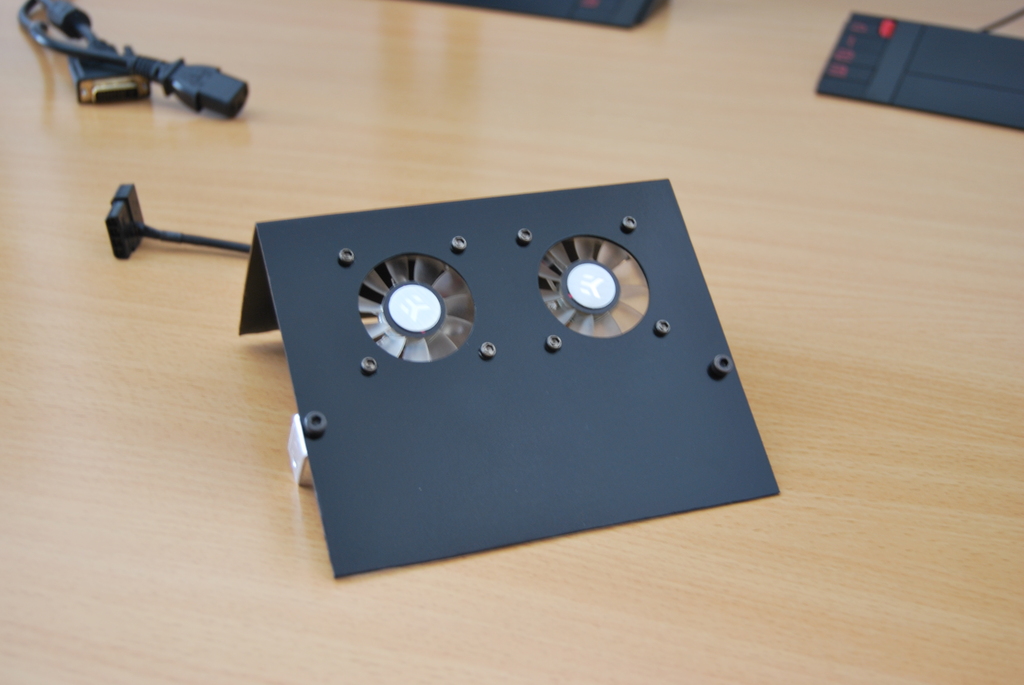
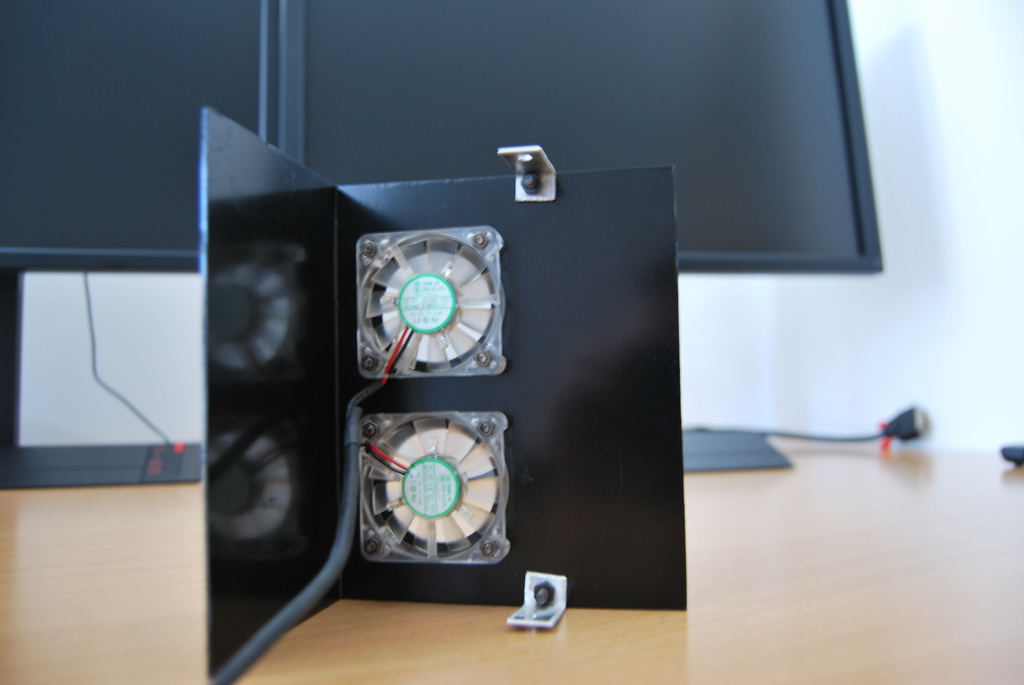
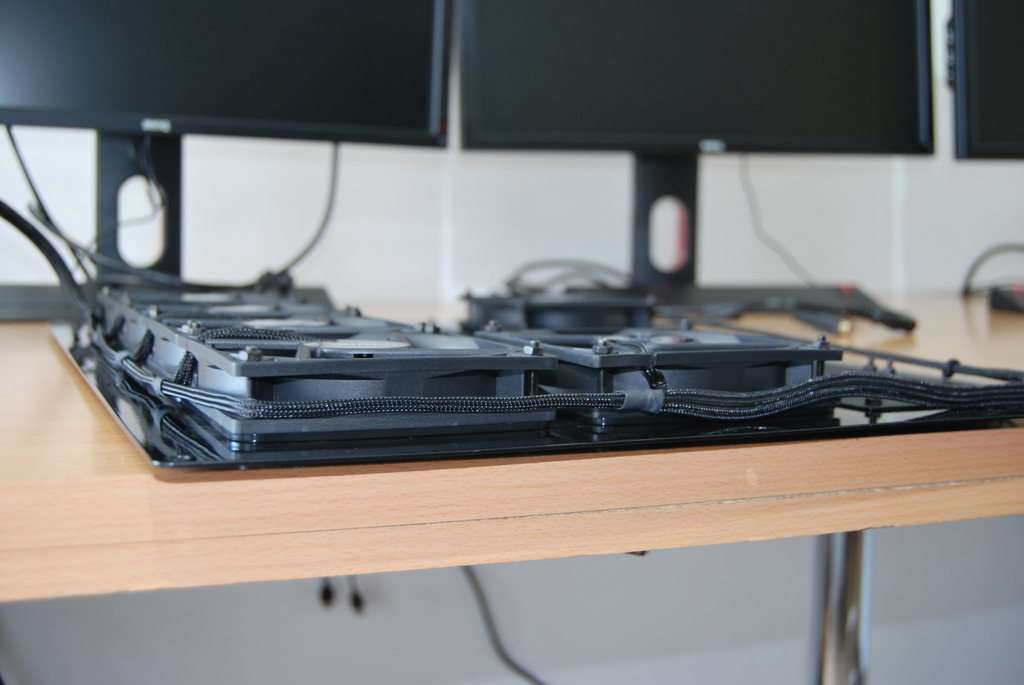
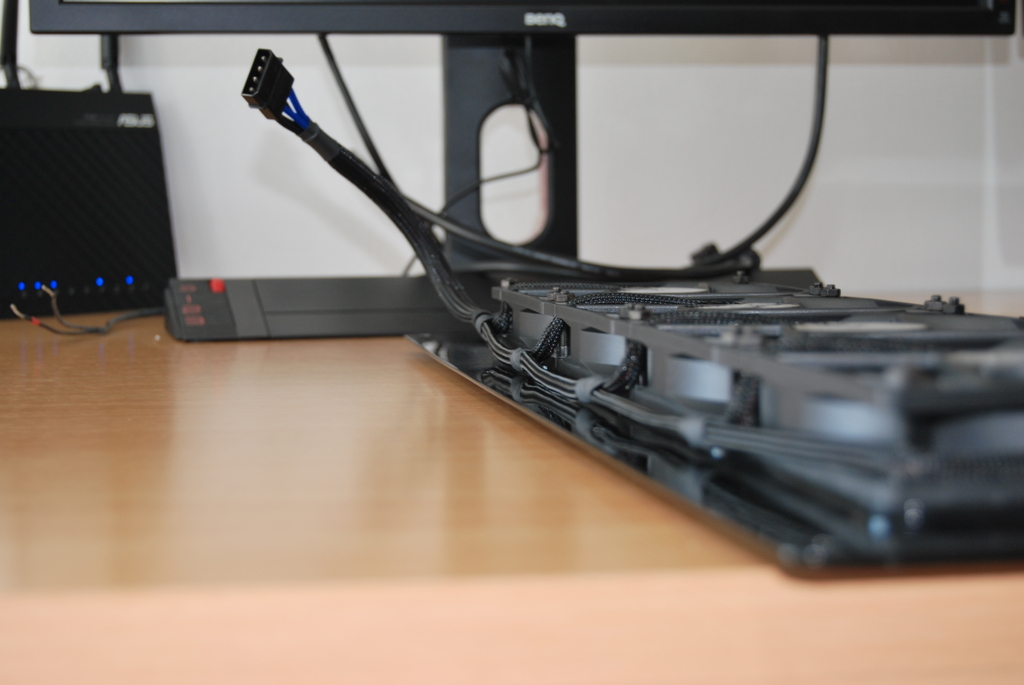
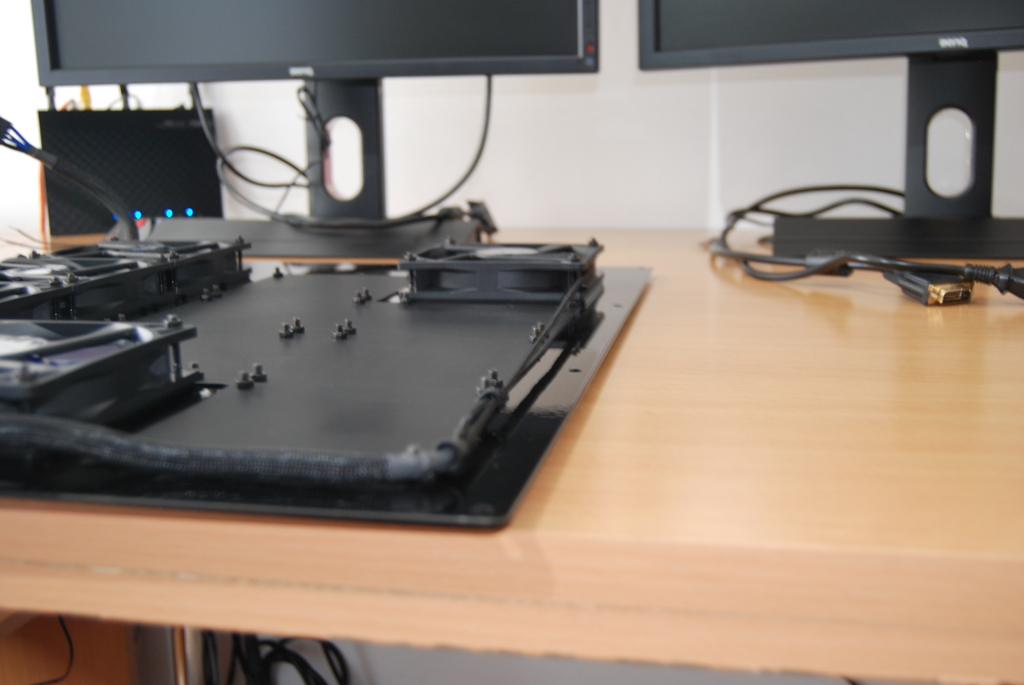
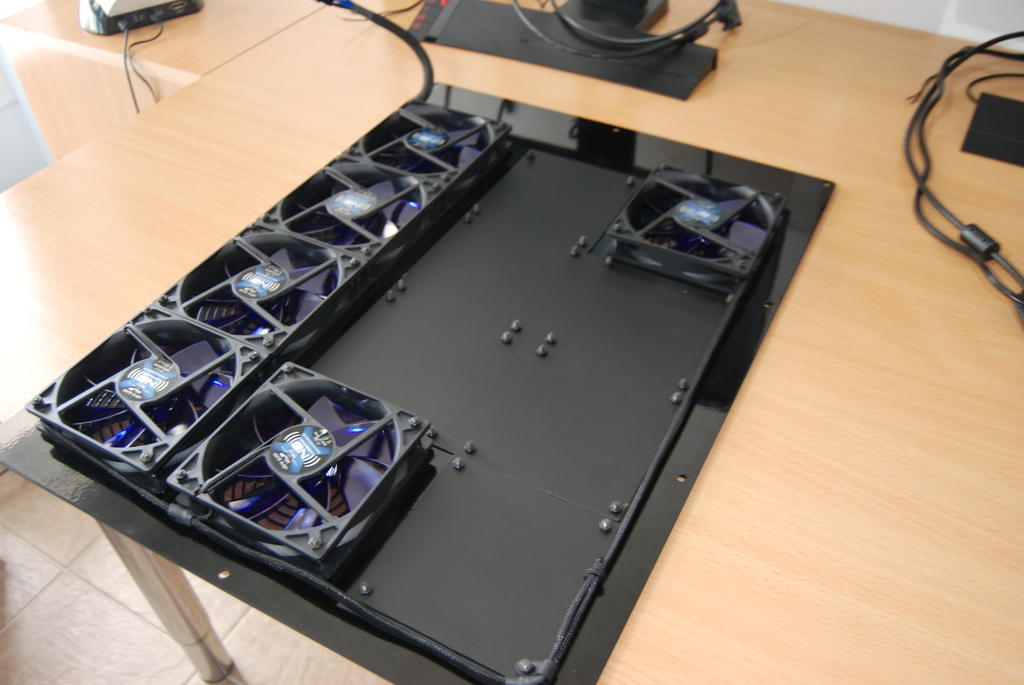
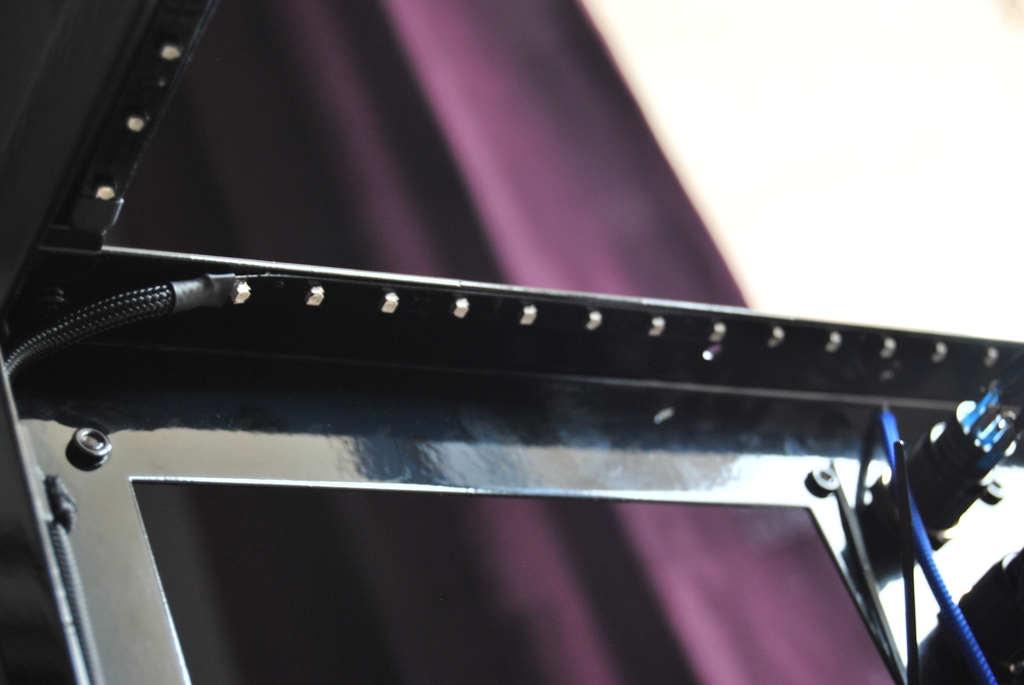
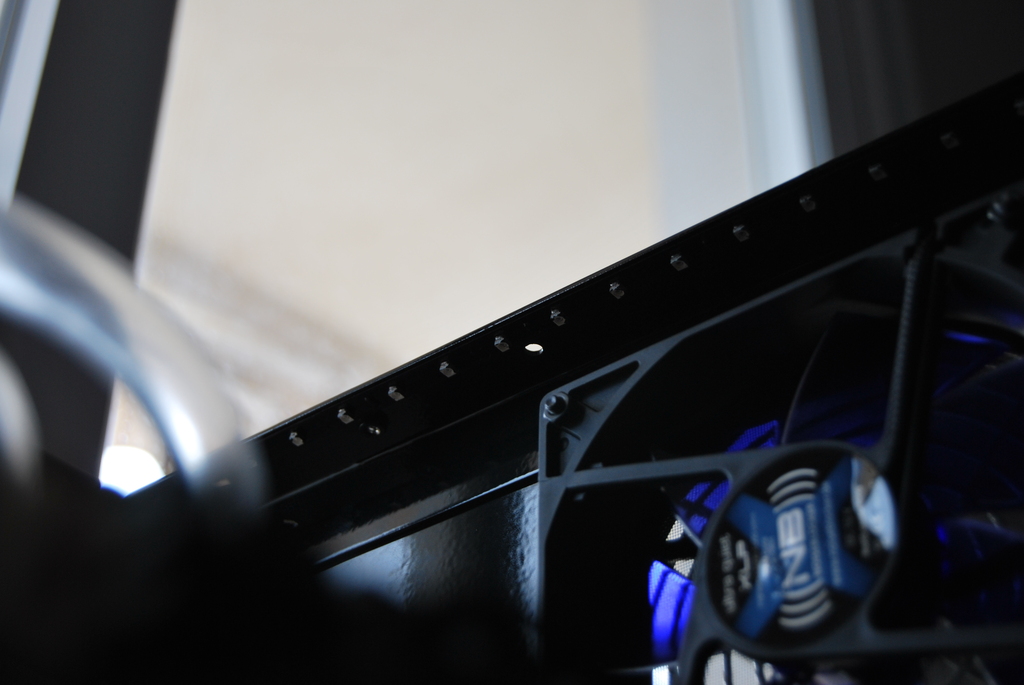
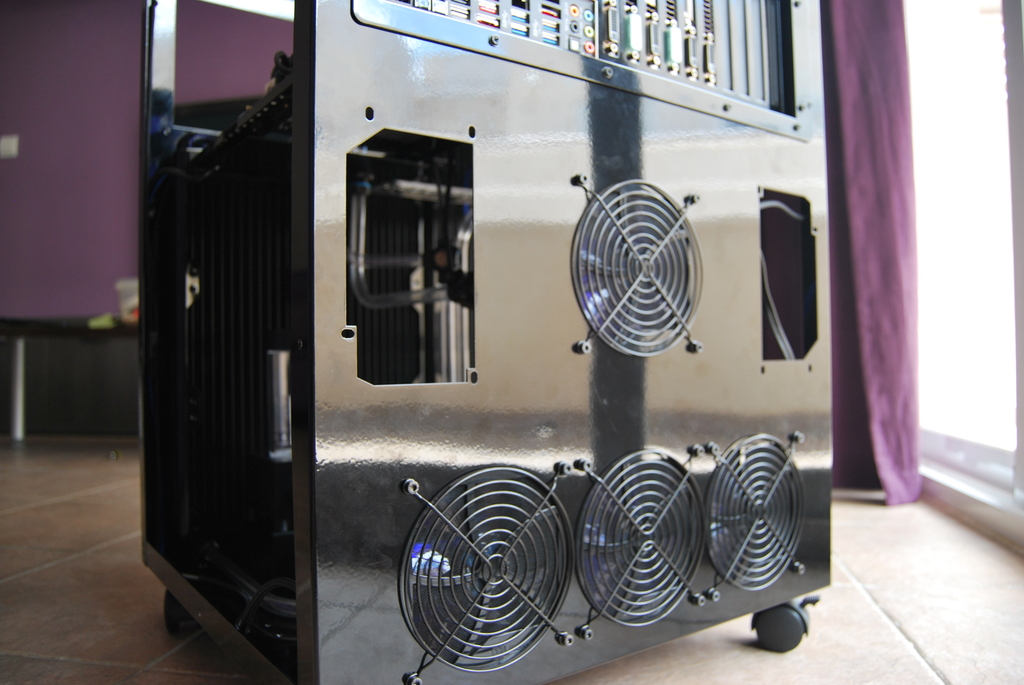
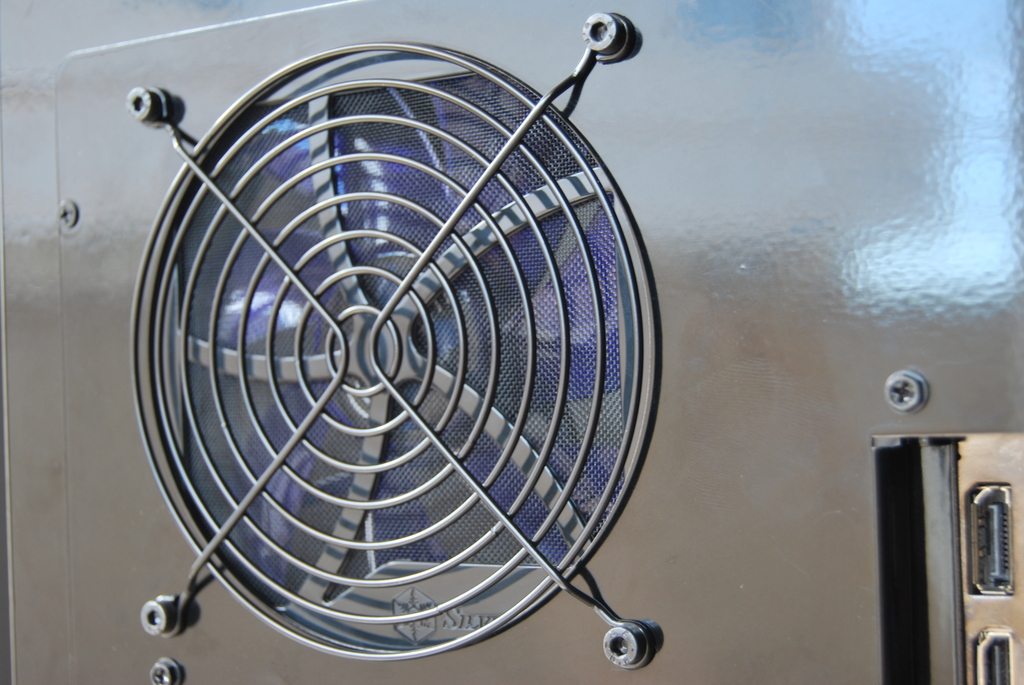
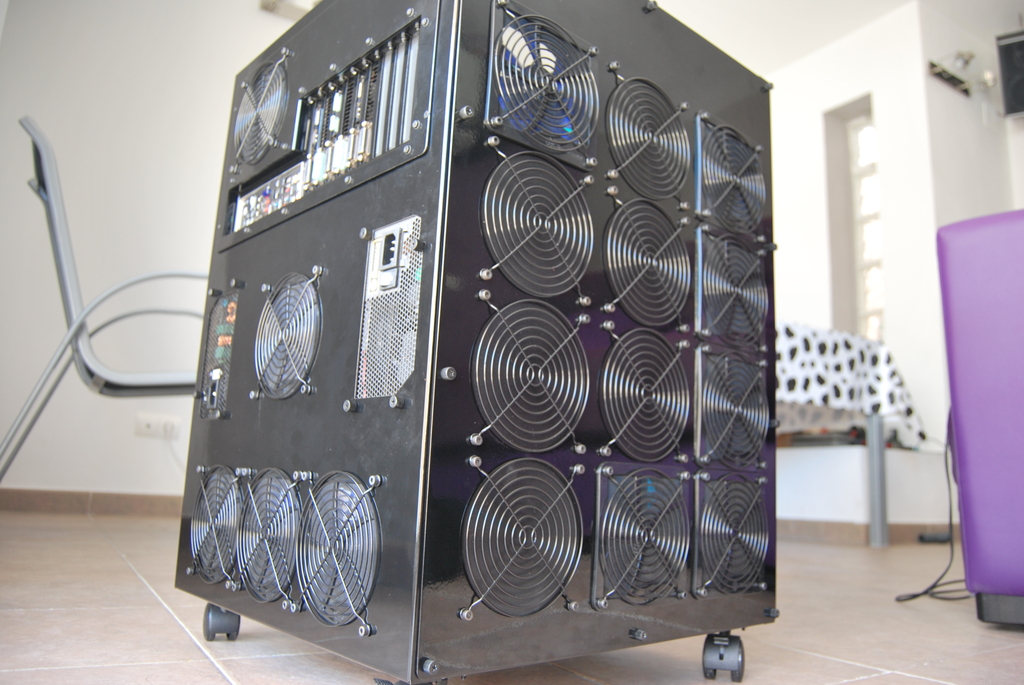
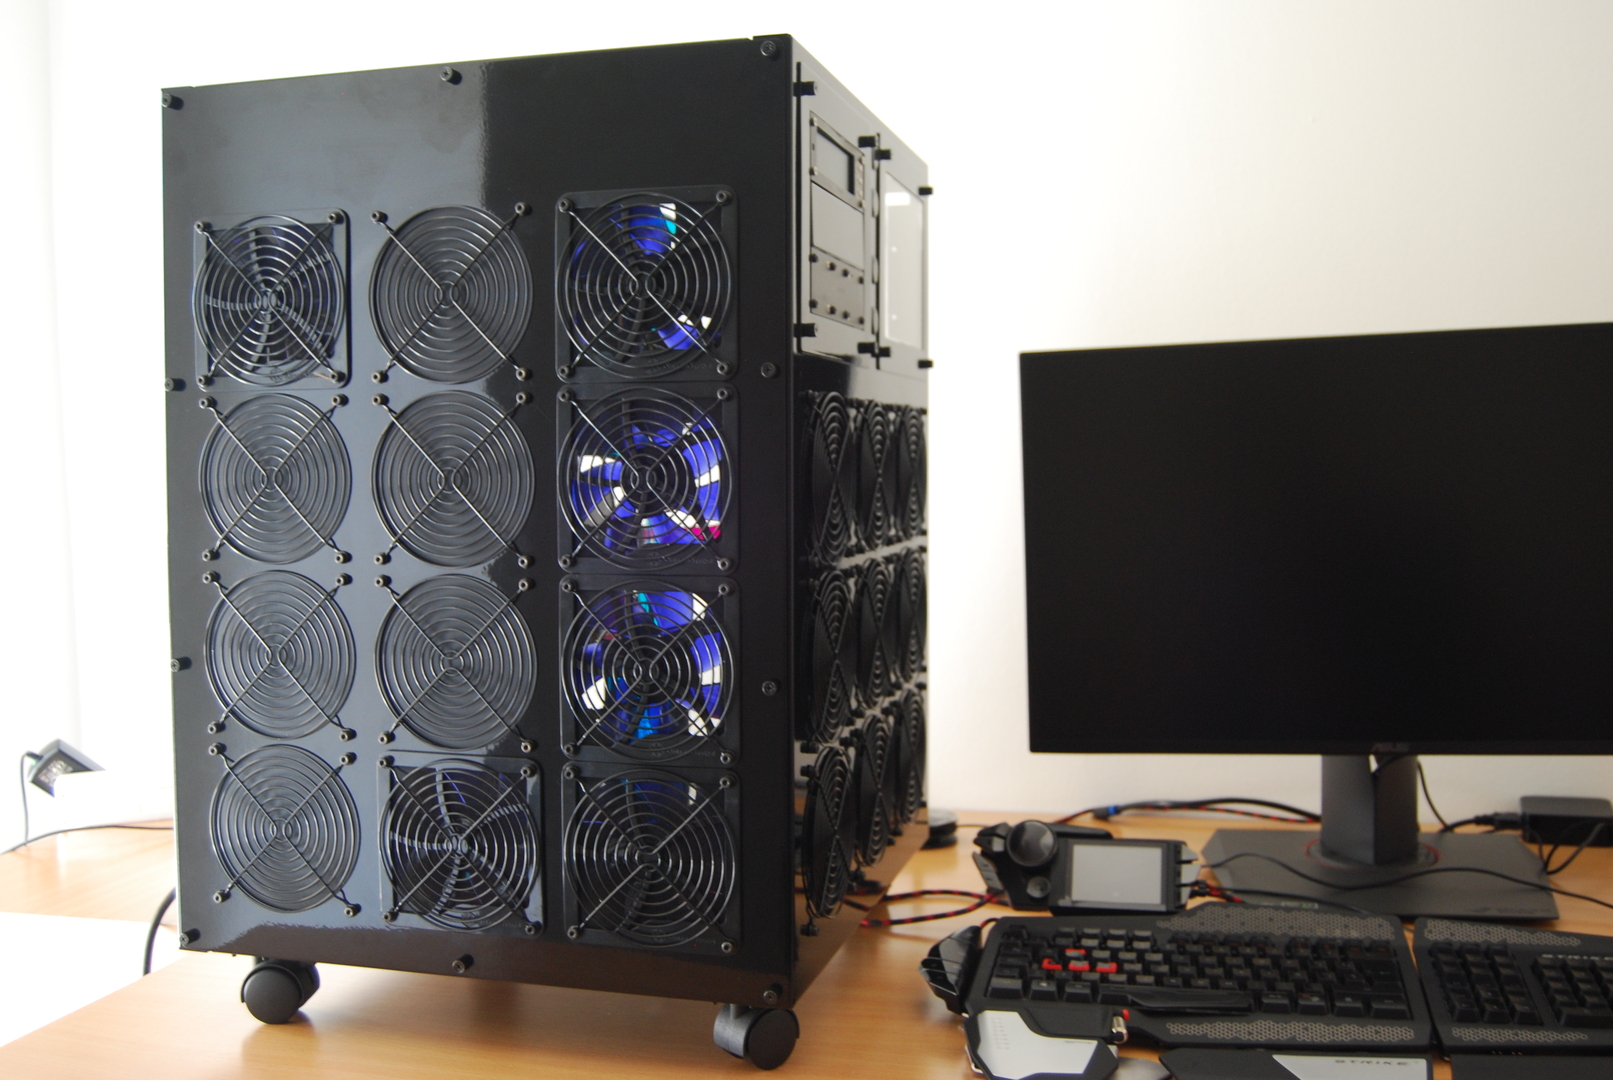
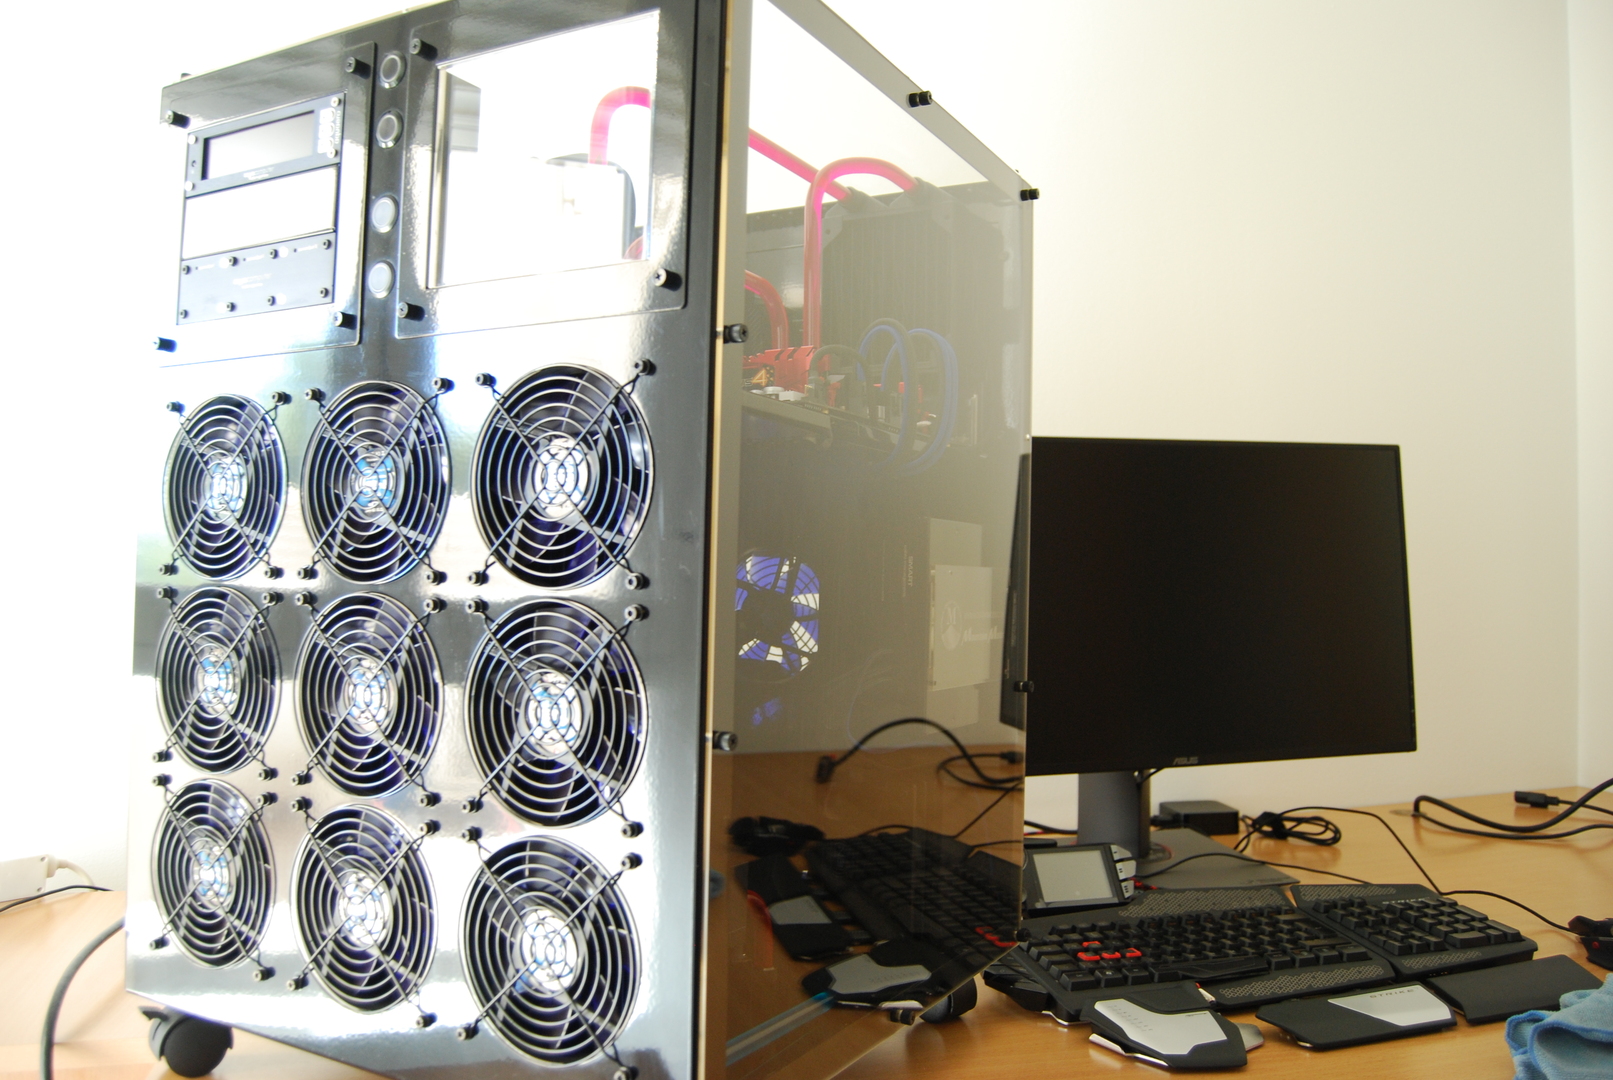
Side cover: As you can see, I haven't used all the holes with their corresponding fans, because everything fits very well and they wouldn't all fit. One of the reasons is the GPU hoses that prevent me from putting all the fans. I could have taken and passed the hose somewhere else, but there are many cables and to see them all well organized, I preferred it this way.
!
!
!
!
!
!LED lighting: I haven't been able to take some photos to show you how I placed the blue LEDs on the front fans, but I must tell you that I've tried it and it looks amazing XD, or I'll show it working. I've also painted all the LED strips to disguise it a little, because white looks terrible in this case.
!
!
!
!
-
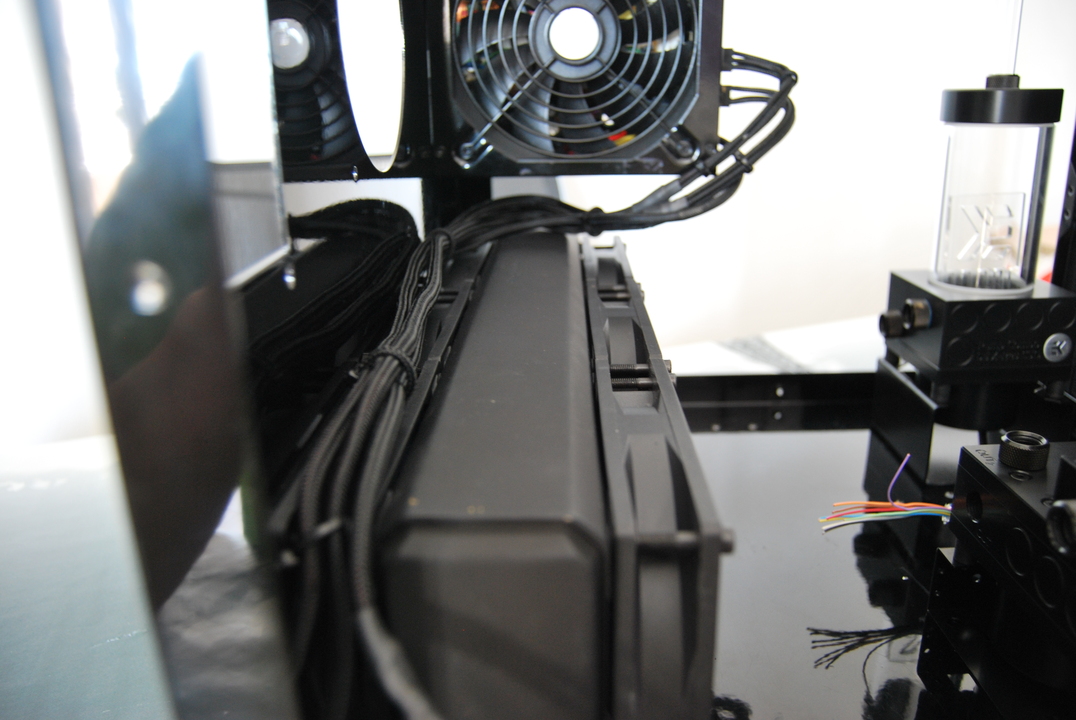
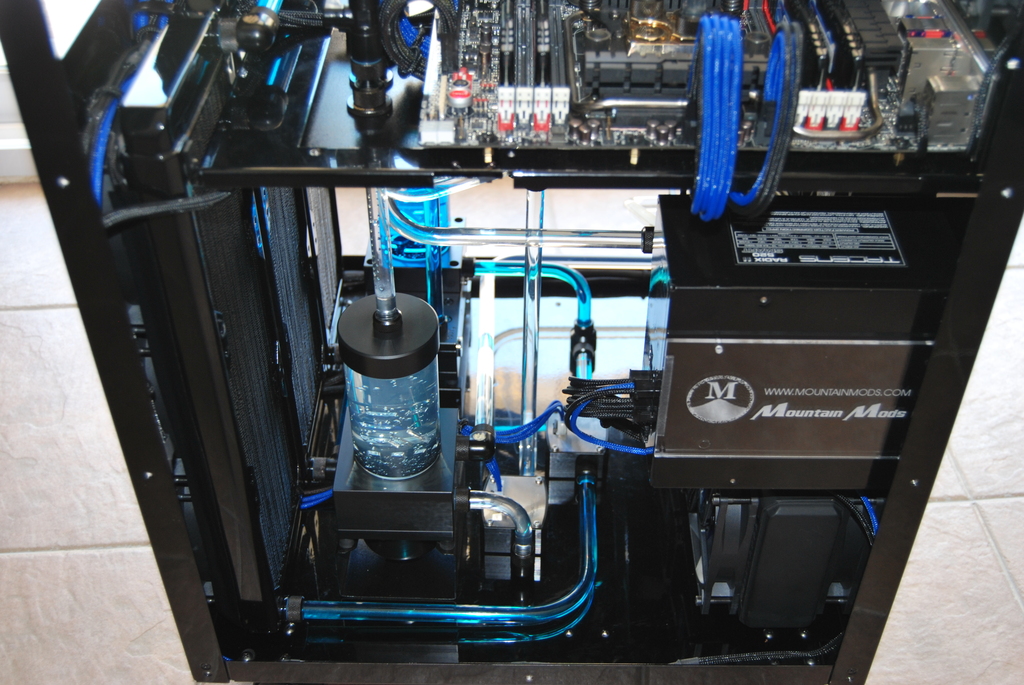
A visualization inside the Mountain at the bottom:
!
!
!
!
!
!
!
!
!
!
!
!
!
!
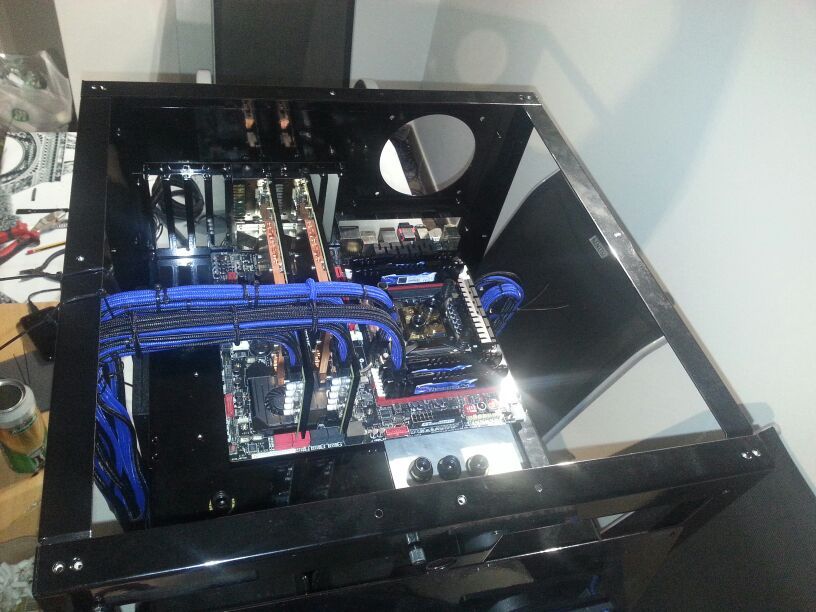
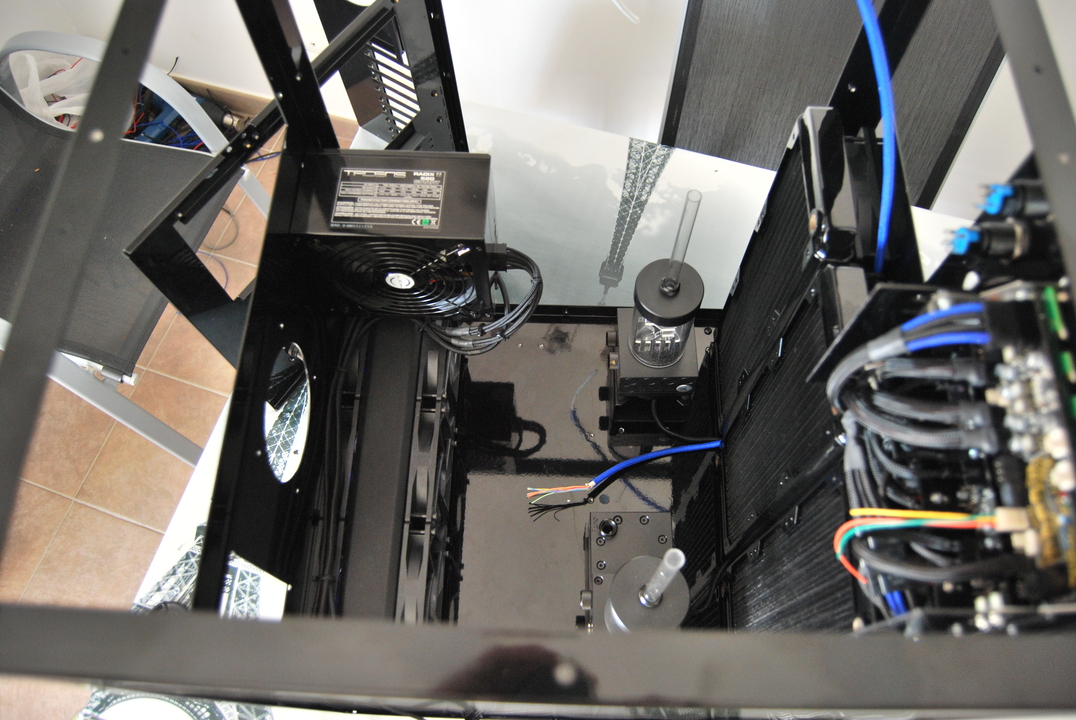
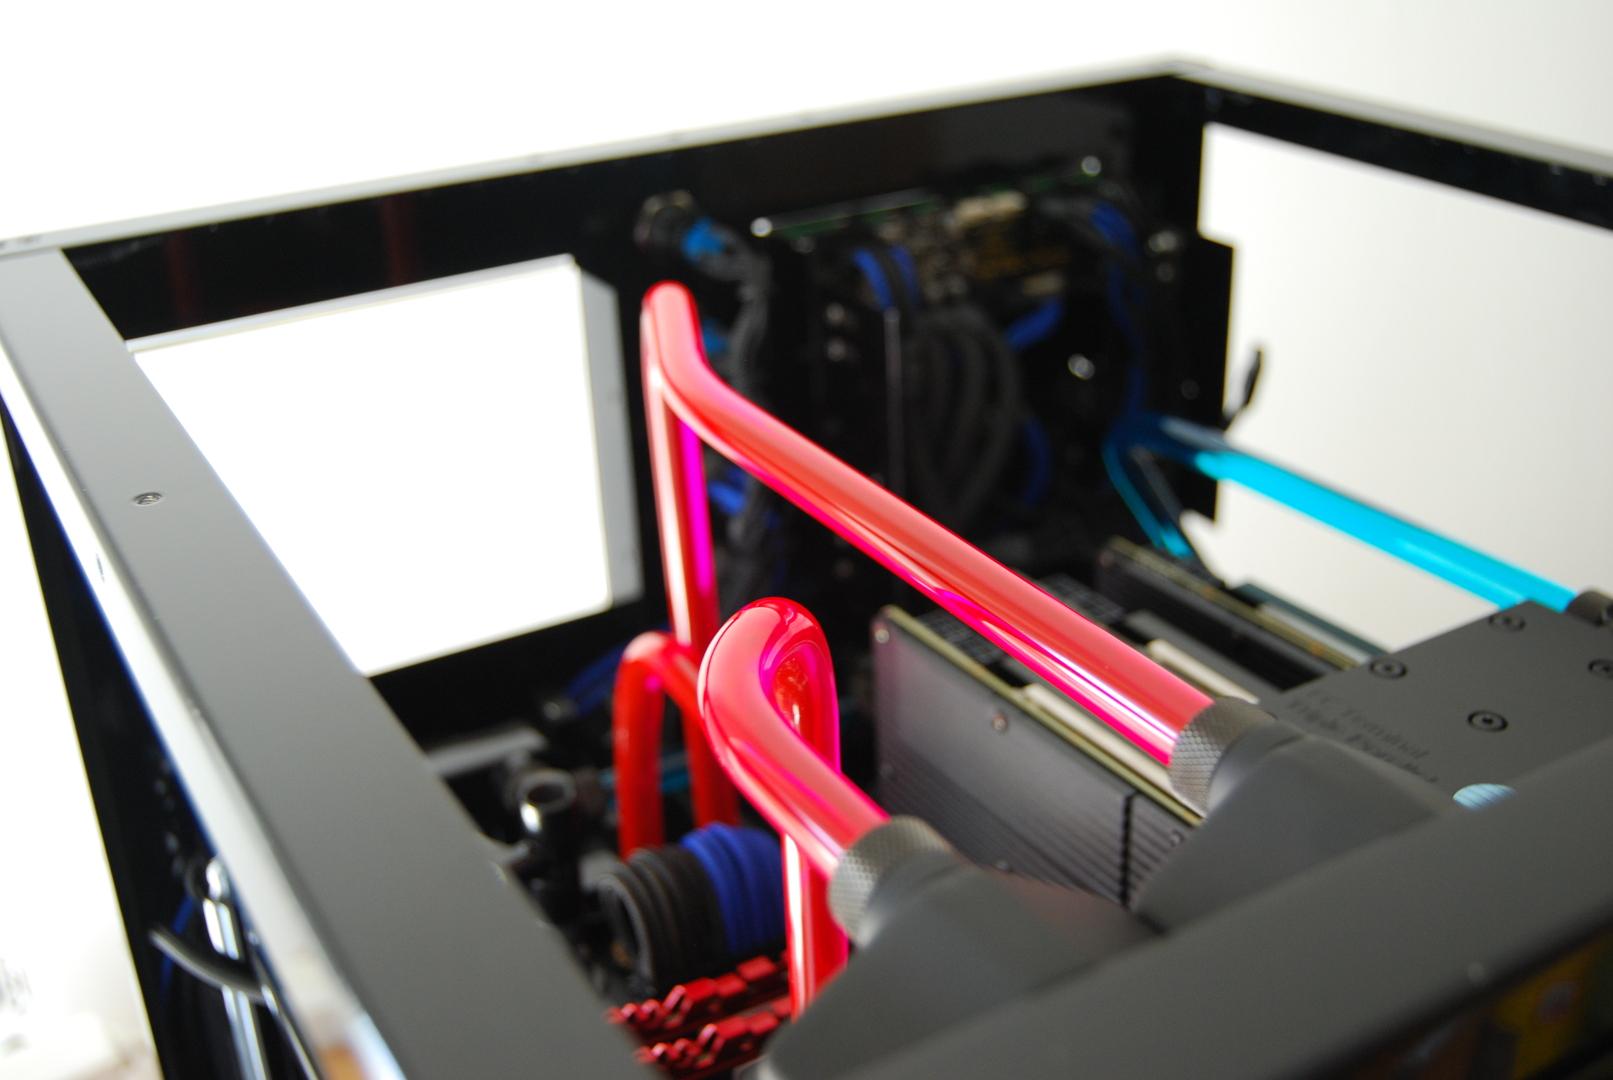
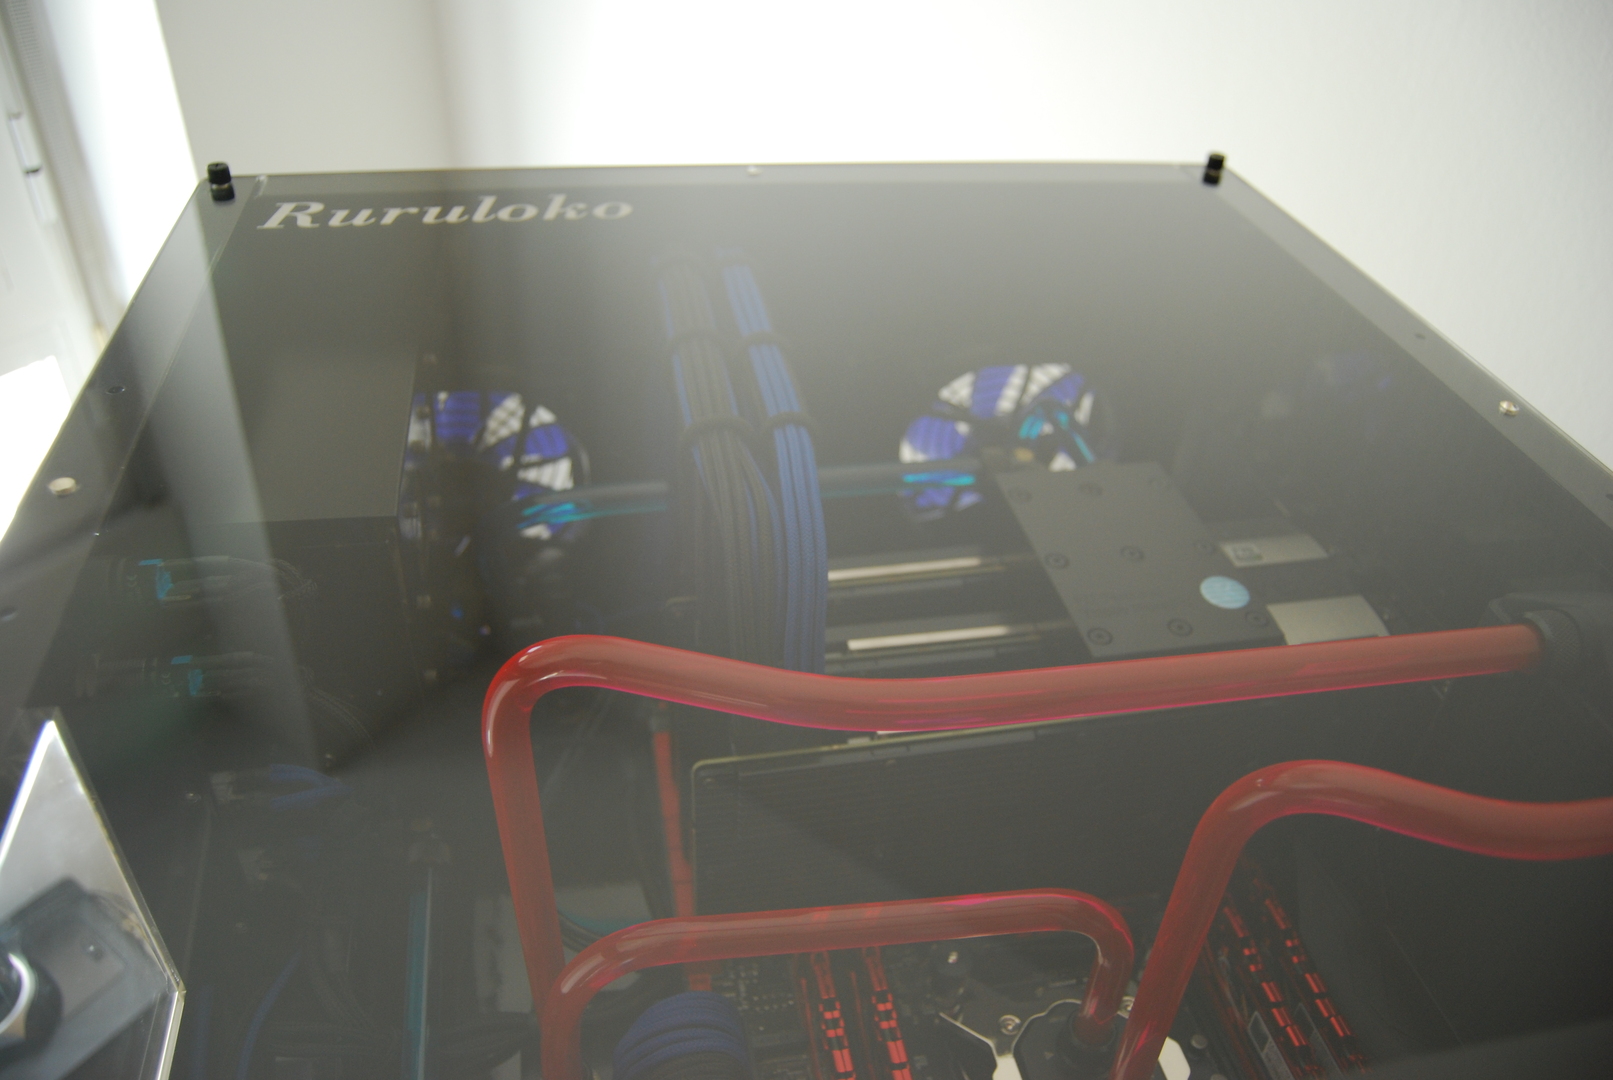
Another visualization from above:
!
!
!
!
!
!
!
!
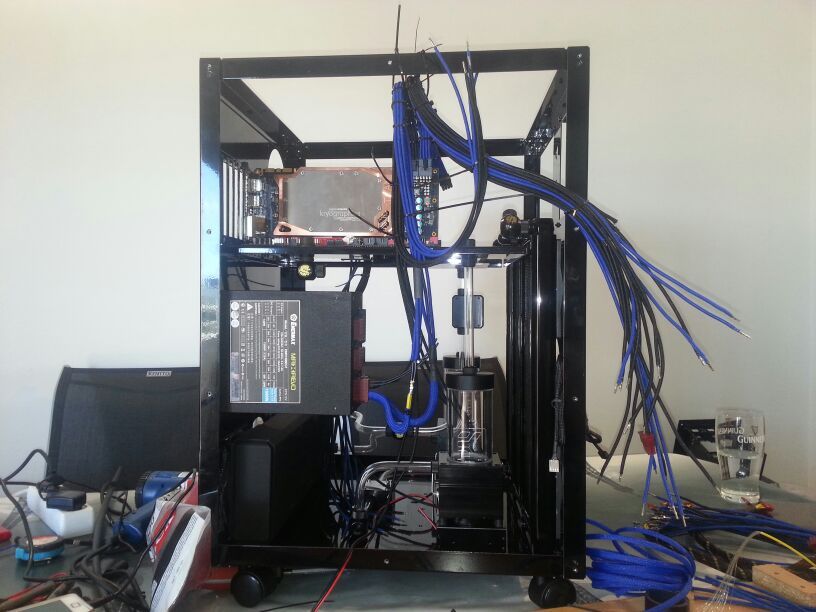
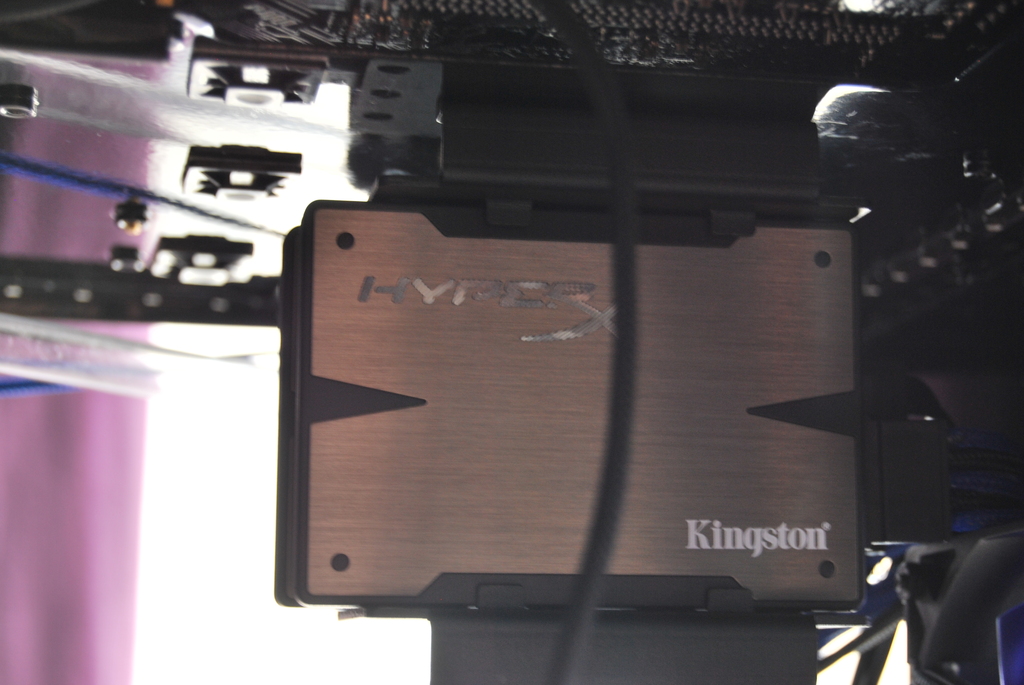
I've placed the SSDs under the motherboard in the middle of the power supplies. I had to buy some SATA cables because the ones I have are too short. The idea was to make them myself, in fact, I even have the final connectors to do so, but I don't trust them and prefer to buy them ready-made. This will be the only original cable that the Mountain will have XD.
!
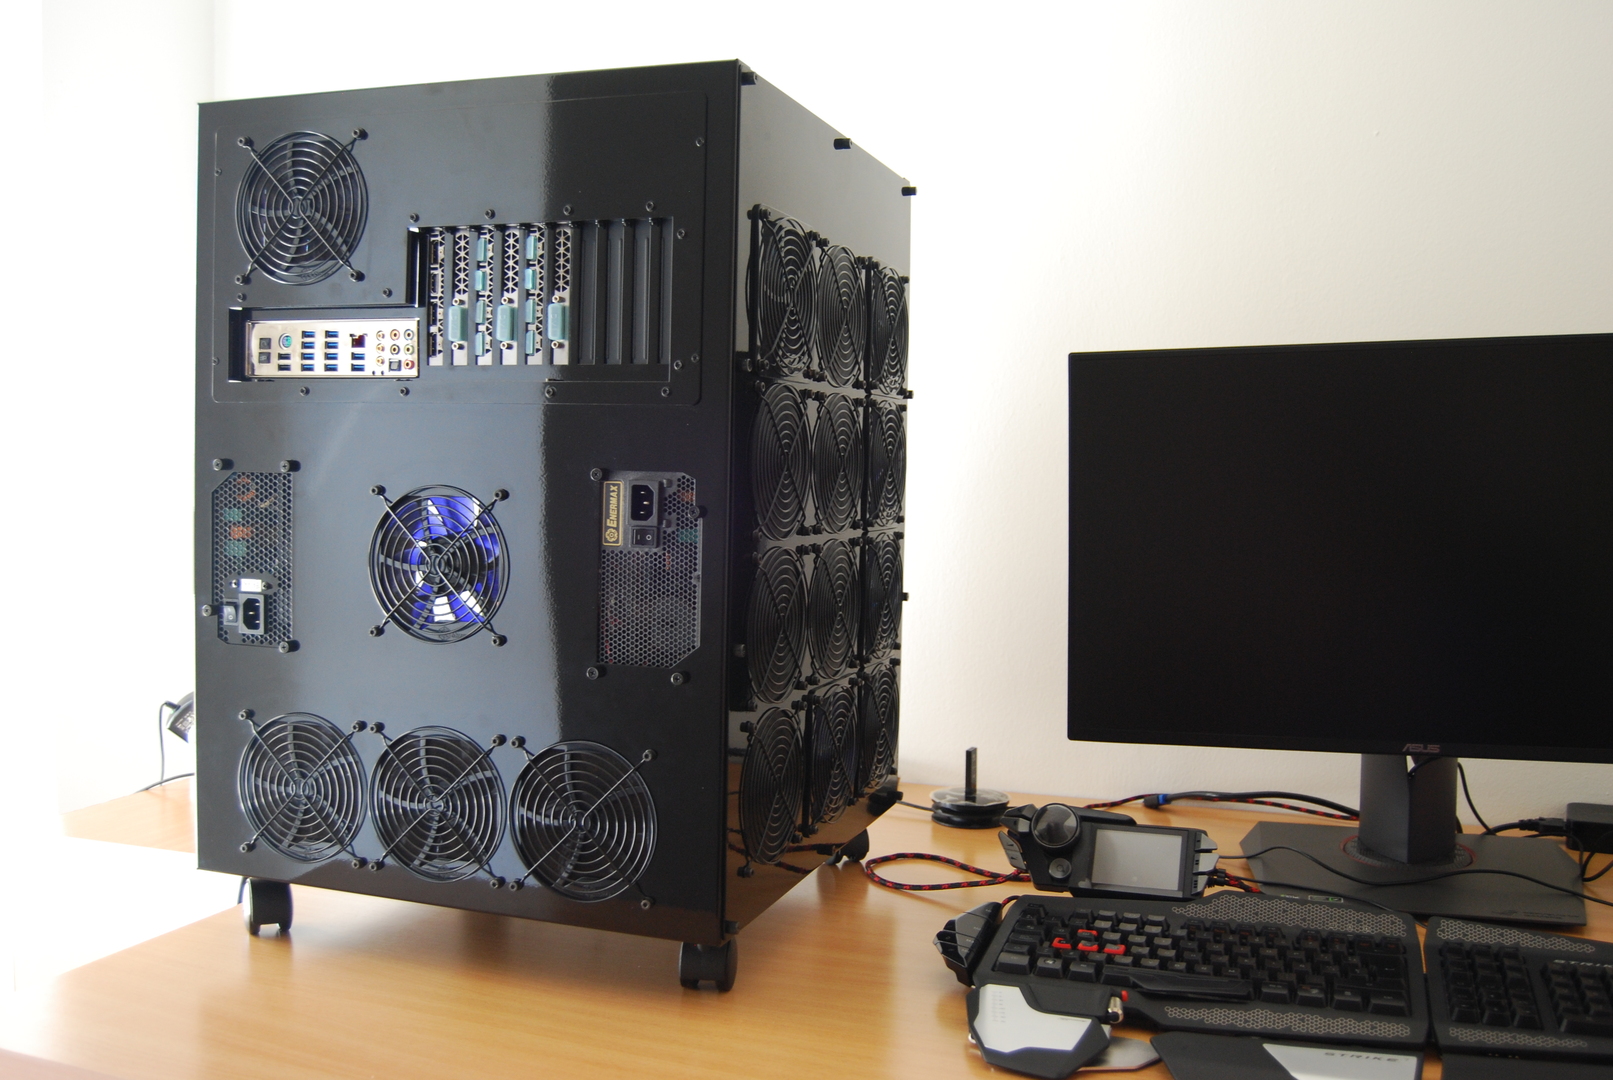
Finally, the back of the Mountain:
!
!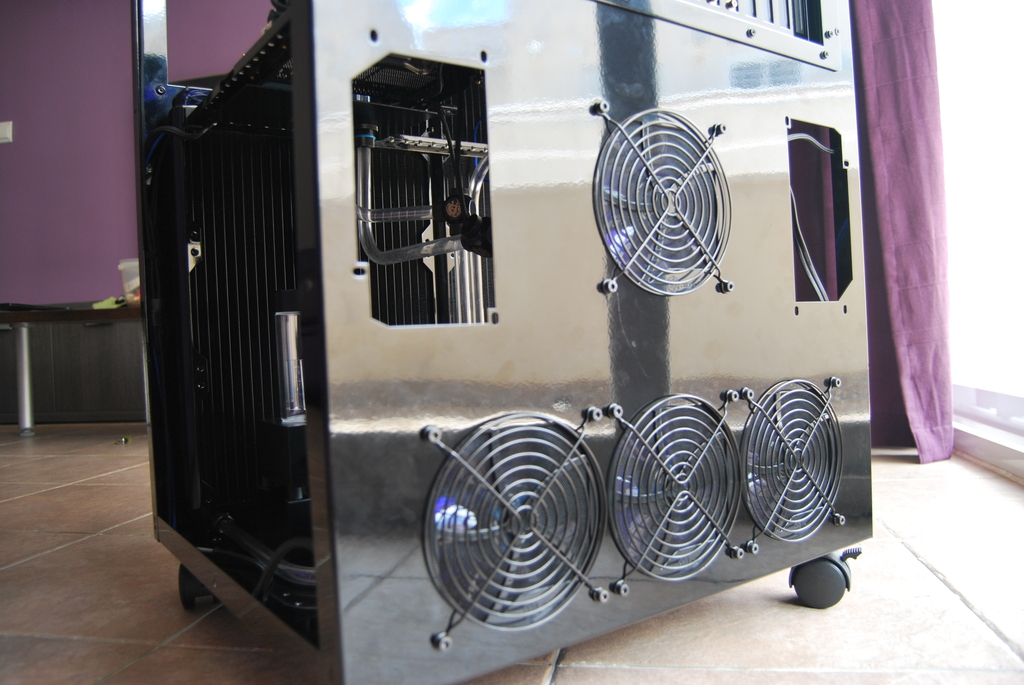
!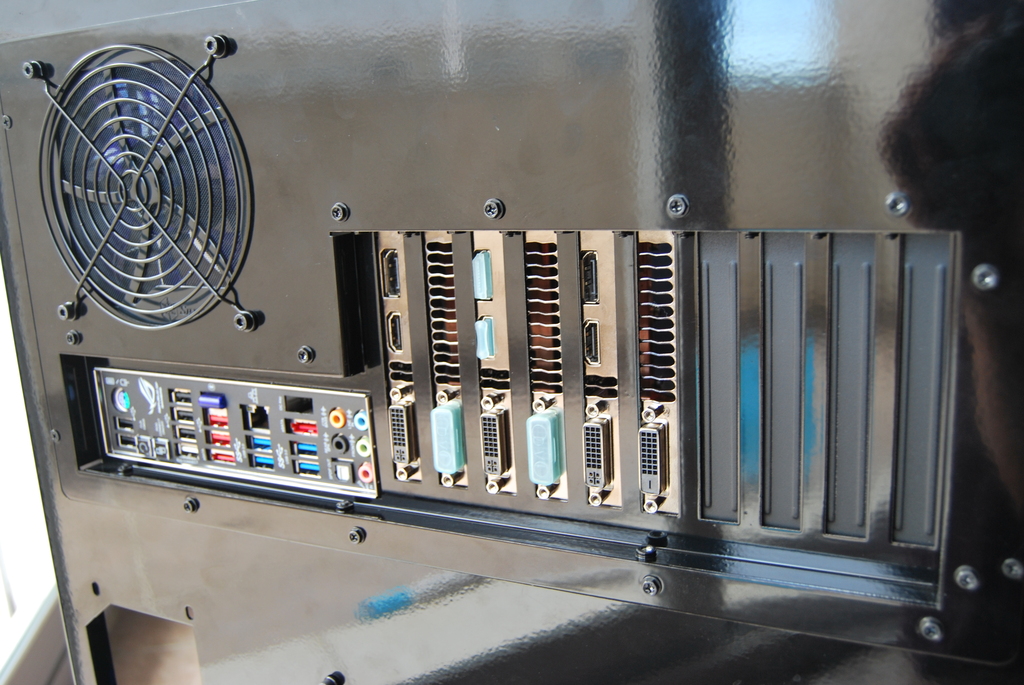
!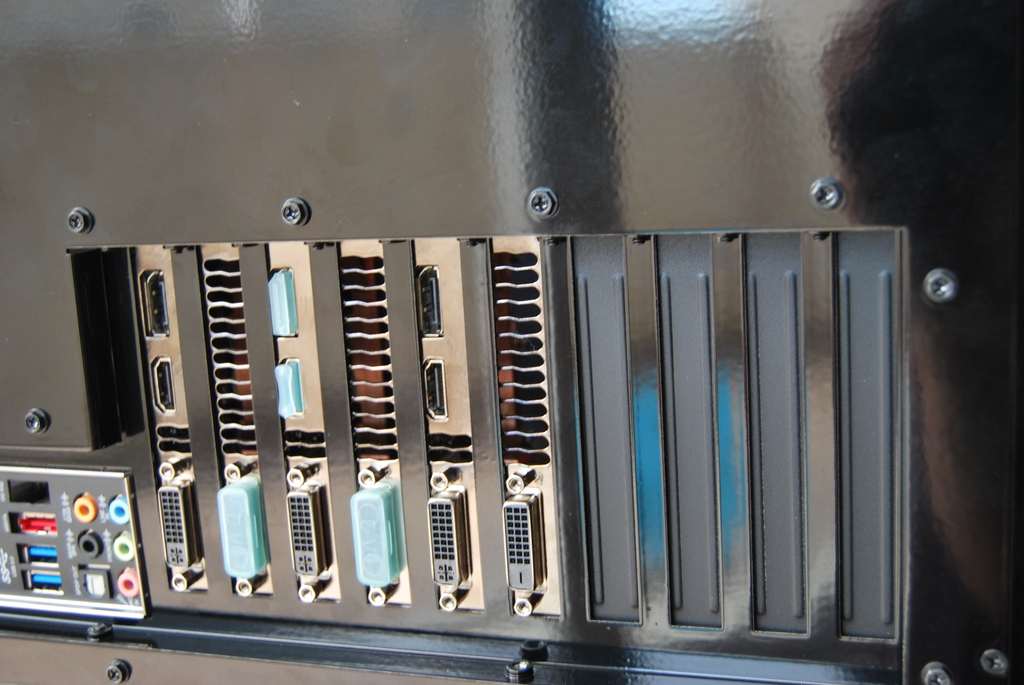
!
I will organize everything on the main page when it's ready; if not, I hope to finish it by next week, or at least get it working, as there will always be some minor touch-up.
I hope you like it
")
Best regards.
-
Simply SPOOK RURU…..................!!!
What a great job, a lot of hours of work just to place all that material mentally in the Mountain....:ugly:
The Work is Exquisite, the font just for the rl, modified, has left me K.O., I think it's the first time I see one like this.............:dead::dead:
I love it when I see equipment with rigid tube, I think it will be my pending subject......
Congratulations indeed, to assemble that equipment, with that level of detail is a job that few people can imagine..............:sisi::sisi:
I can't wait to see the final result..............!!!
I repeat myself, CONGRATULATIONS for that great job man, it's looking awesome........!!
A Hug....
-
This post is being processed/translated. The original version will be shown:
Heyyy Jotole.
Como bien sabes llevo muchas oras en este proyecto, lo que mas tiempo se ha llevado asido hacer todos cables. Mas de una manguera la he tenido que hacer no por una ni dos veces si no mas…. para que se quedara lo mejor posible.
Sobre las fuentes yo tampoco lo he visto por ningún sitio eso es cortesía de Ruruloko jajaja. En la Nox Project lo tenía así, pero no también organizado como este.Para el próximo Mod que hagas quiero verte con el tubo rígido, ya ves lo espectacular que queda. Hay proyectos de gente espectaculares con este sistema de tubo. Yo creo que en la Corsair 900D que tienes se quedaría de escándalo, fue una de las torres que tenía en mente aparte de la Mountain.
Por fin esta funcionando el pequeñín XD.
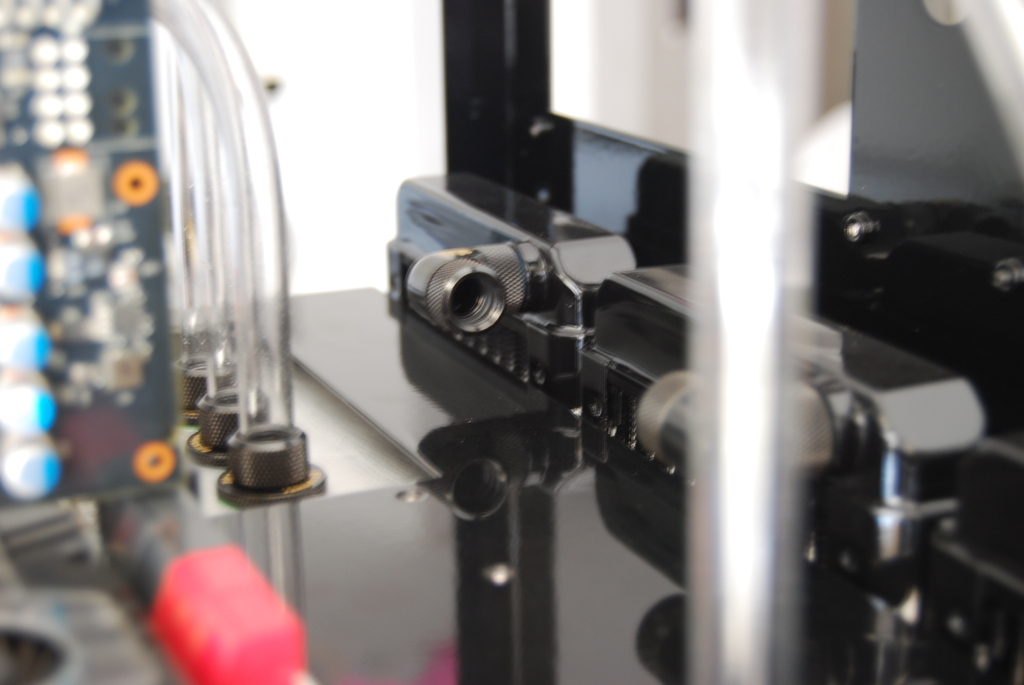
Me lleve un pequeño susto durante el montaje debido a un codo giratorio de Bitspower, el cual venia defectuoso y justo encima de la PCB. La junta que trae interna para hacer el giro loco venía defectuosa, lo mas gracioso que lo tuve funcionando durante oras y no perdió. Cuando me dispongo hacer funcionar todo el hardware, me salio el código de la muerte 00, vaya susto que me lleve..... pero no paso nada, lose que bien y a funcionar XD.
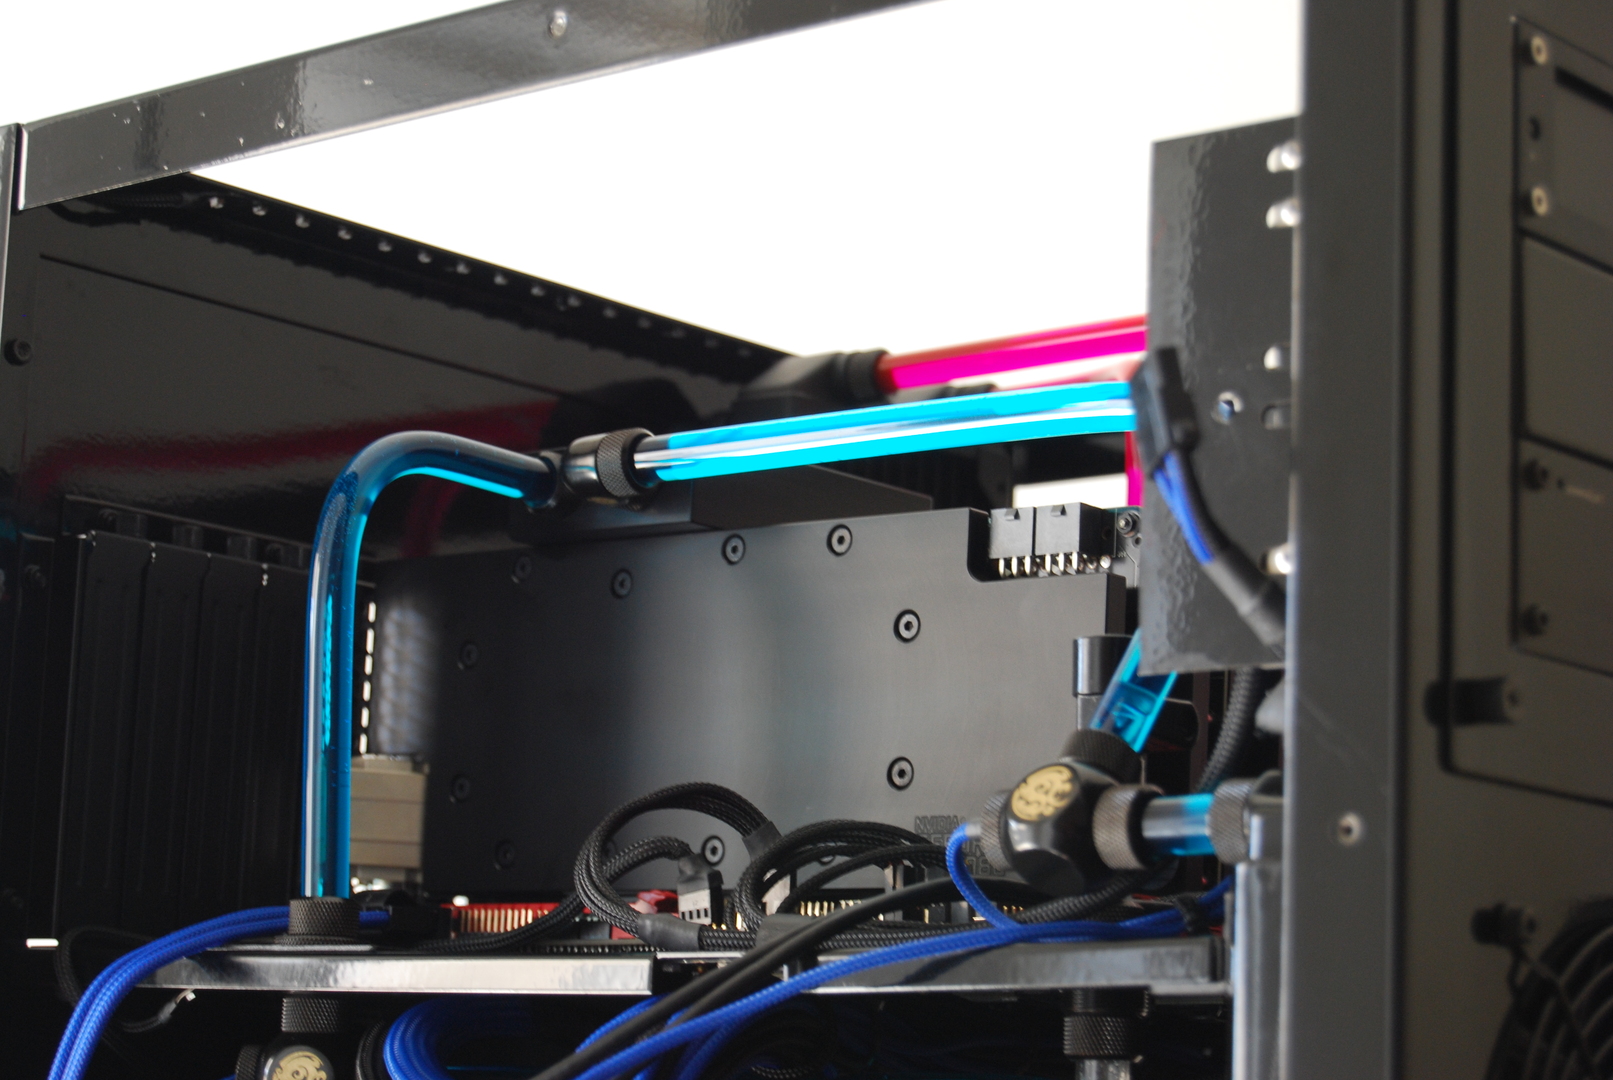
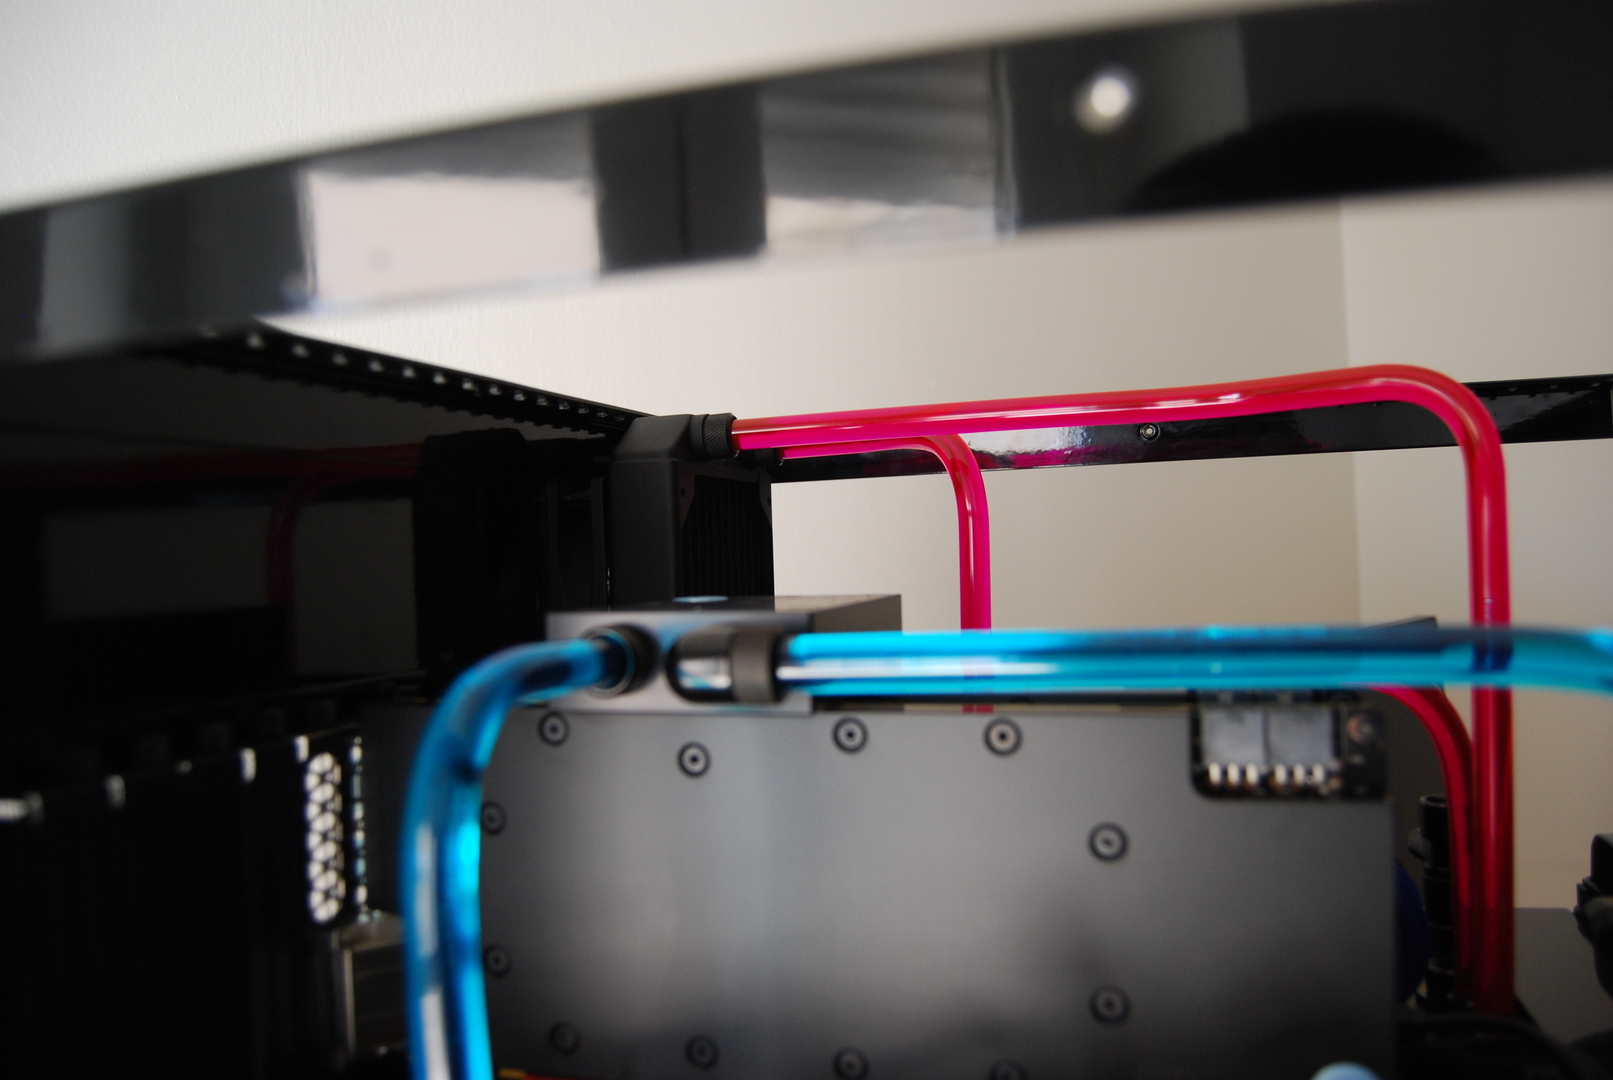
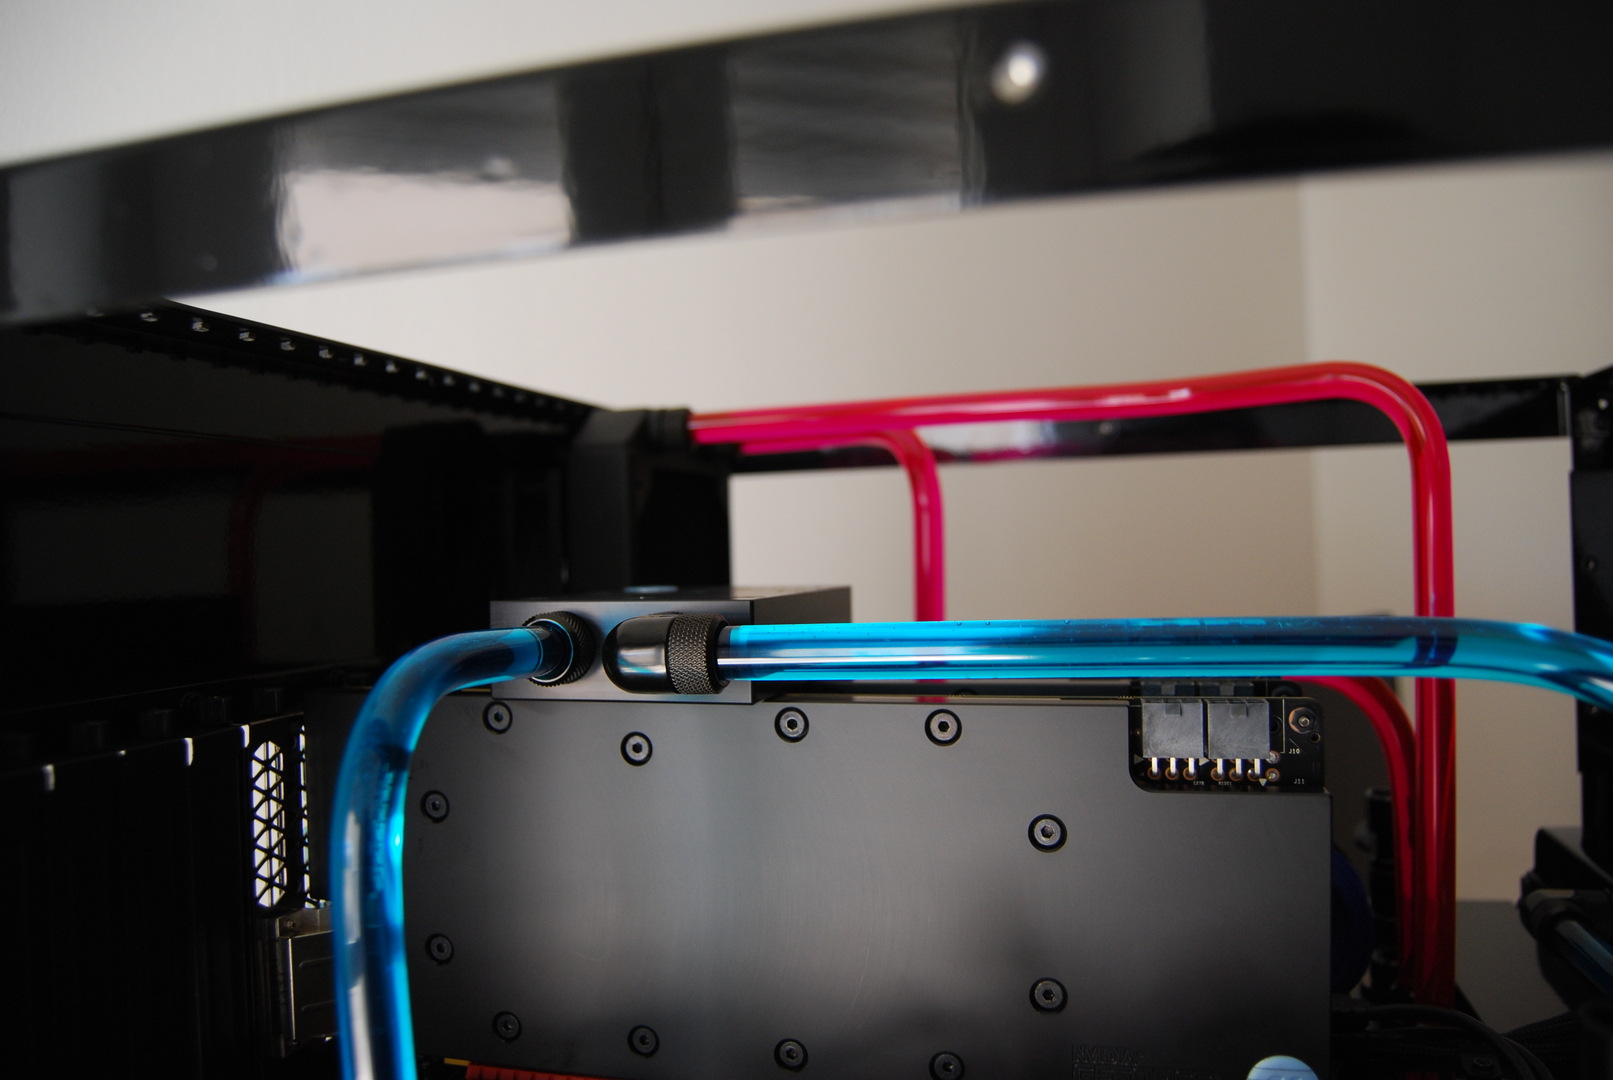
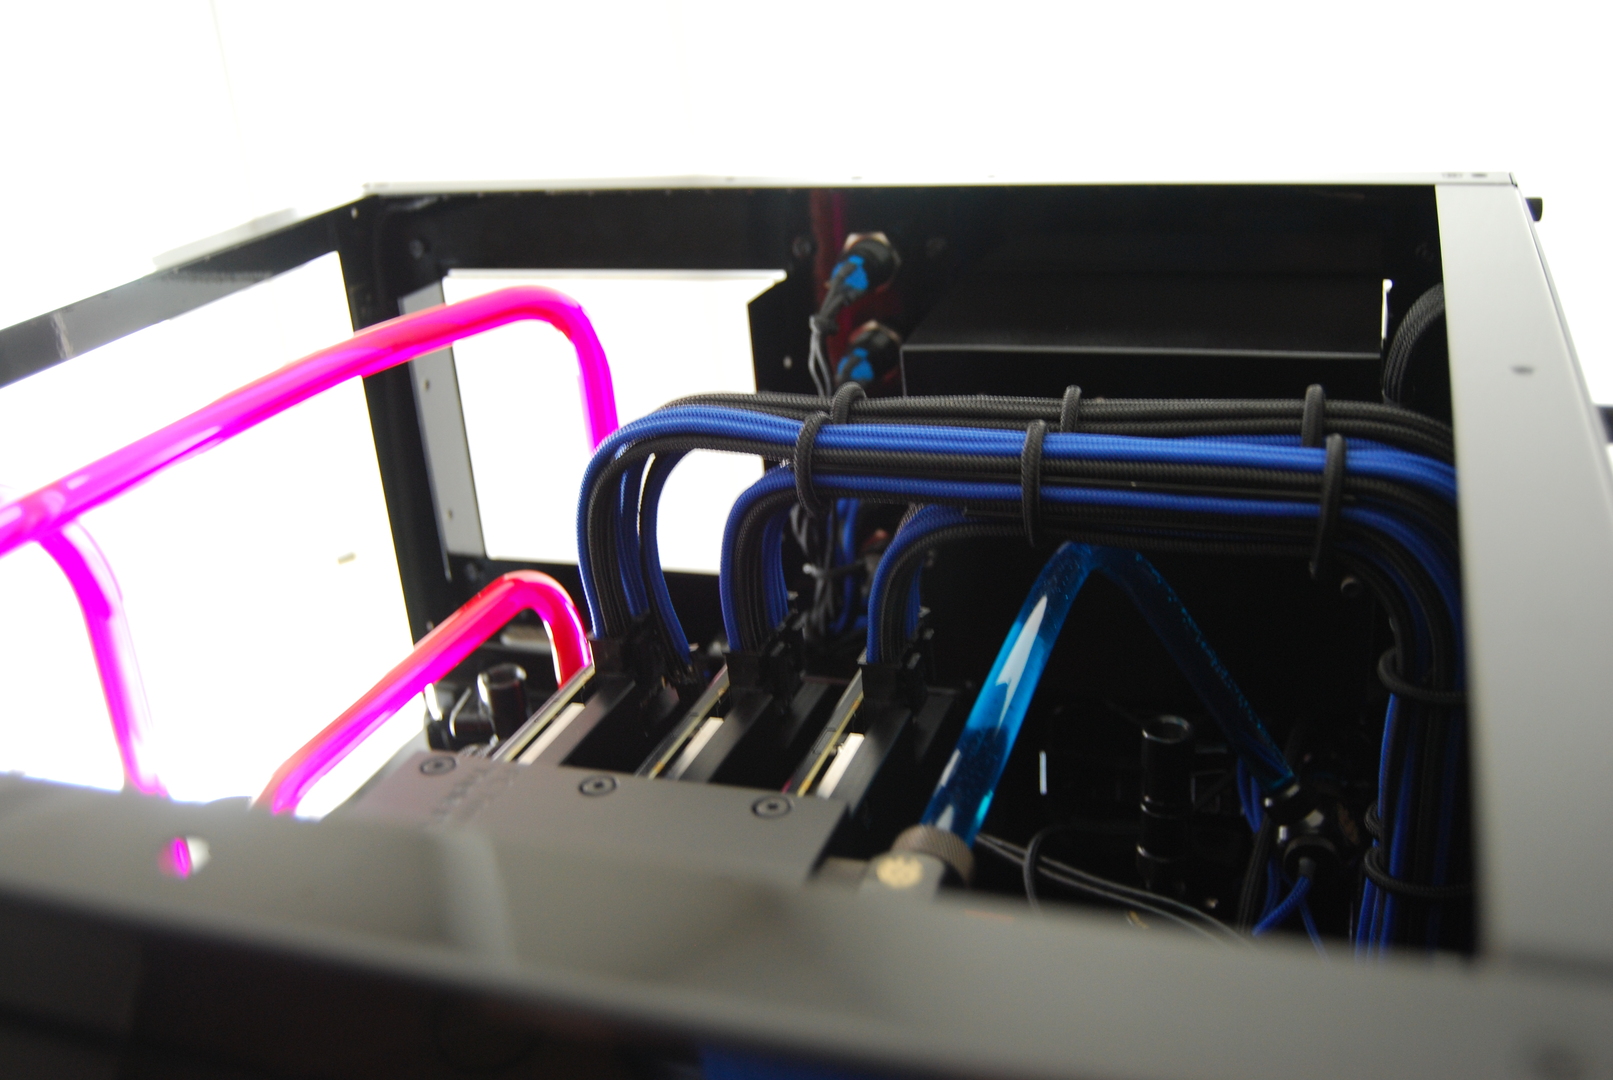
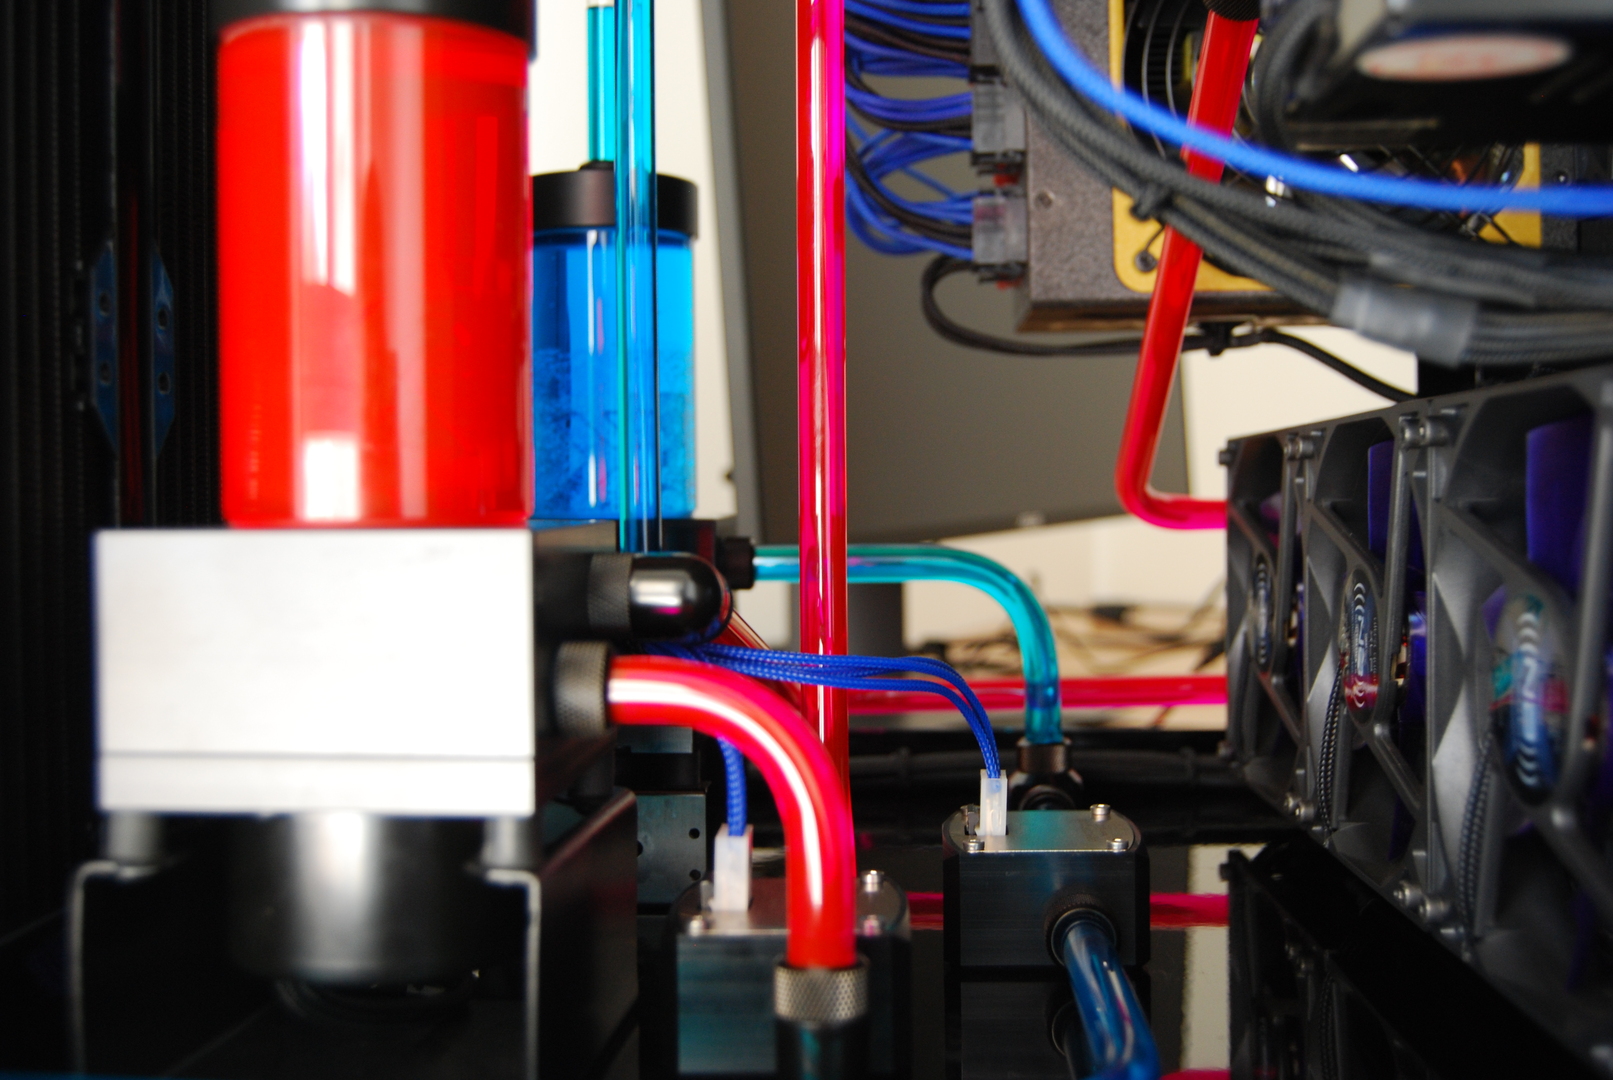
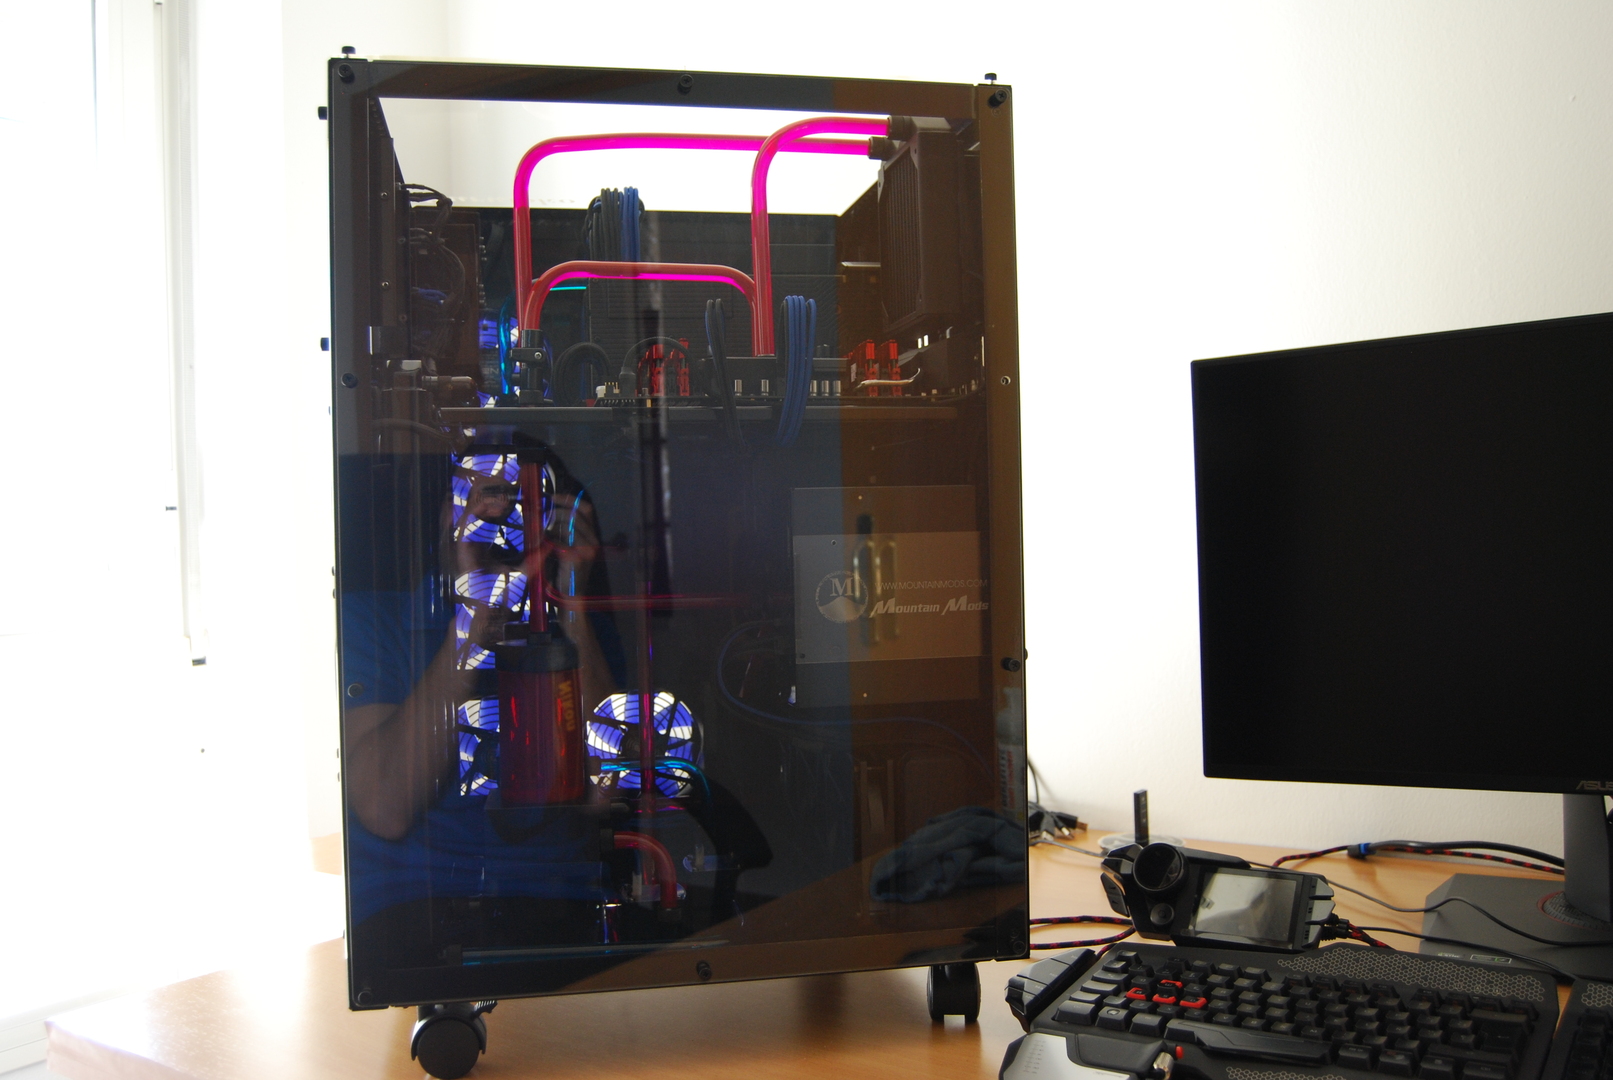
Aún le falta unos detalles que vienen de camino, pero os voy a enseñar todo montado, con sus cables y los dos circuitos llenos. He creado dos circuitos de colores diferentes, bueno eso de diferentes solo se percibe de día, ha oscuras parece total mente diferente pero aún no os lo voy a enseñar de ese modo. Los colores que he utilizado son azul para el circuito de las gpu y para la cpu azul claro, lo que viene siendo casi transparente.
He encargado que me hagan con láser mi nombre en los paneles de metacrilato, y uno de ellos va ha ir iluminado. Cuando lo tenga todo montado are un vídeo para mostrarlo y que lo veáis mejor.
También os quiero enseñar un poco el Aqauero6 funcionando en la Mountain.
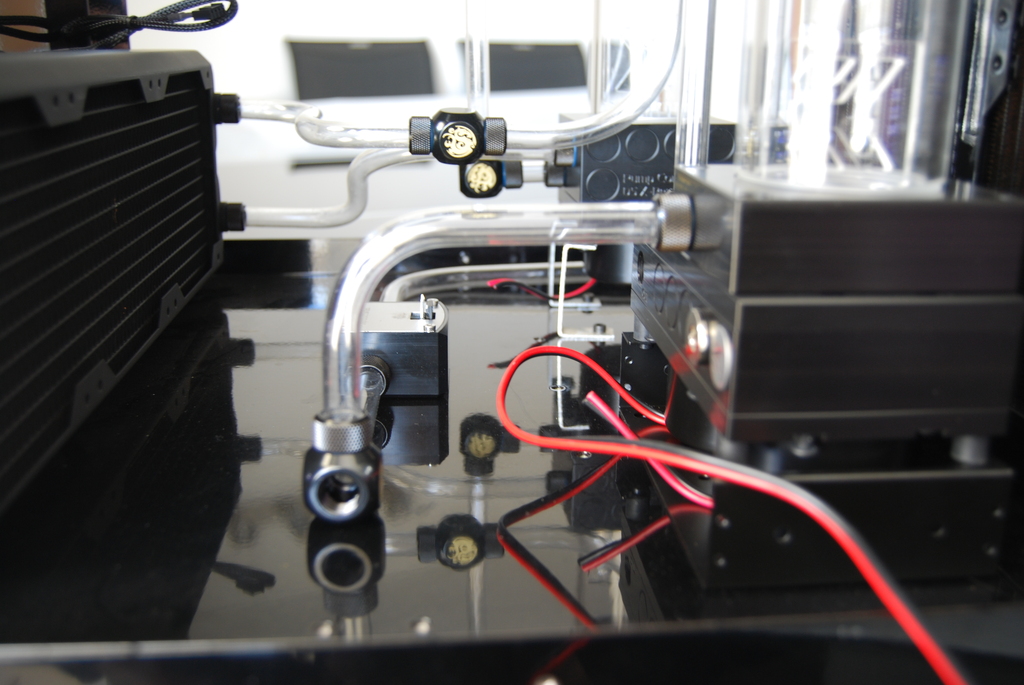
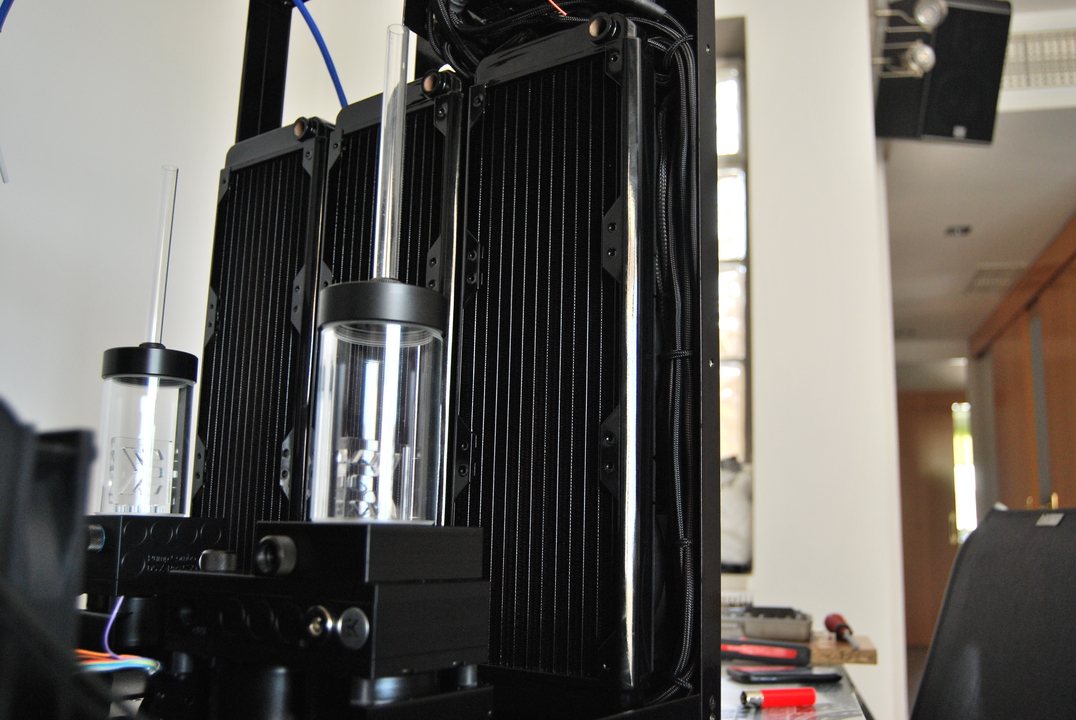
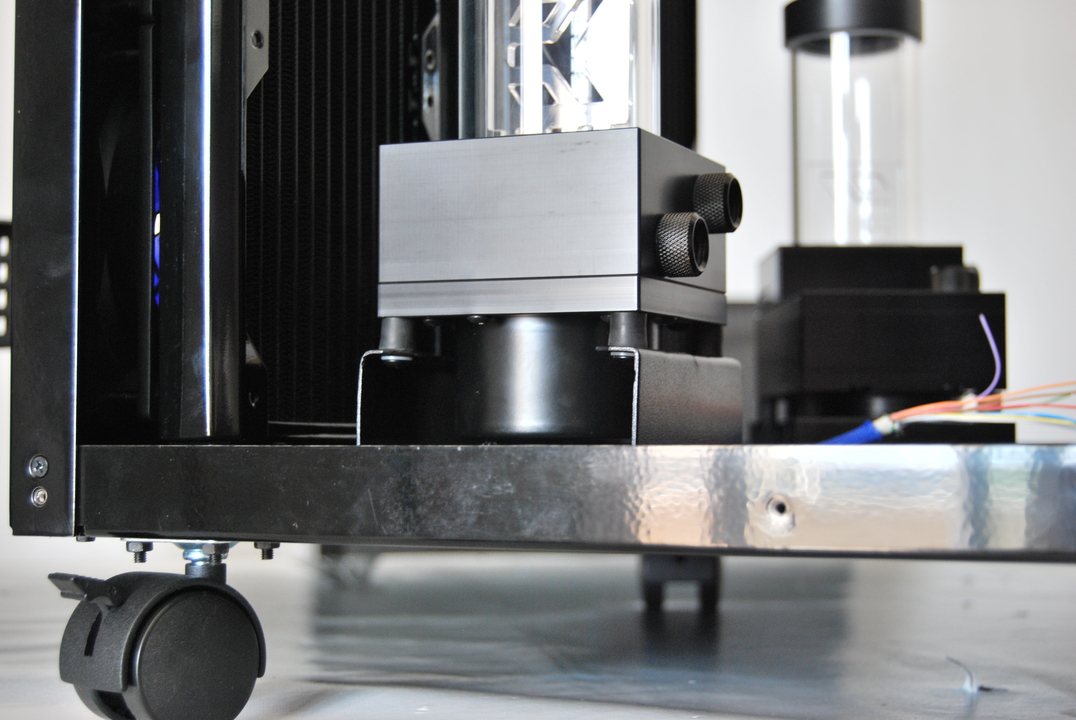
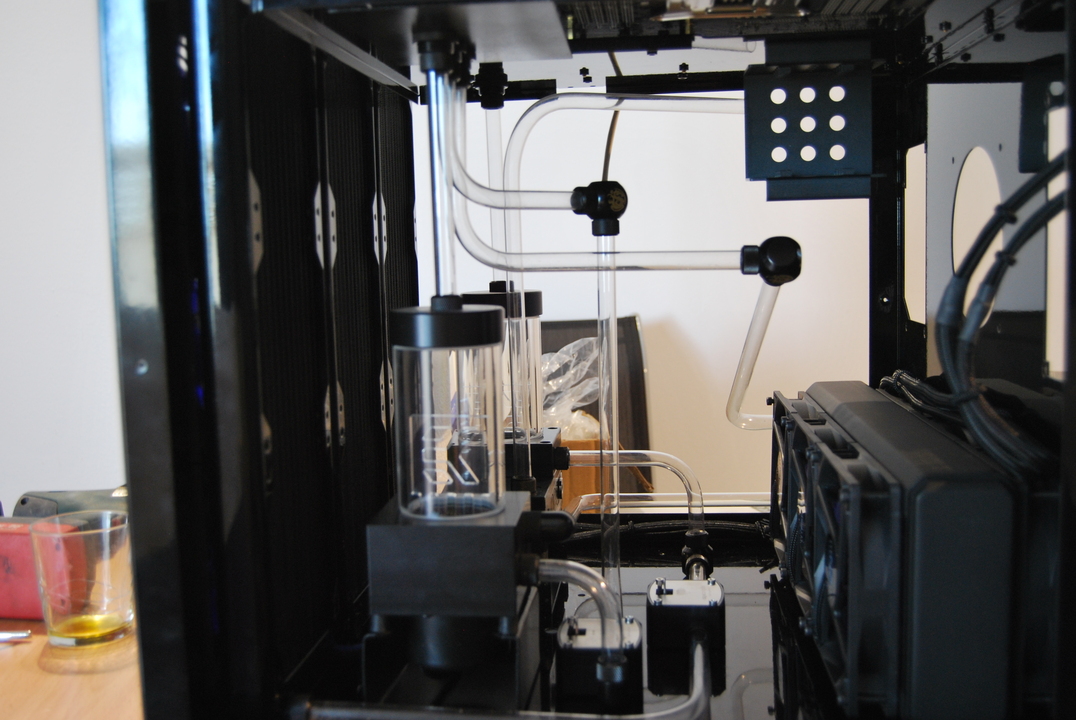
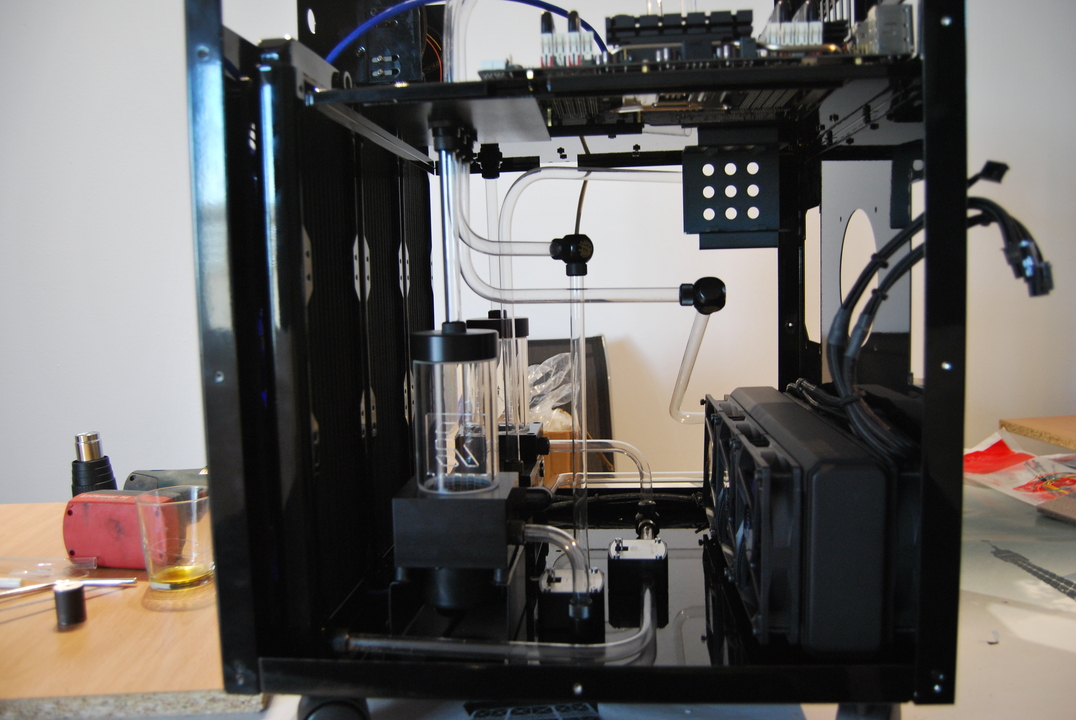
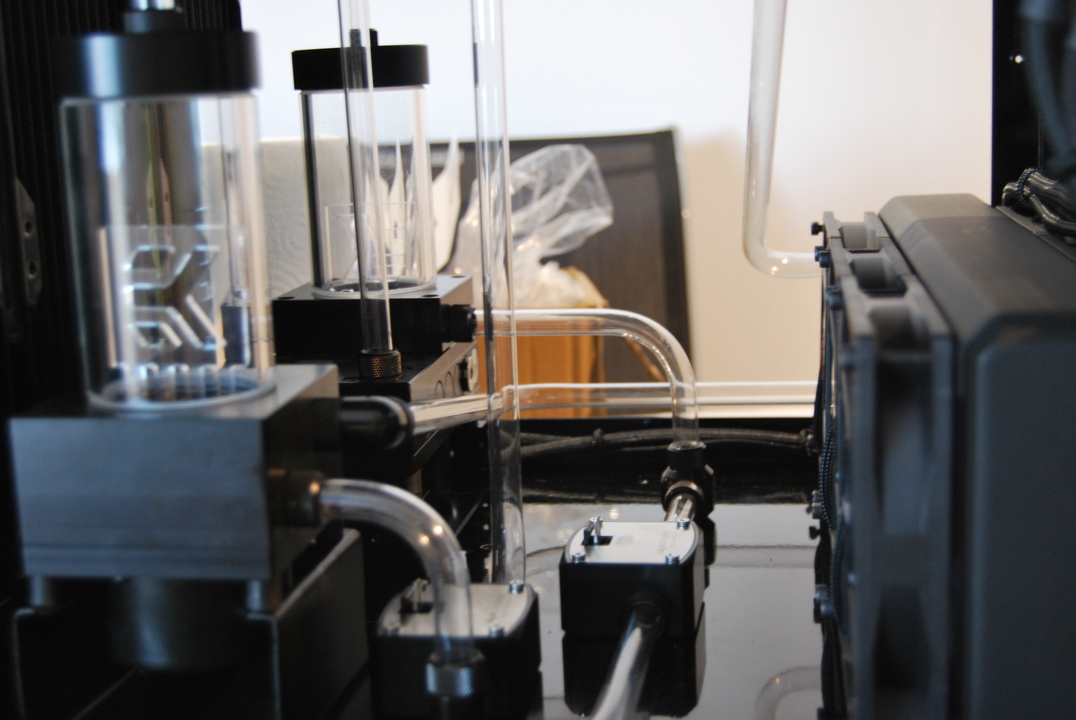
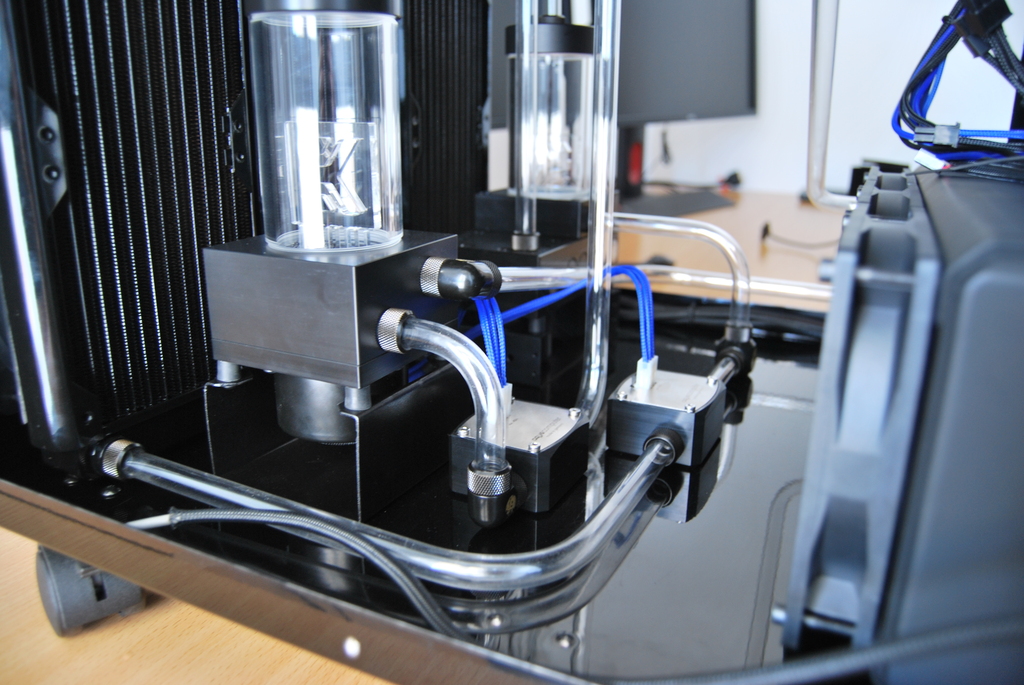
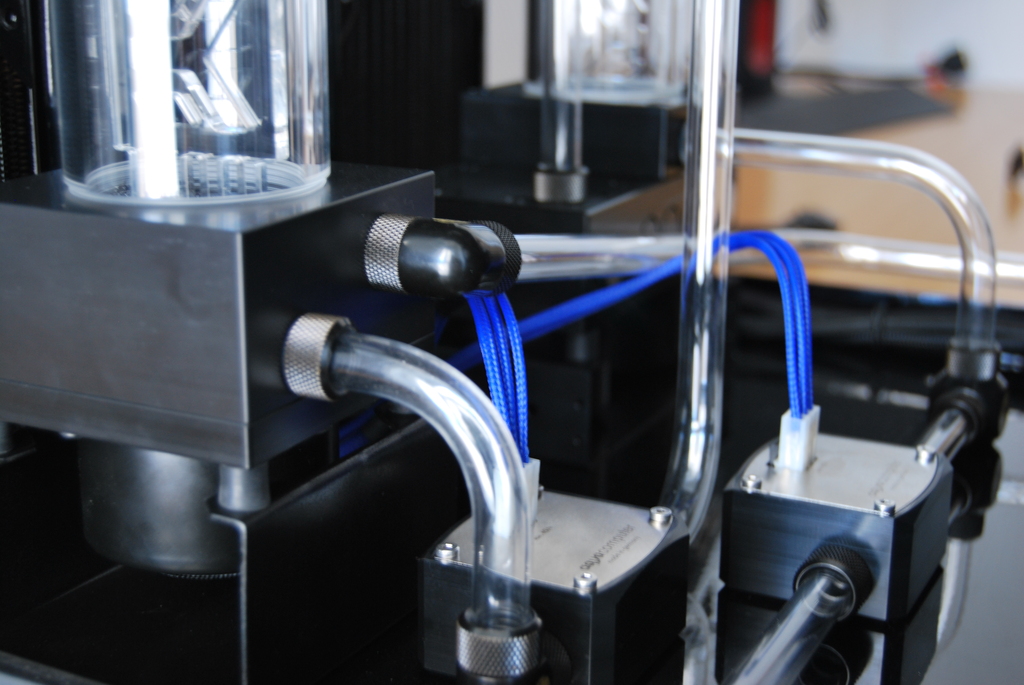
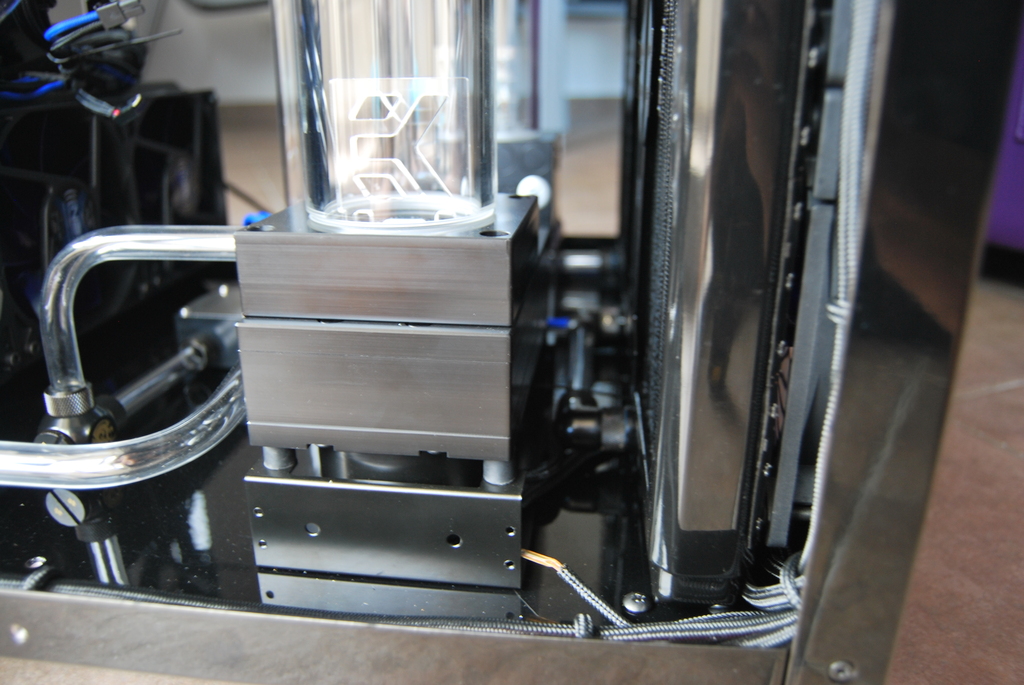
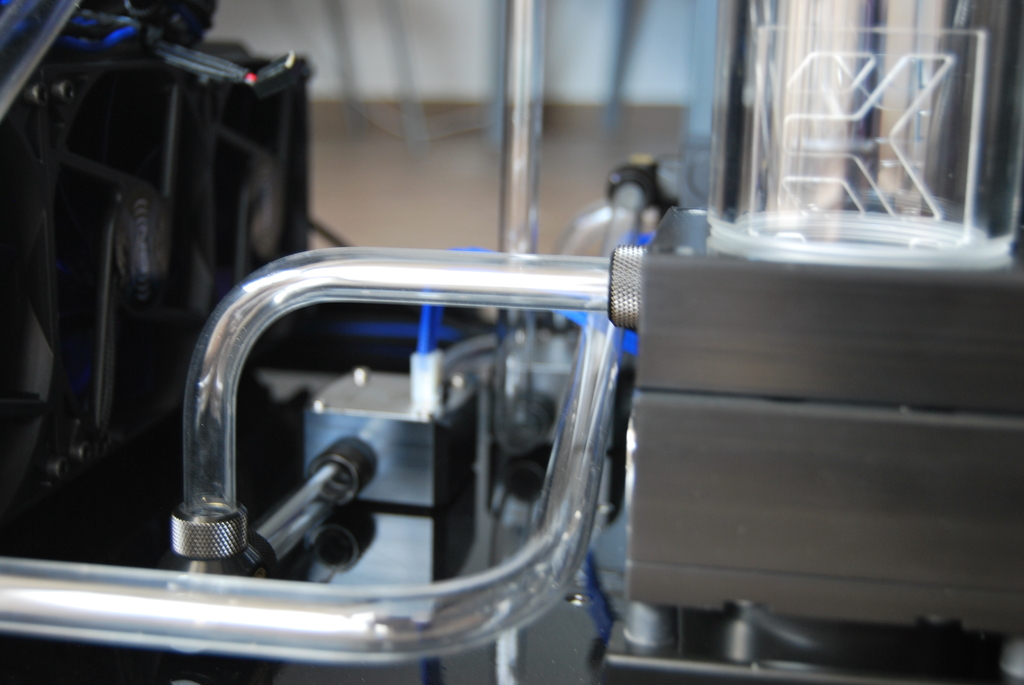
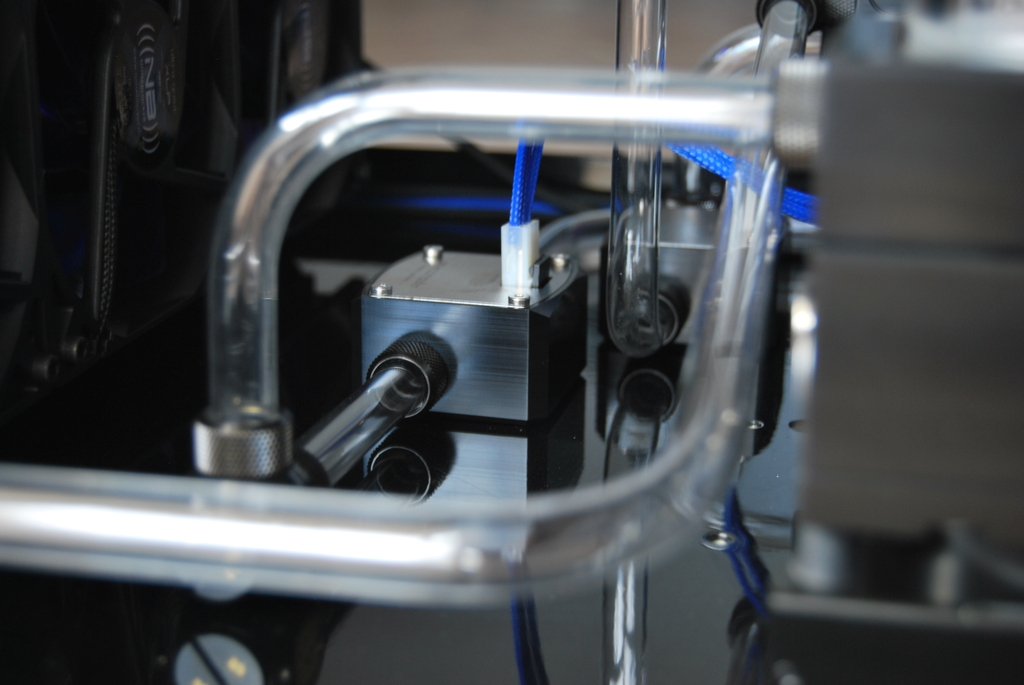
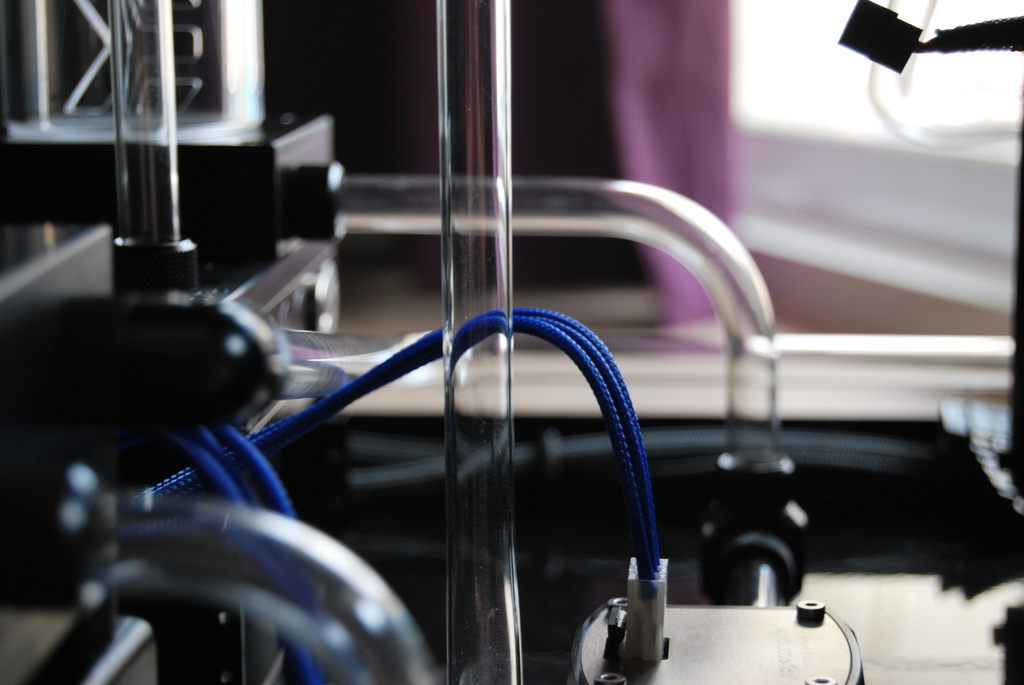
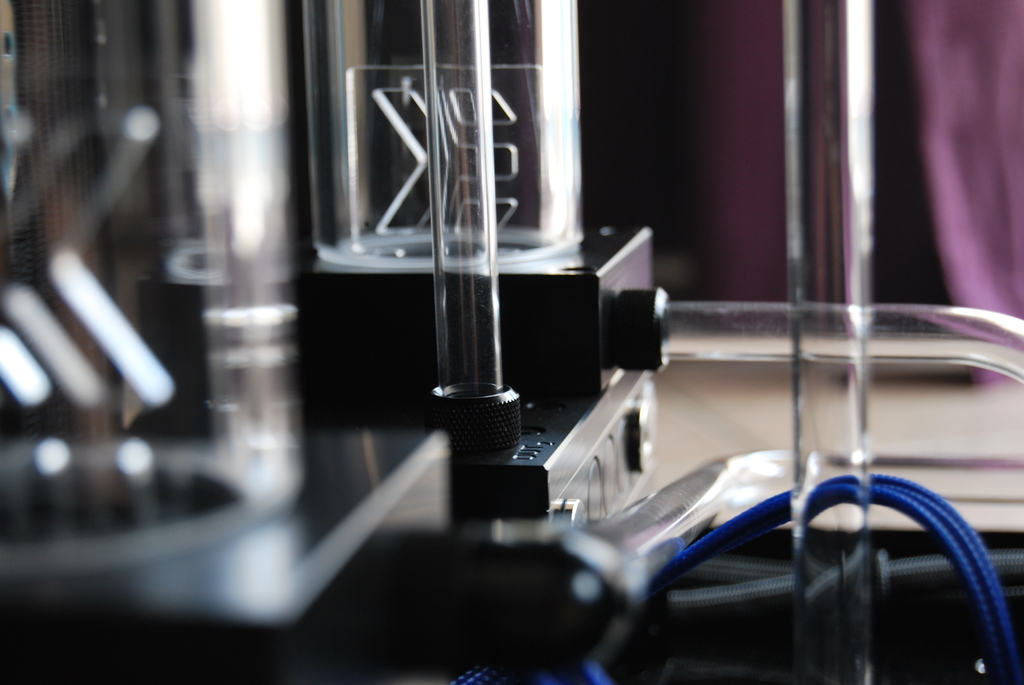
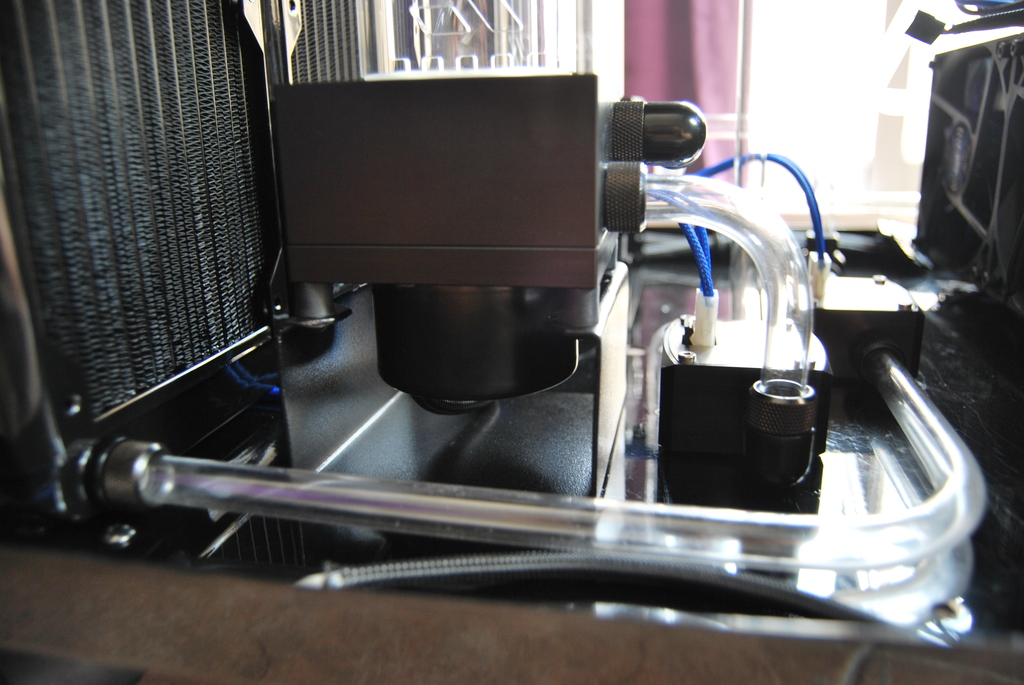
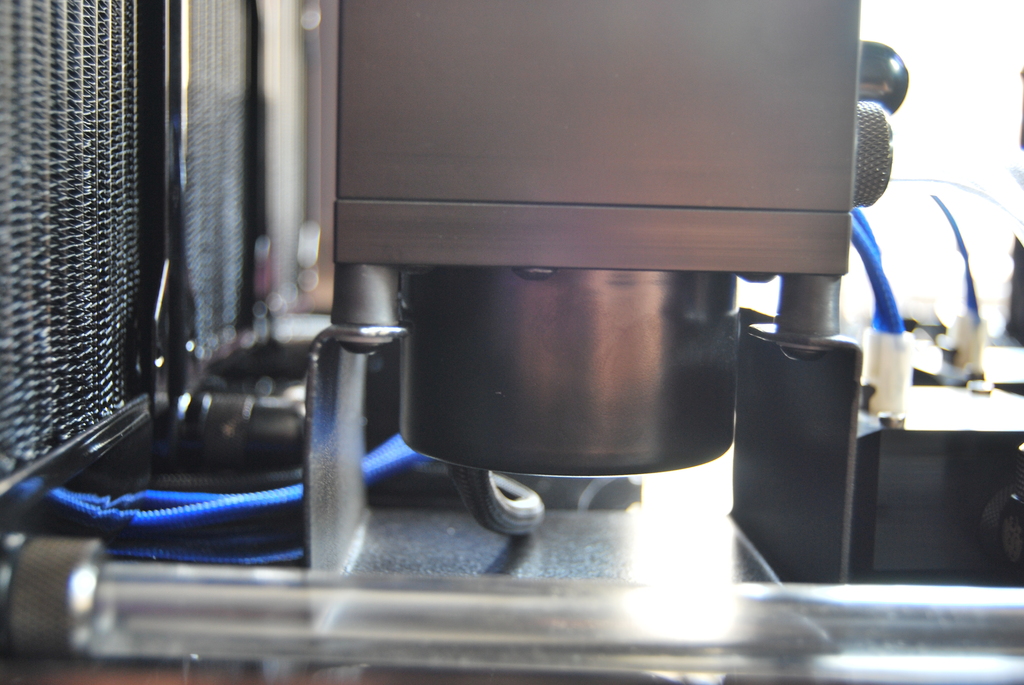
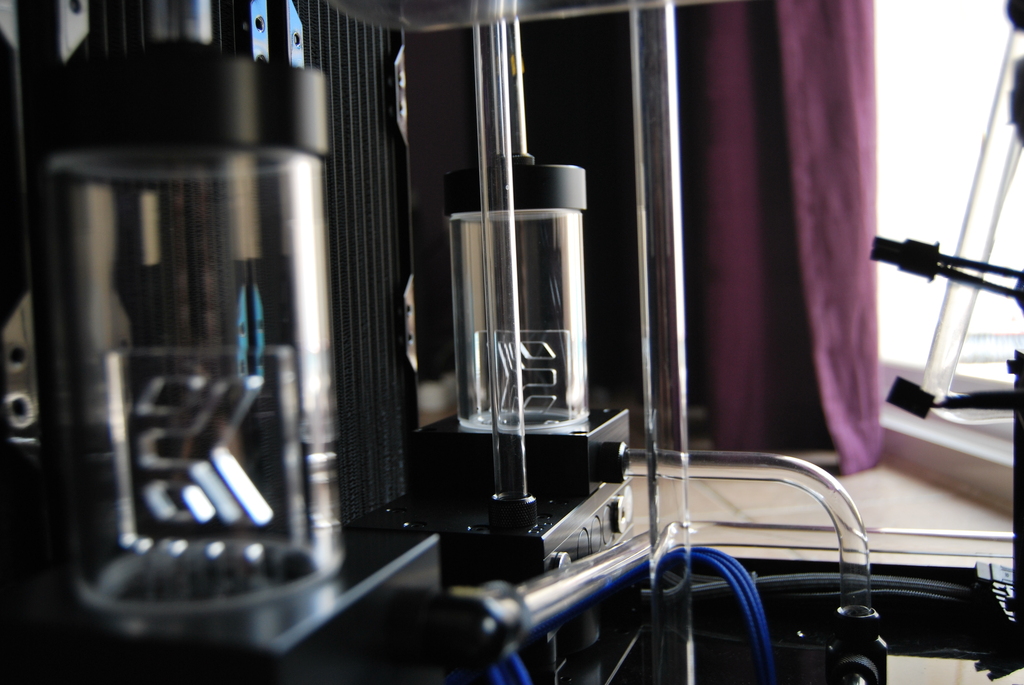
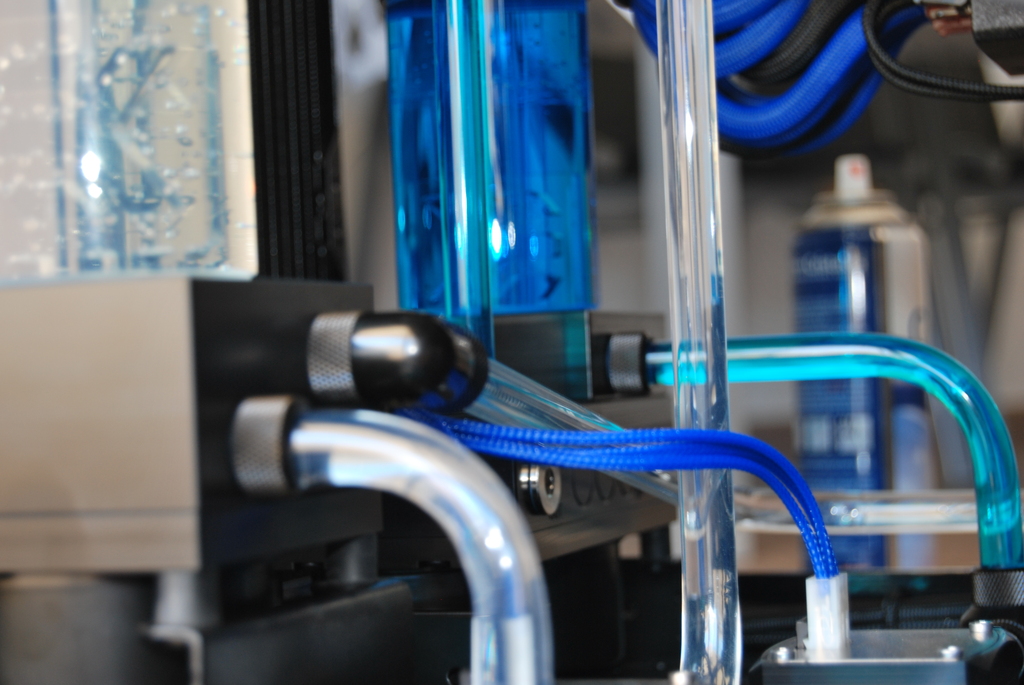
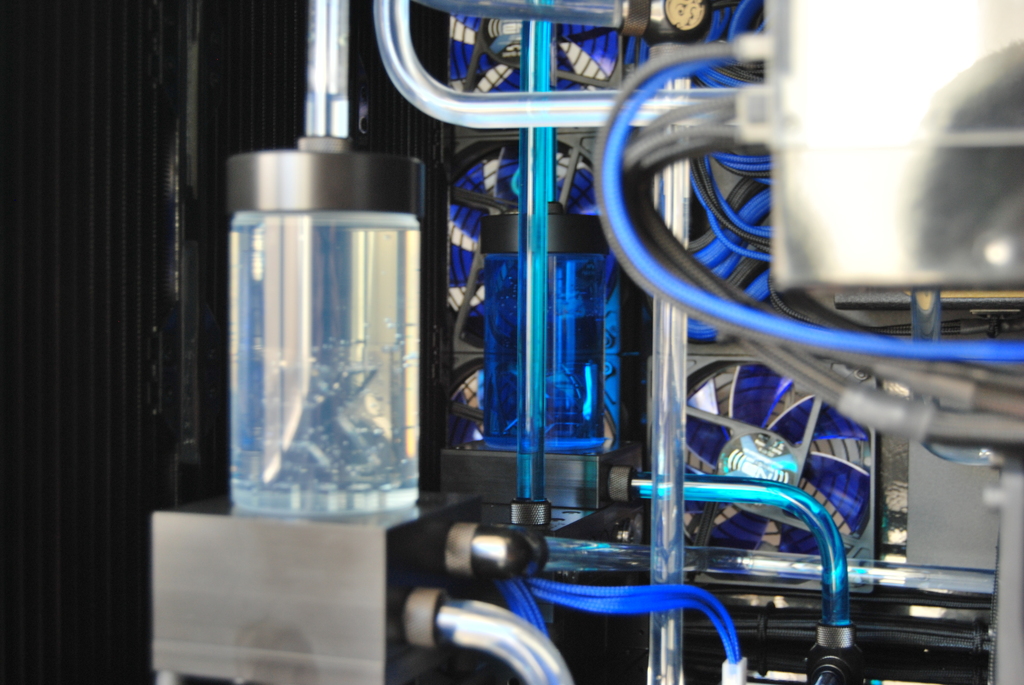
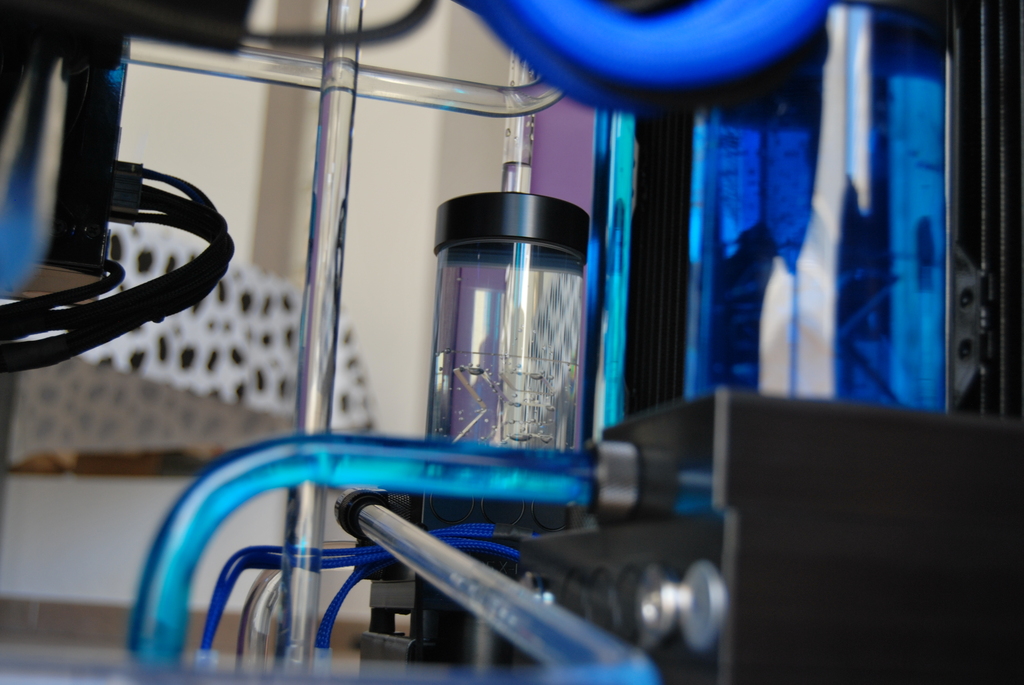
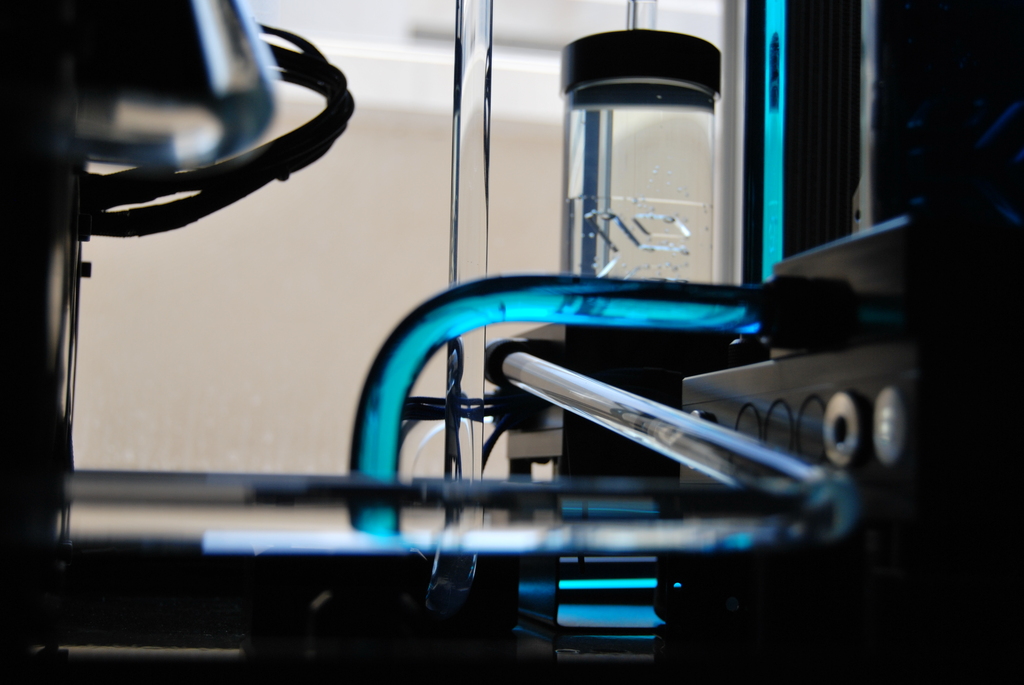
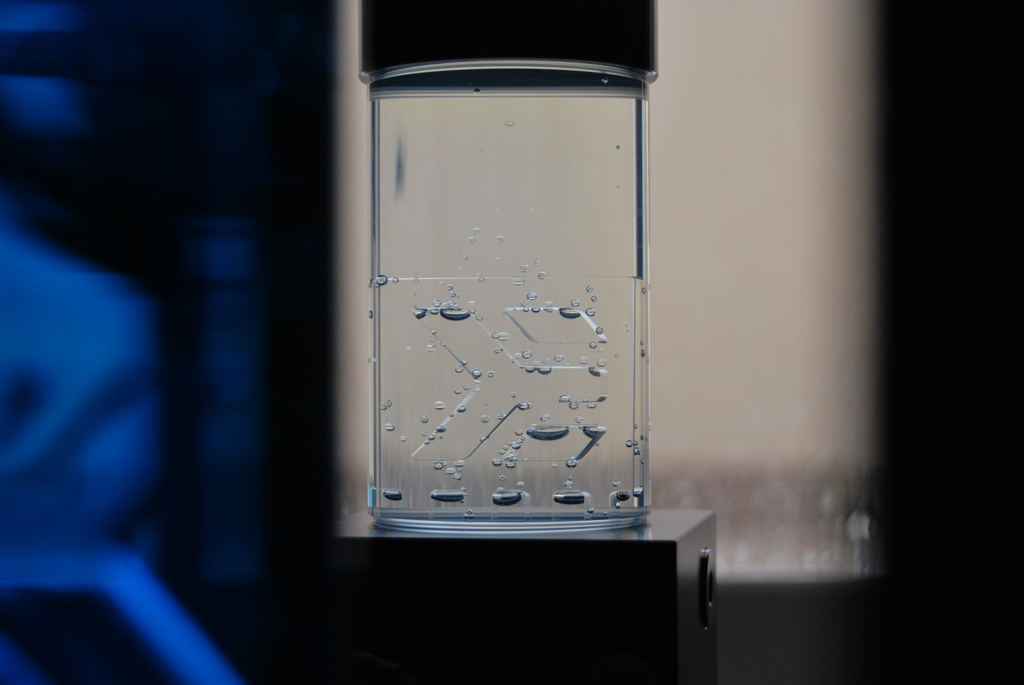
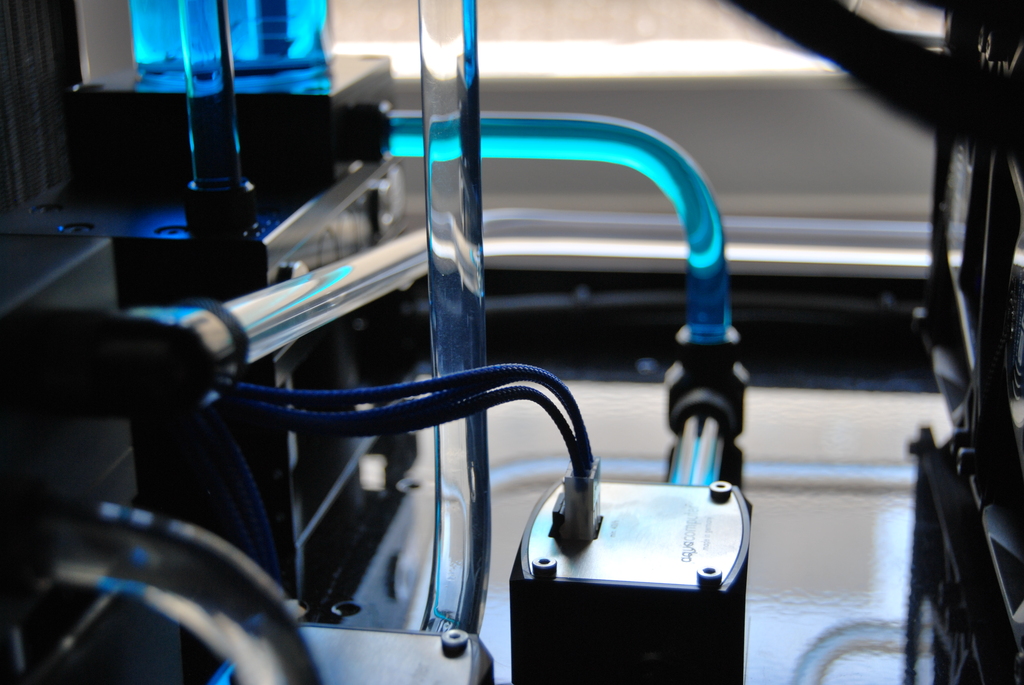
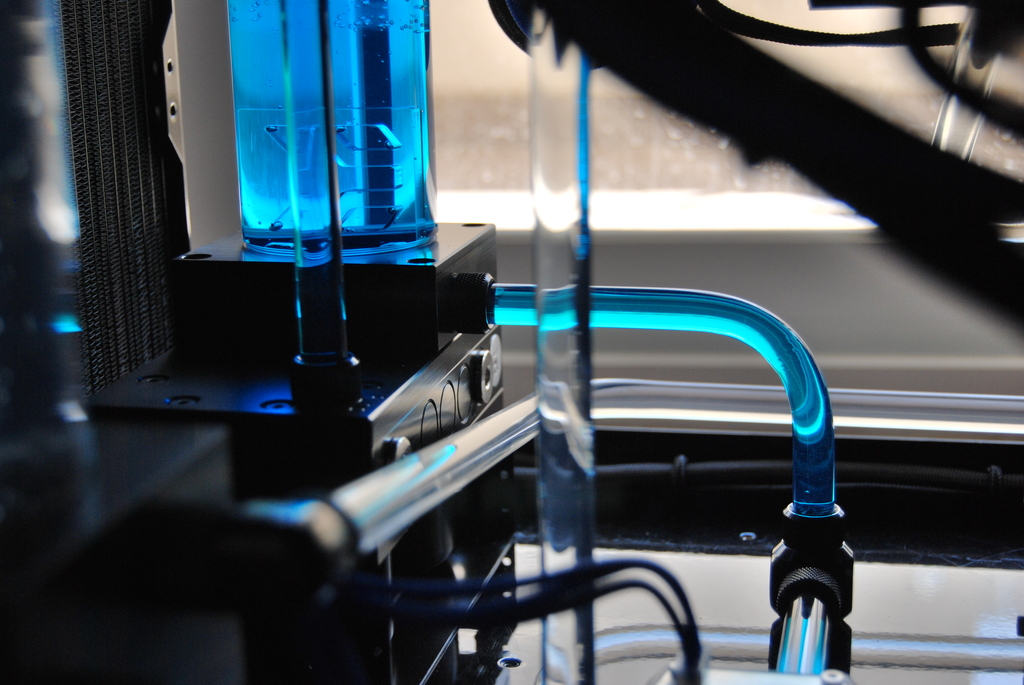
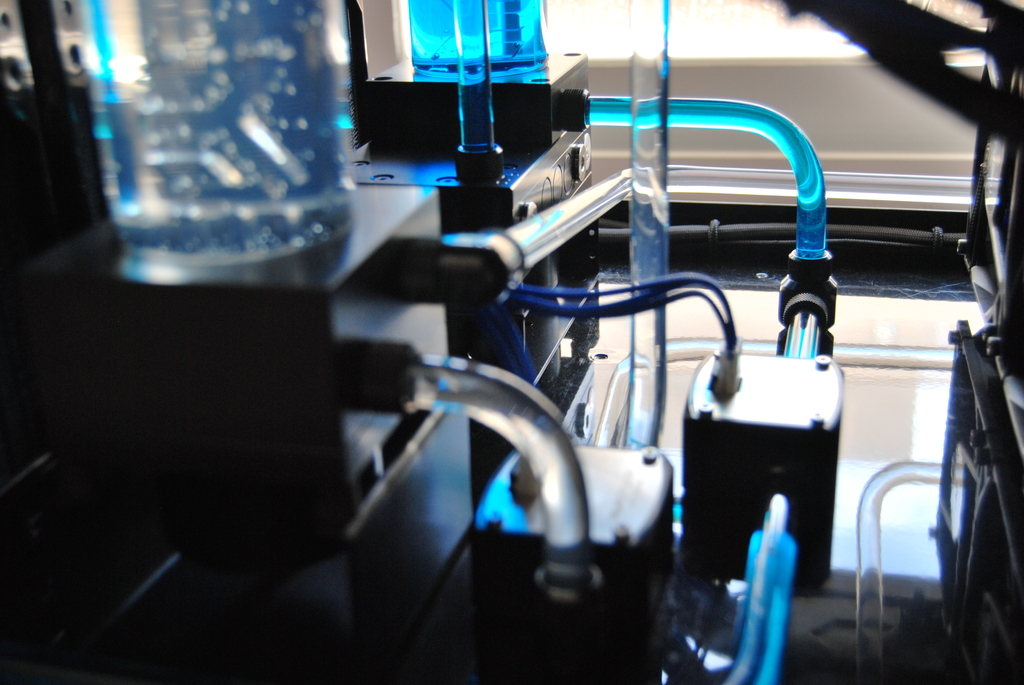
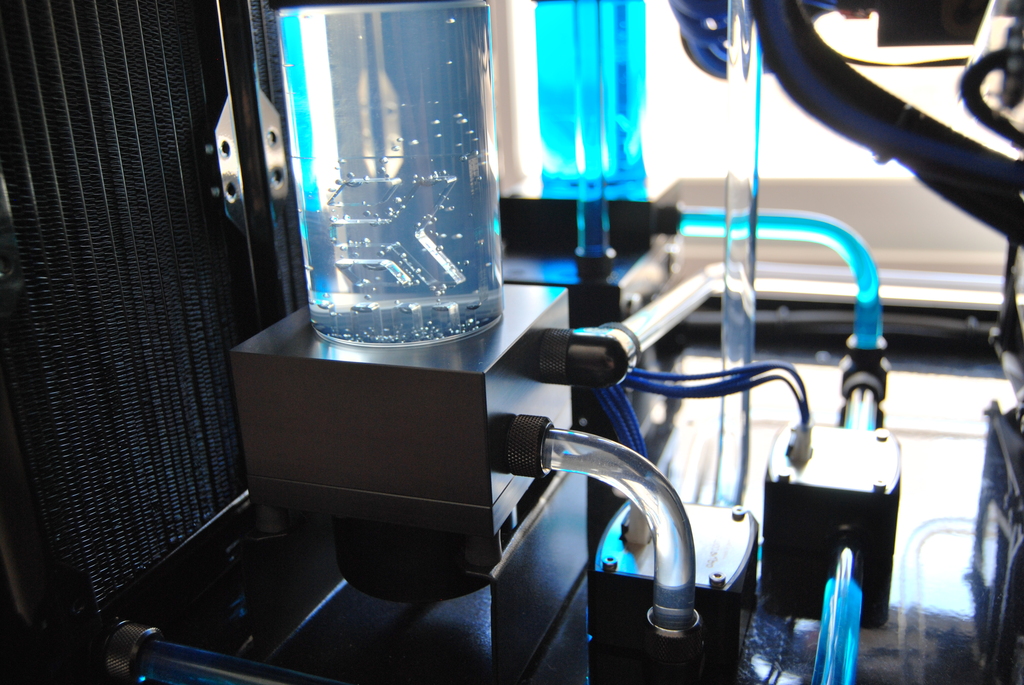
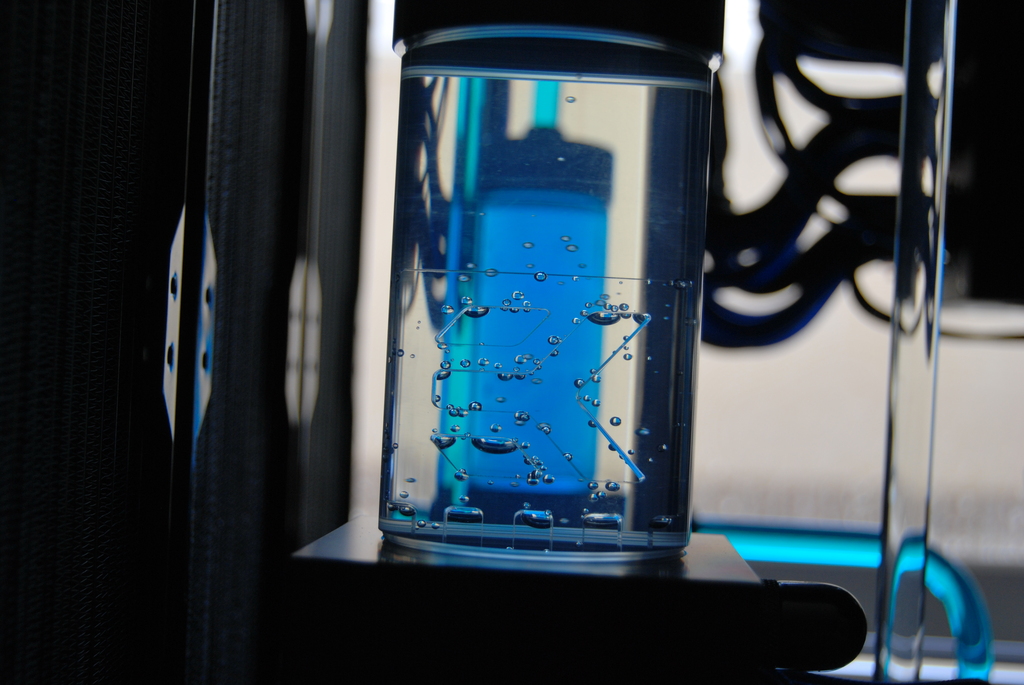
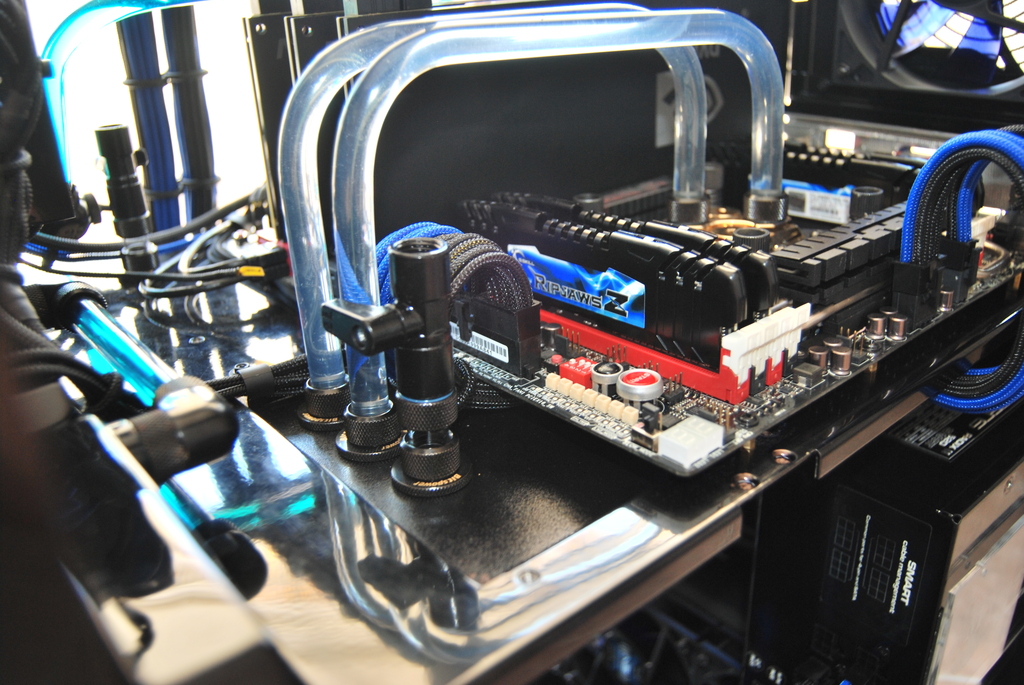
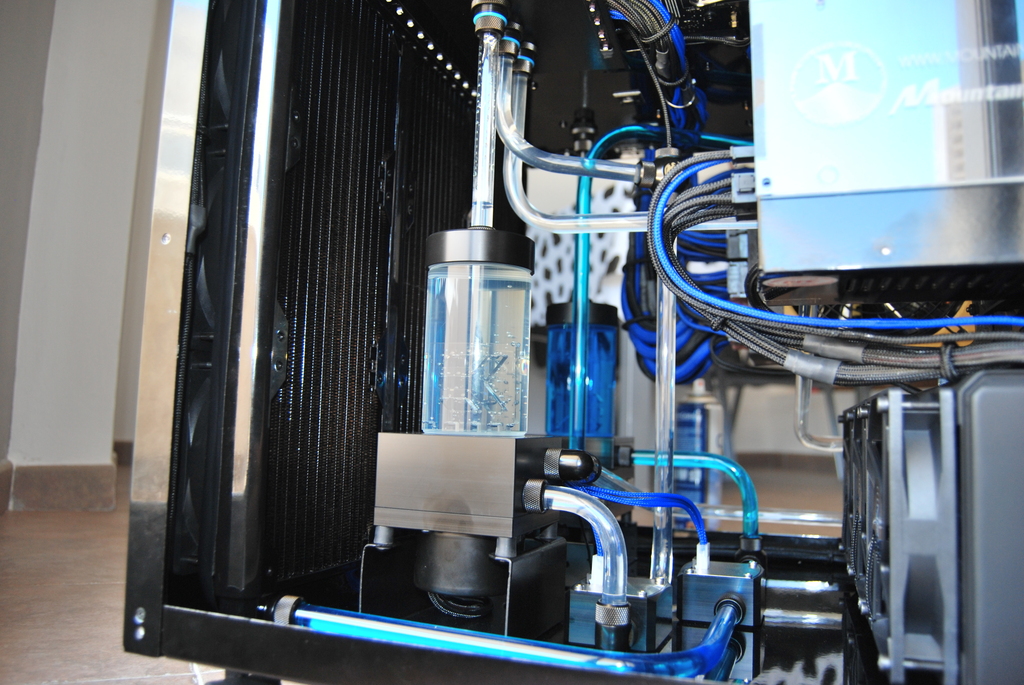
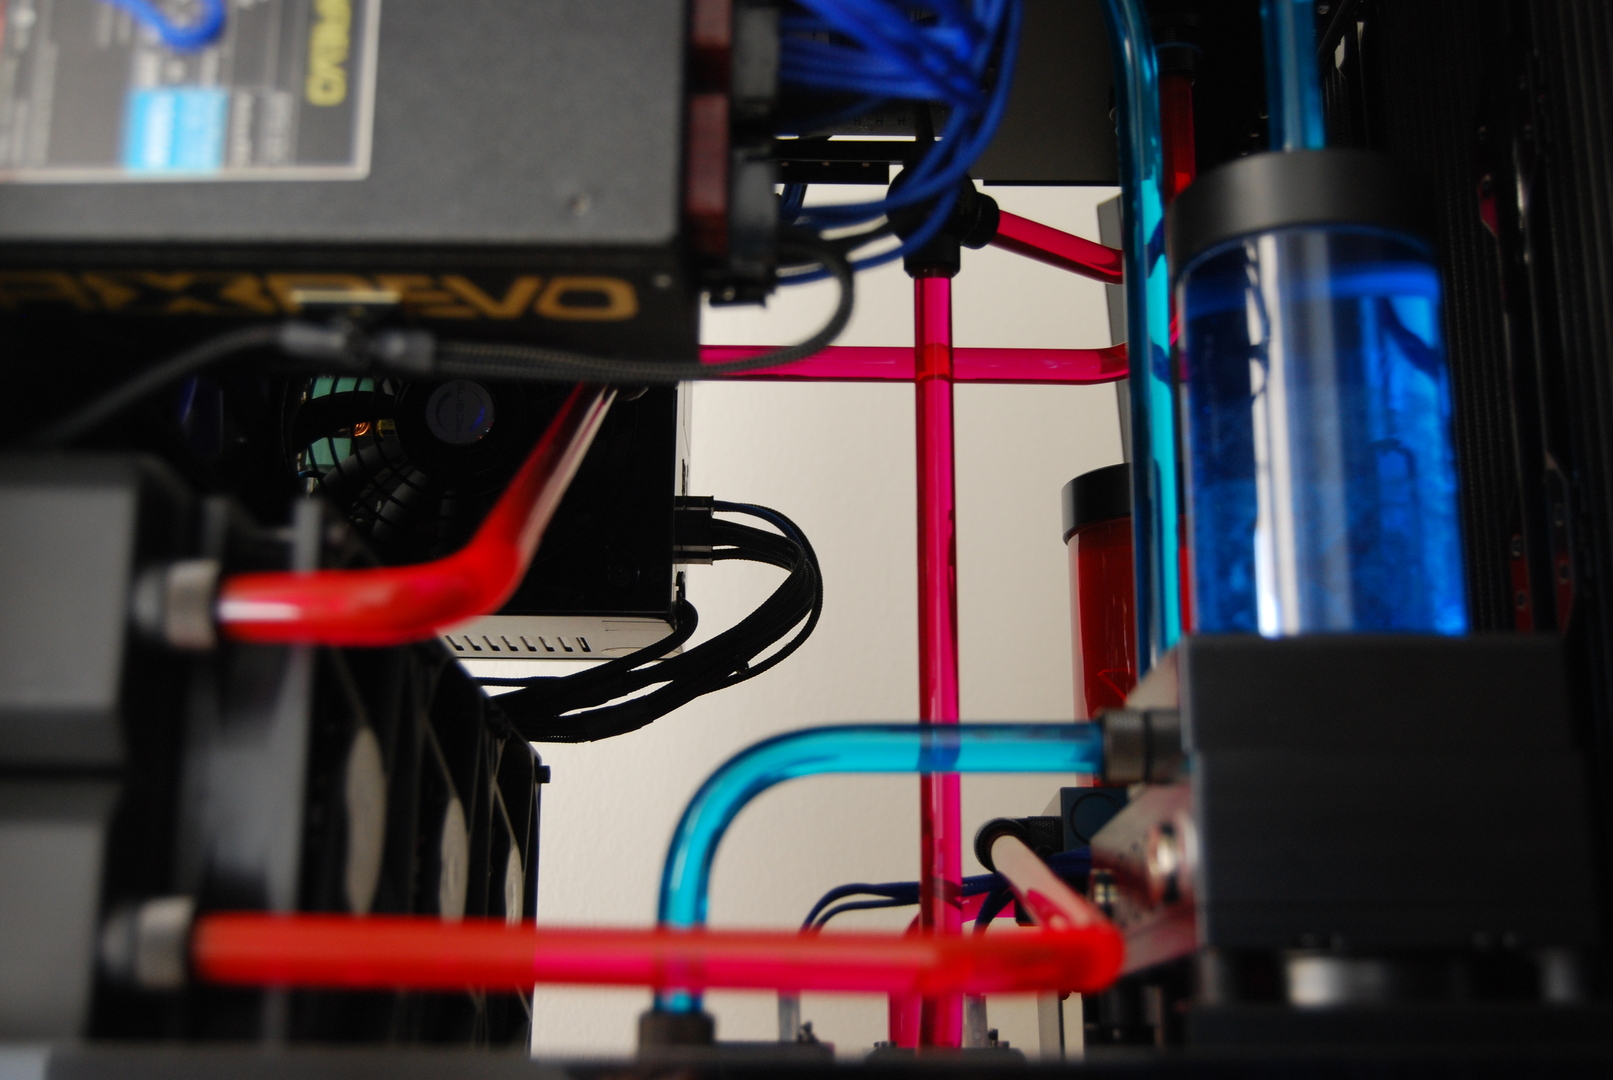
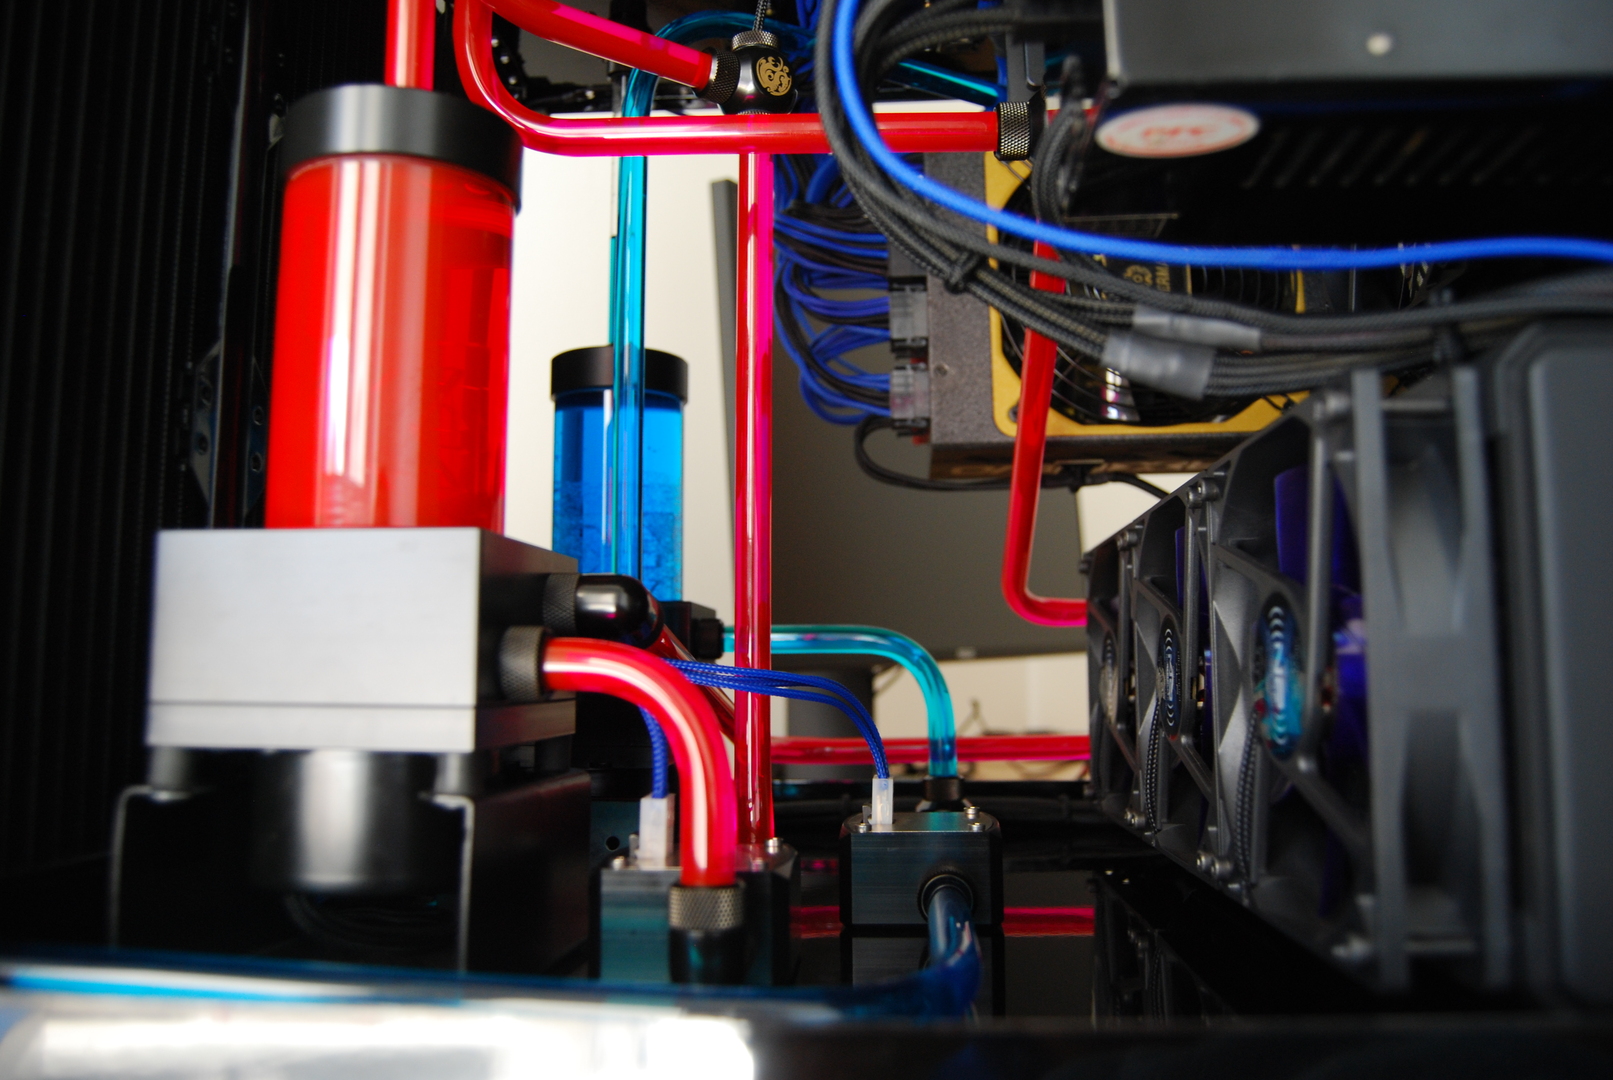
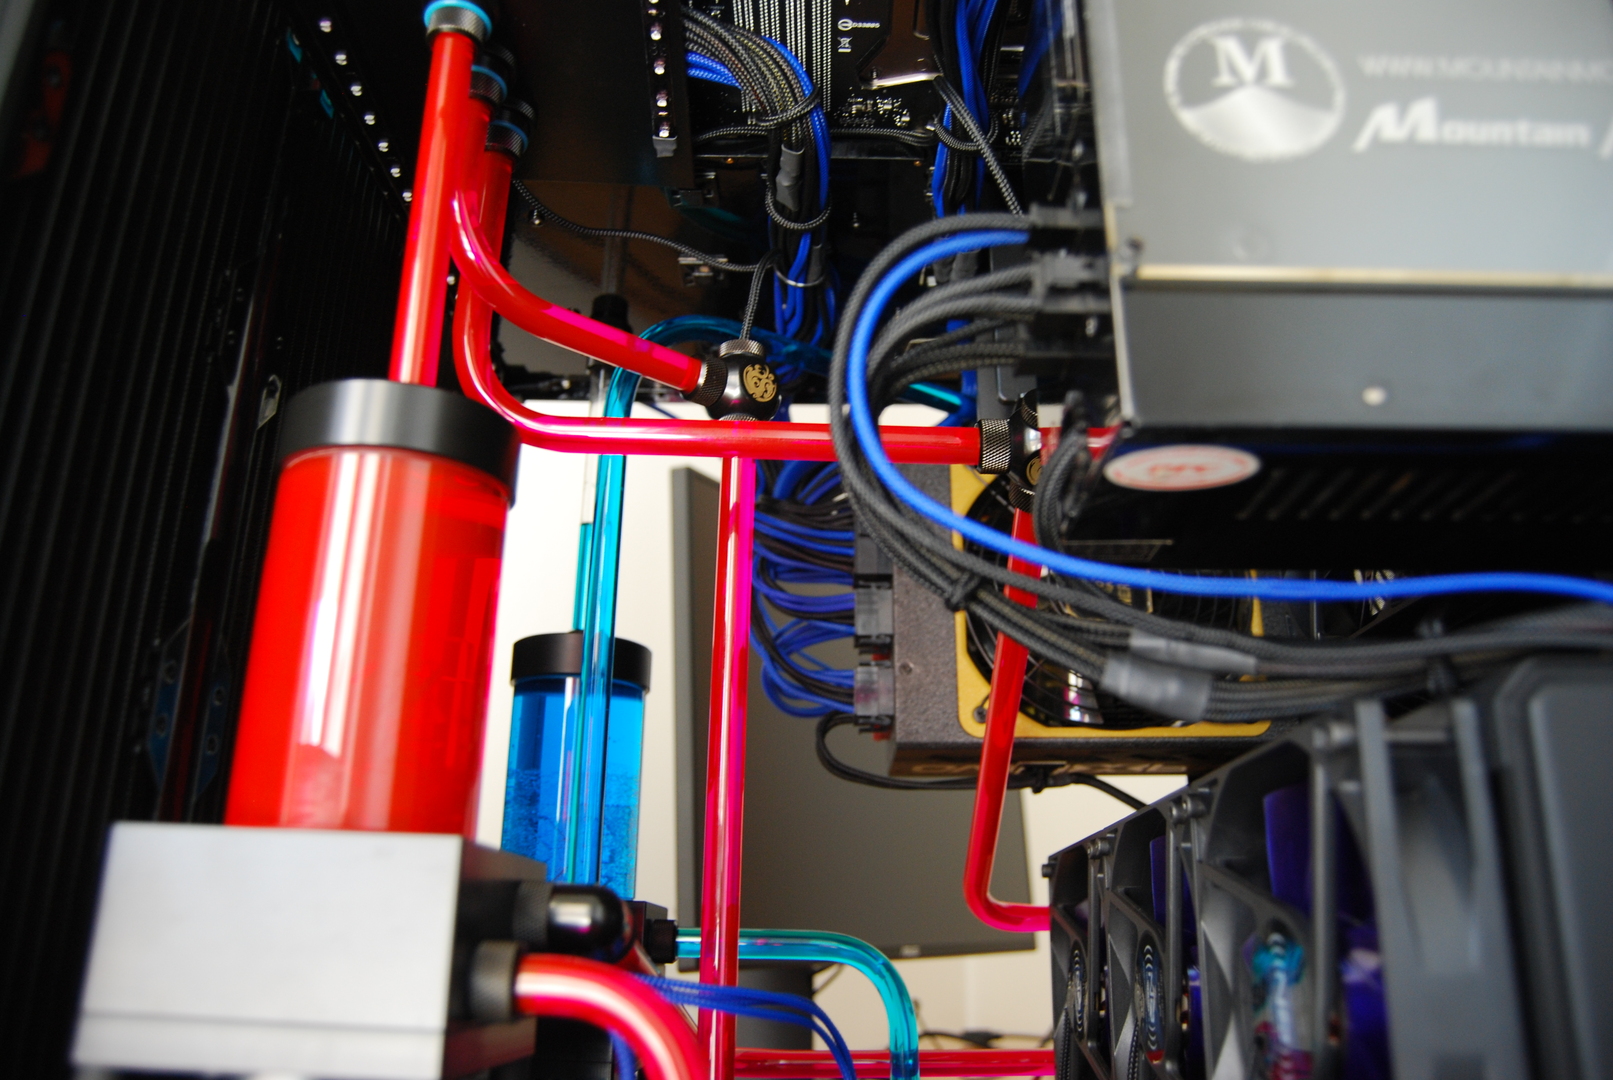
Empezamos con el interior, bombas, tops, depositos y caudalímetro:
!
!
!
!
!
!
!
!
!
!
!
!
!
!
!
!
!
!
!
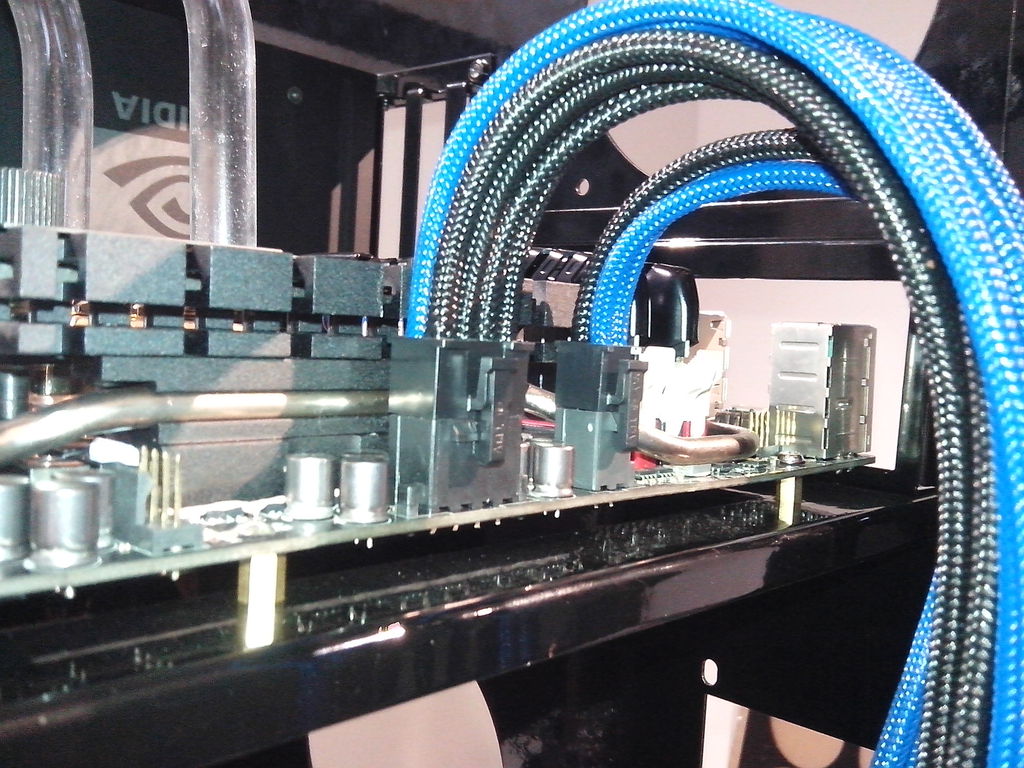
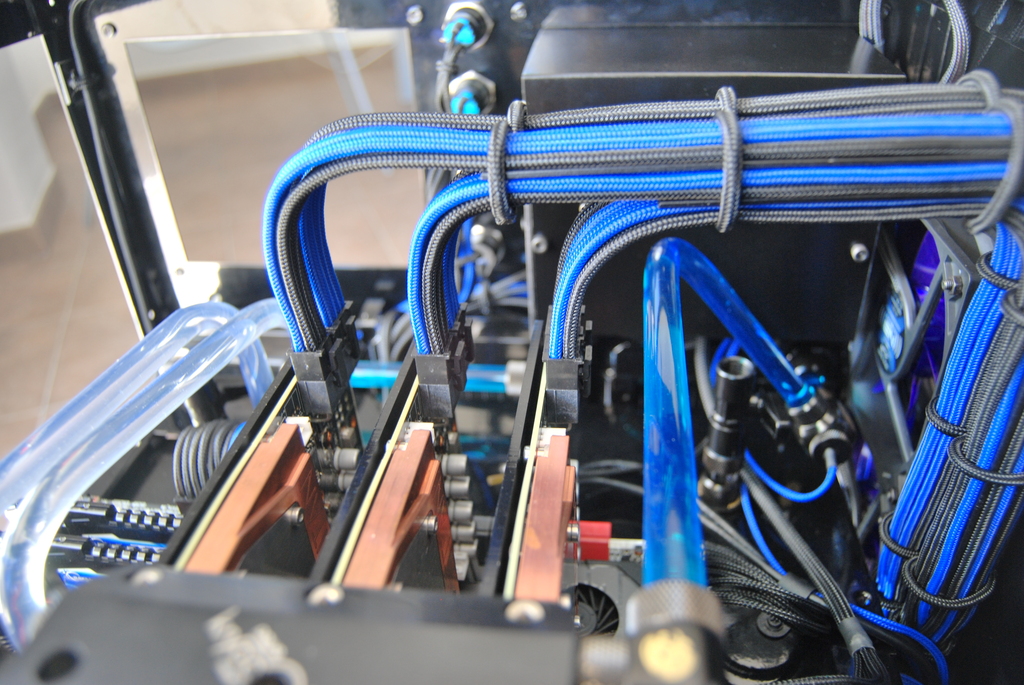
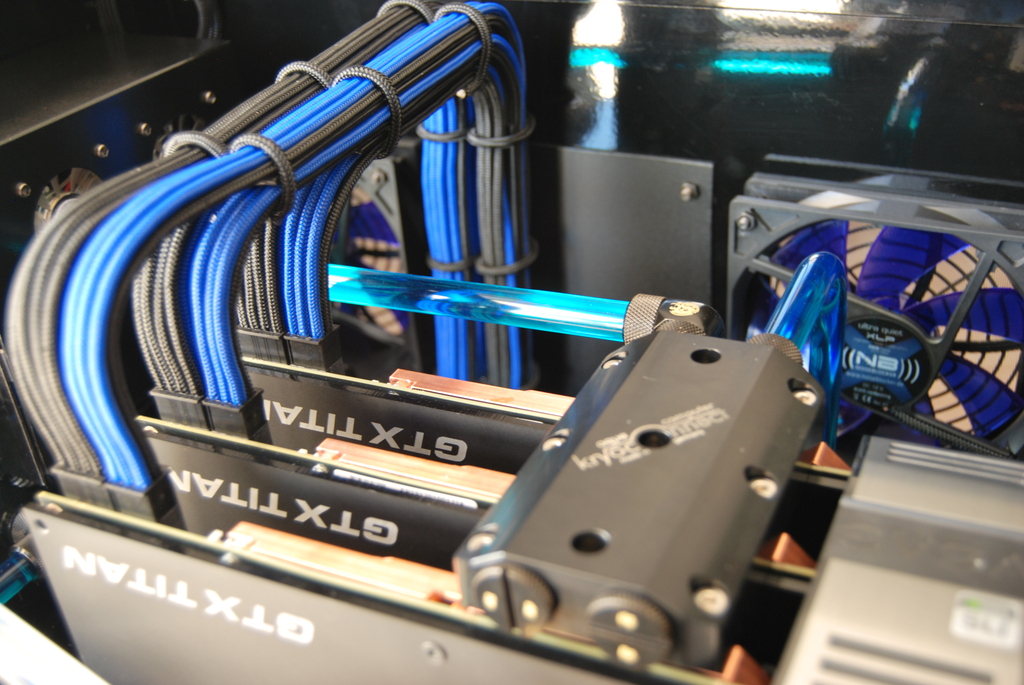
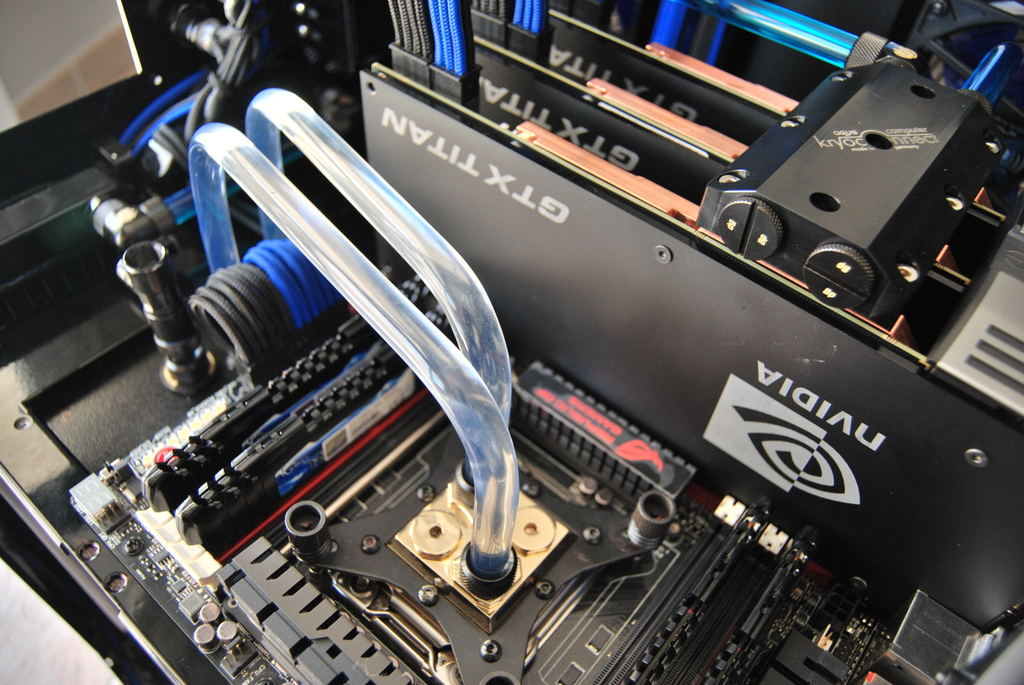
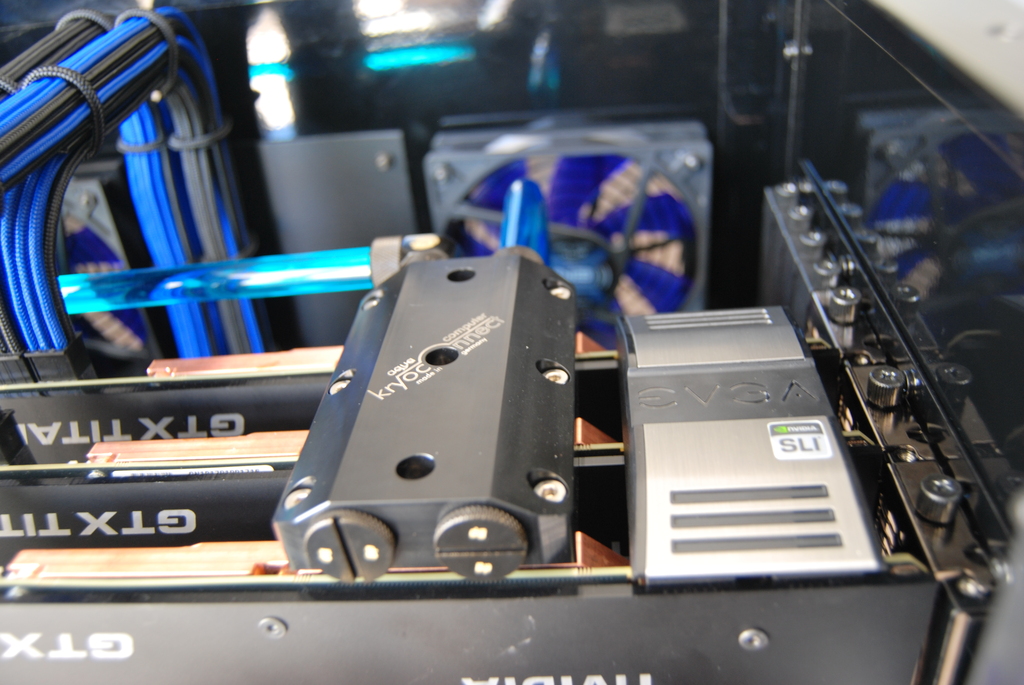
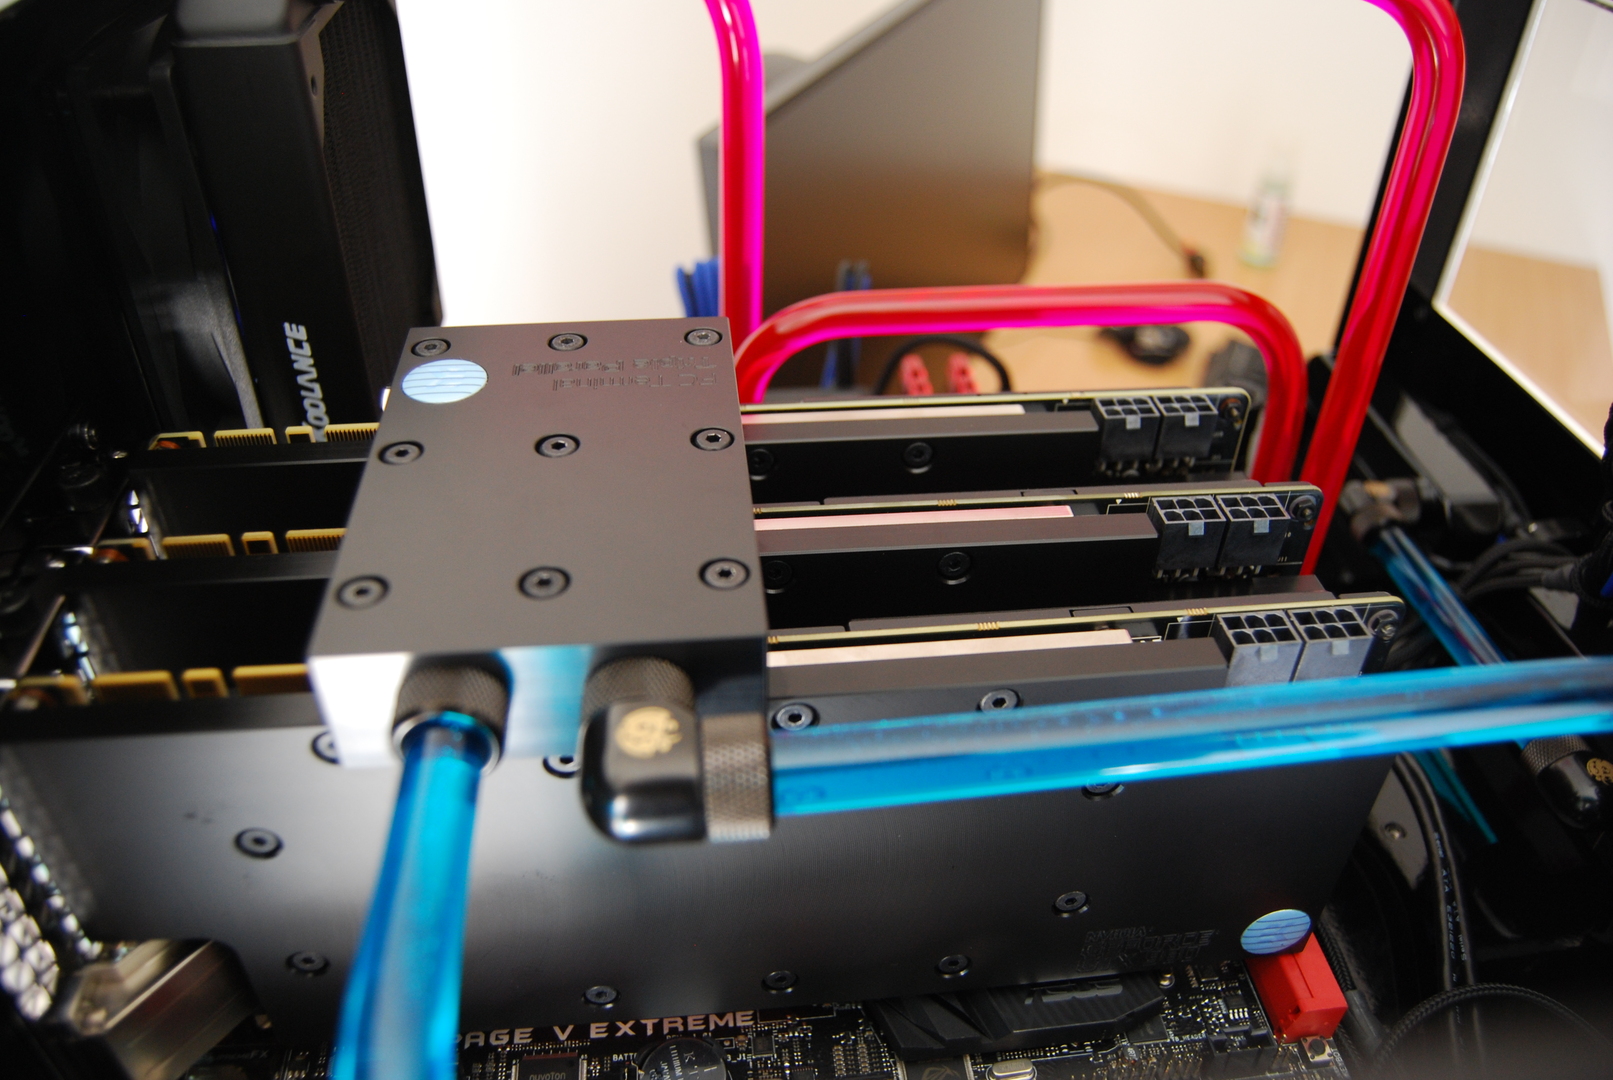
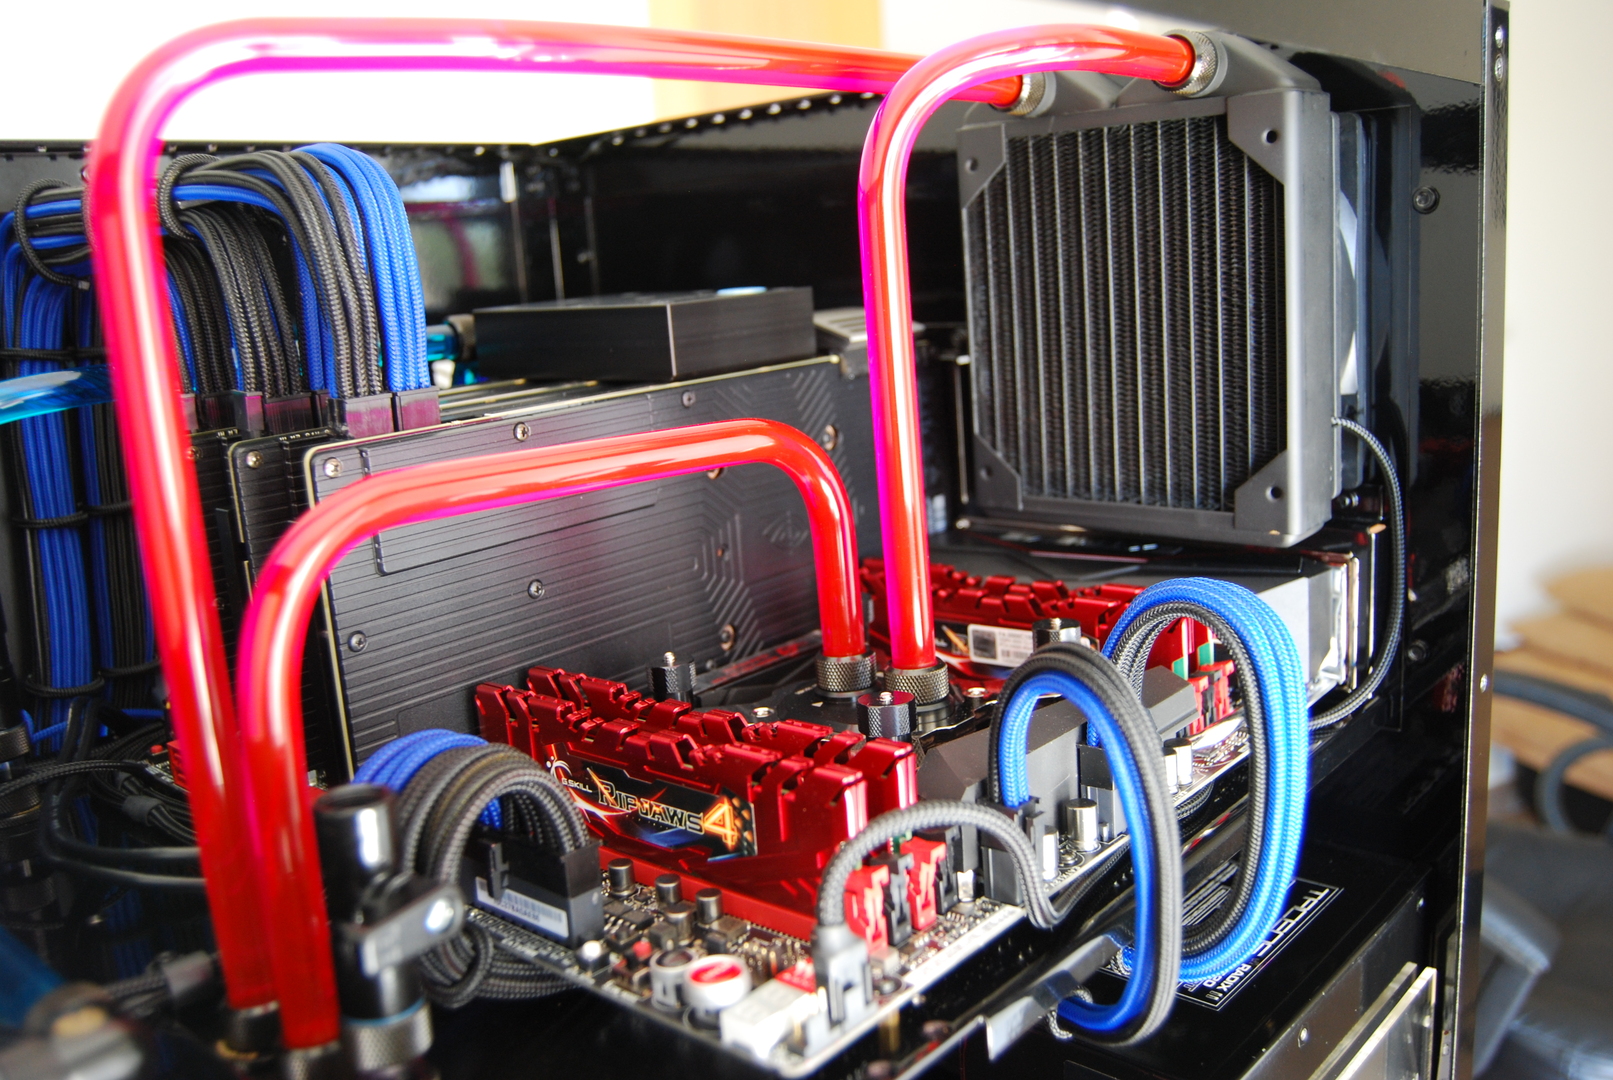
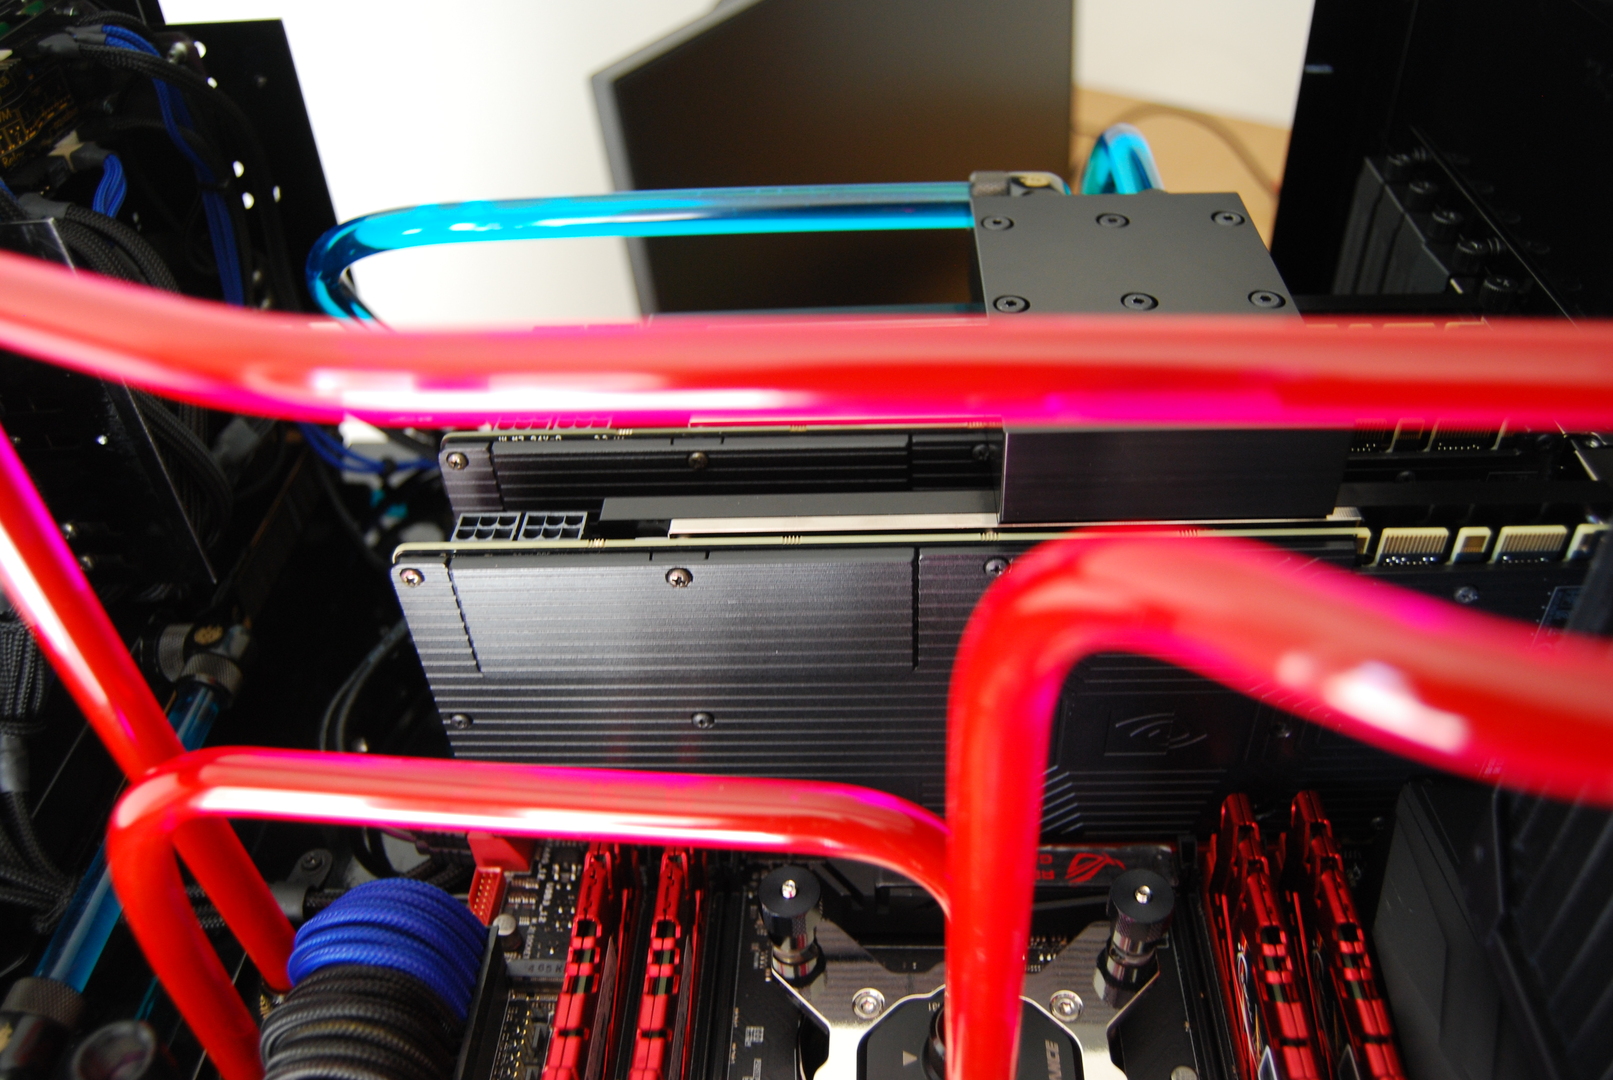
!Seguimos con la parte alta interna bloques, mangueras, puente sli, etc:
!
!
!
!
!
!
!
!
!
!
!
!
!
!
!La tapa que cree para refrigerar el Aqauero6 y disimular todos los cables que le llegan y salen de el:
!
!
Interruptores para apagar y encender los led, y los pulsadores on-off reset:
!
Visualización desde fuera. Cuando lo tenga con todas las tapas terminadas le are mas fotos, para que lo veáis mejor terminado:
!
!
!
!
-
Now I'm going to show you how the Aquaero6 works on the Mountain. I must say that the little I've tested is impressive, all the parameters we can control with our Aquaero, but to my liking it lacks some details. One of the things I wanted to do with it was control the fans and pumps by independent measurements of dissipated energy, which requires two temperature probes in the water circuit and a counter to make the calculation. Well, this control is not control, it's only good for visualizing it on the Aquaero screen.
Another very interesting thing it has is the option to make work curves according to our need for temp, in the area we want. The drawback I see that this control lacks is being able to assign the same output in different curves, you can only assign it once.
For the rest it's the best option we can have, for all those who like to collect data, both of frequencies, temps, voltages etc, of our system at all times.Welcome page of the Aquaero. I've personalized it to my liking, according to what I think I'll visualize the most.
!
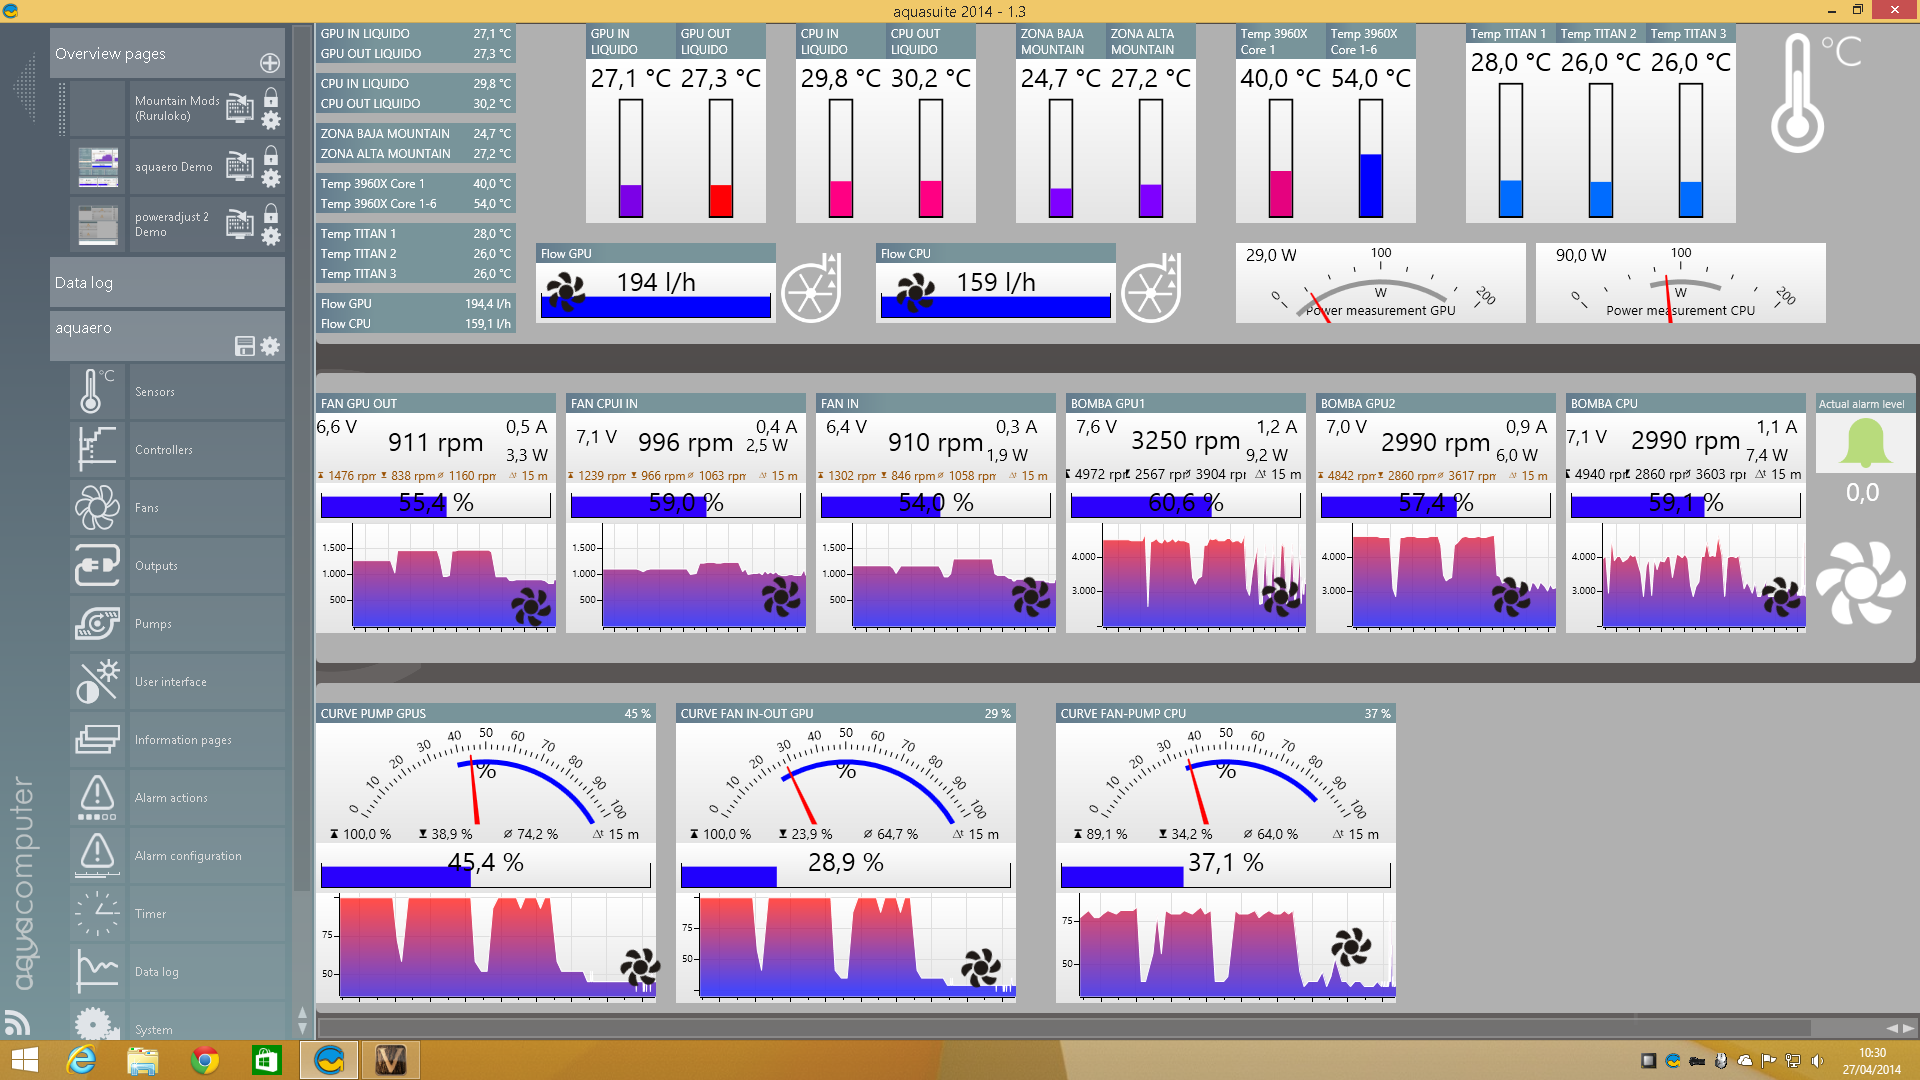
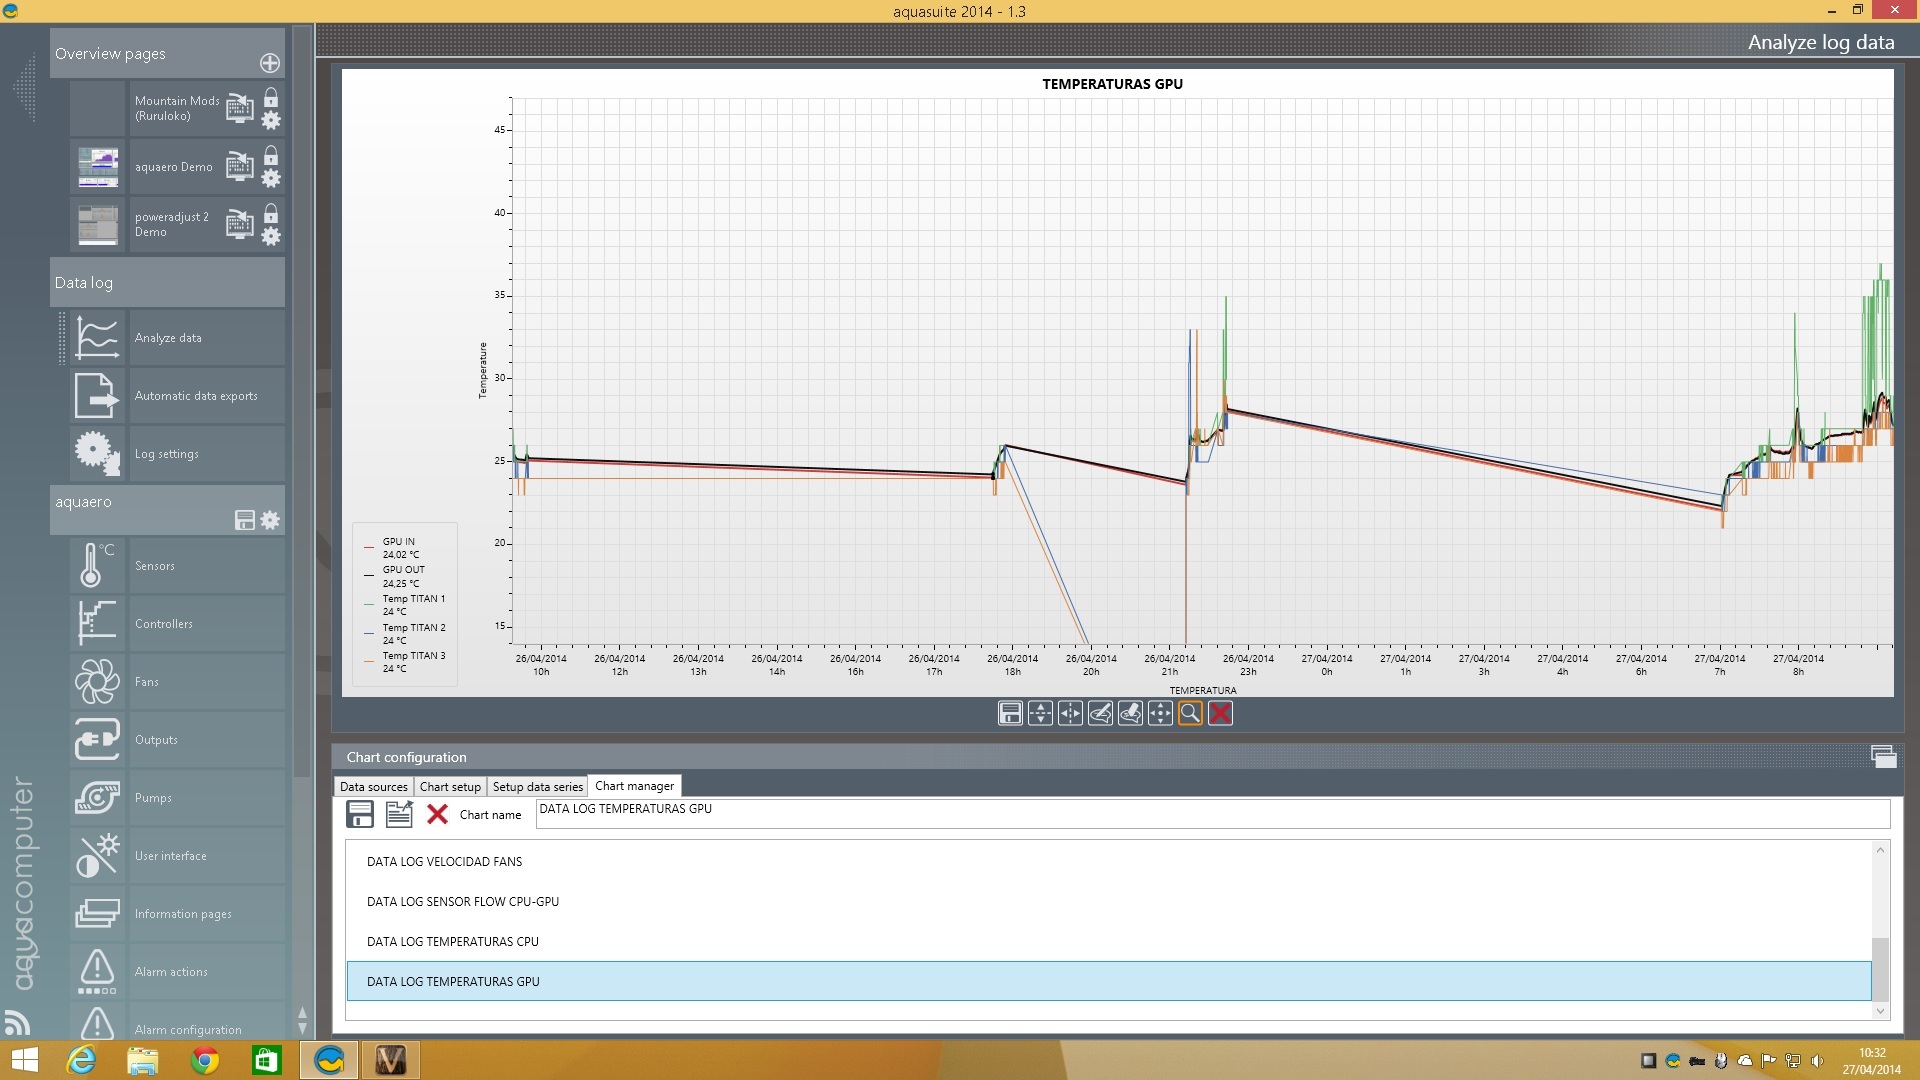
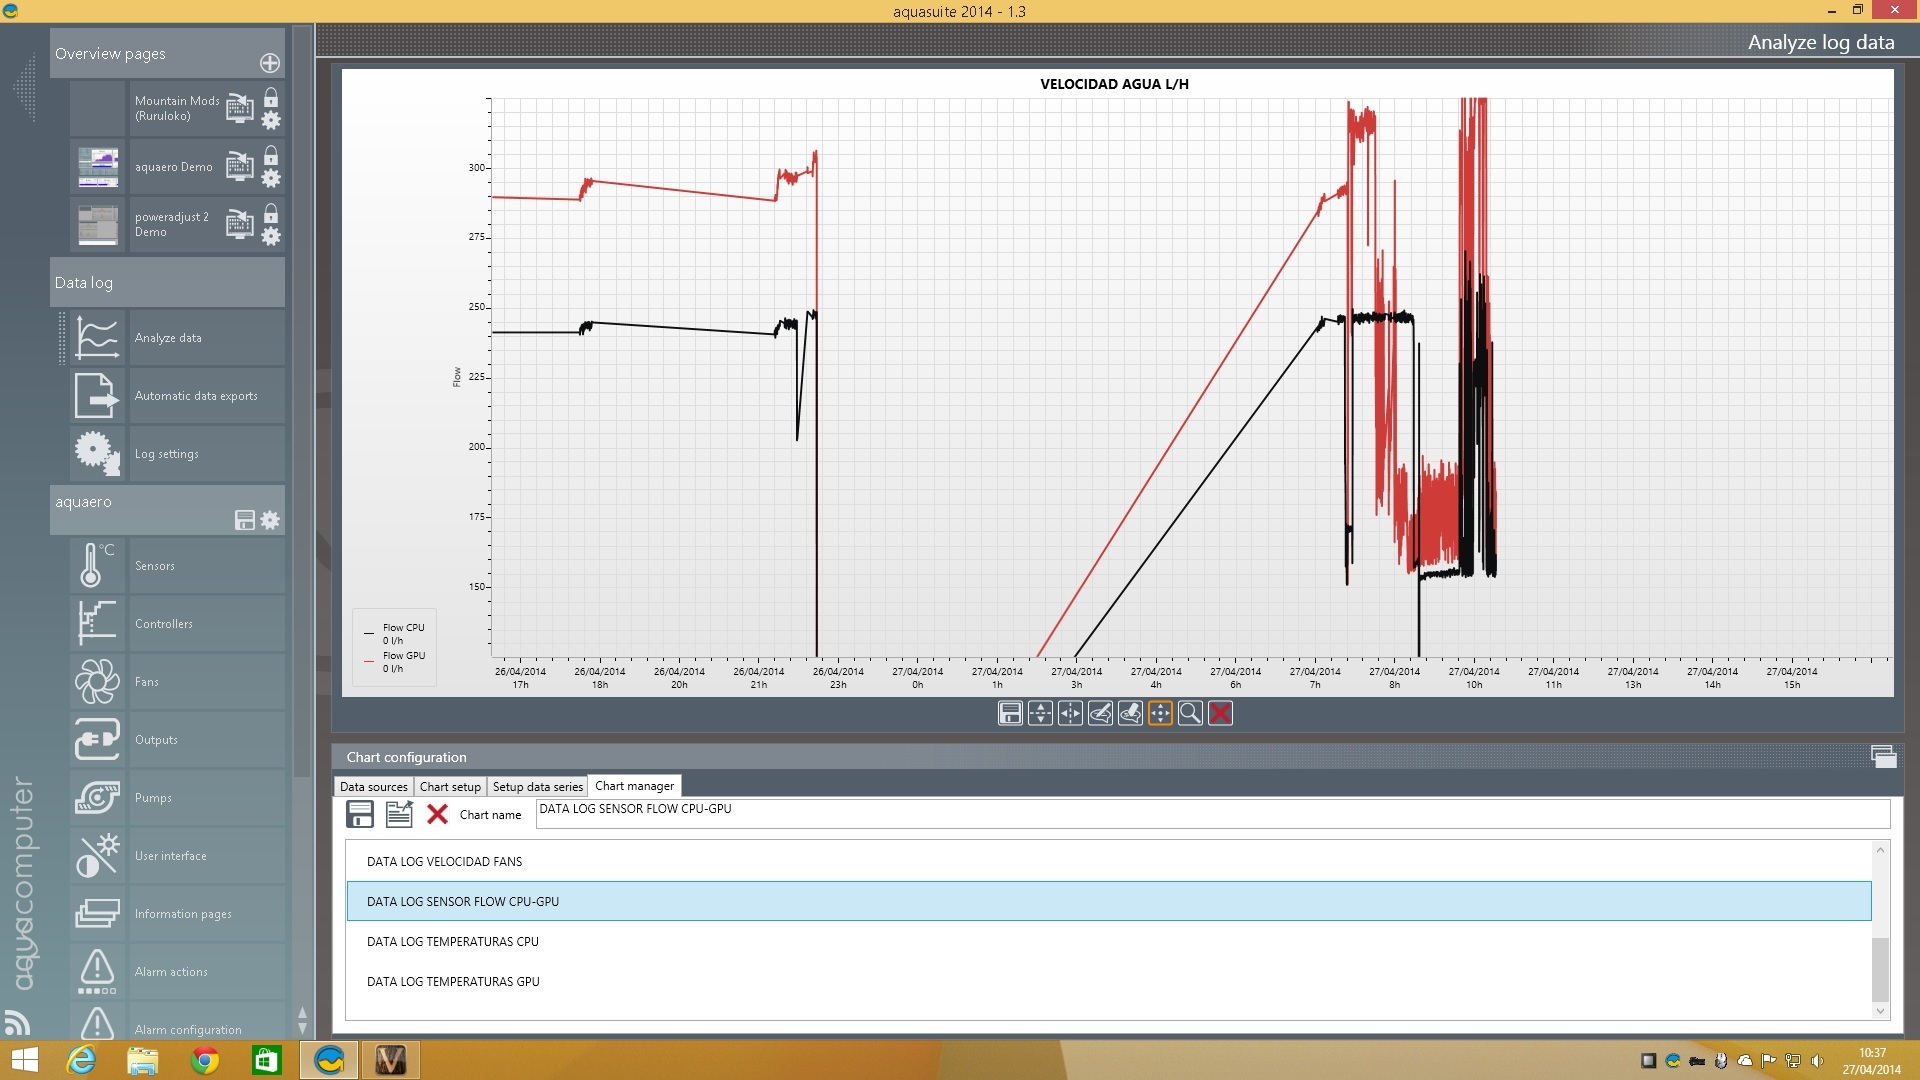
Creating Data Log page:
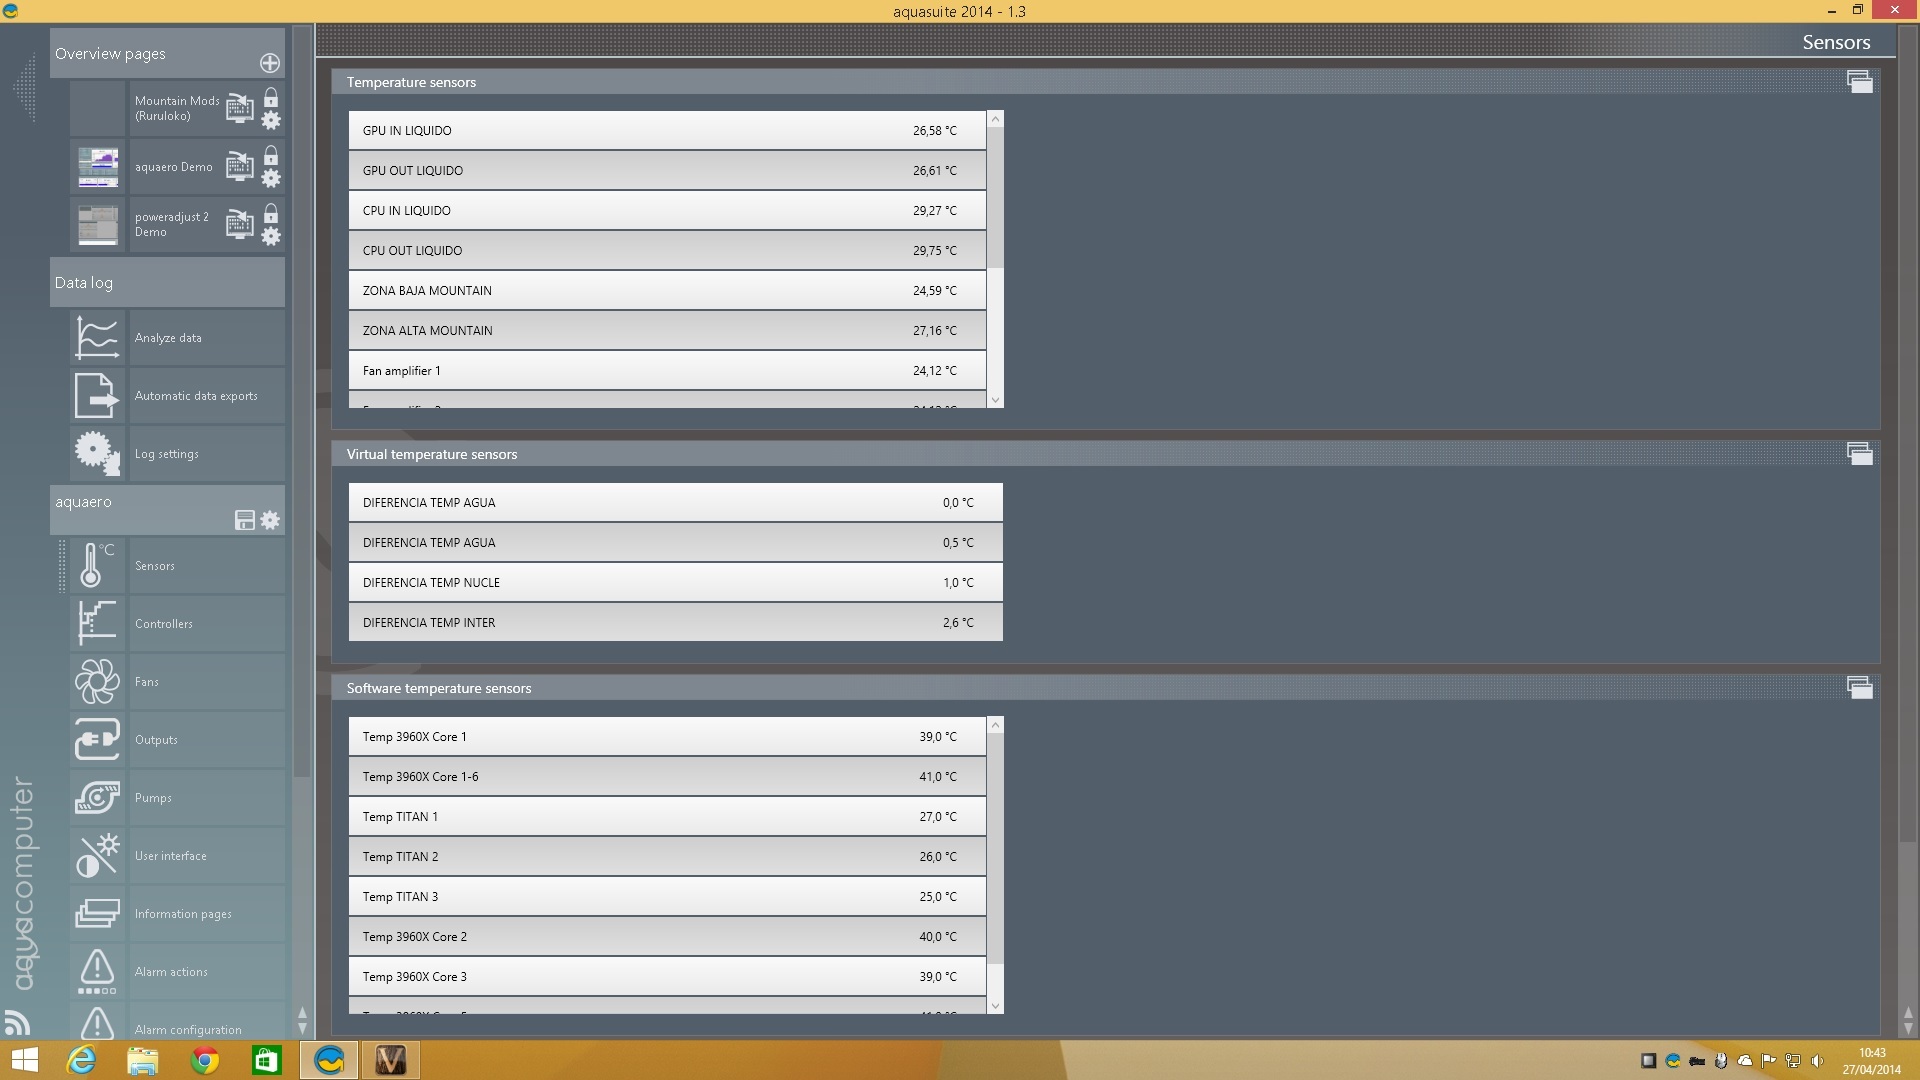
Here we will see a graph of everything our team does at all times.GPU core and liquid temp probes:
!
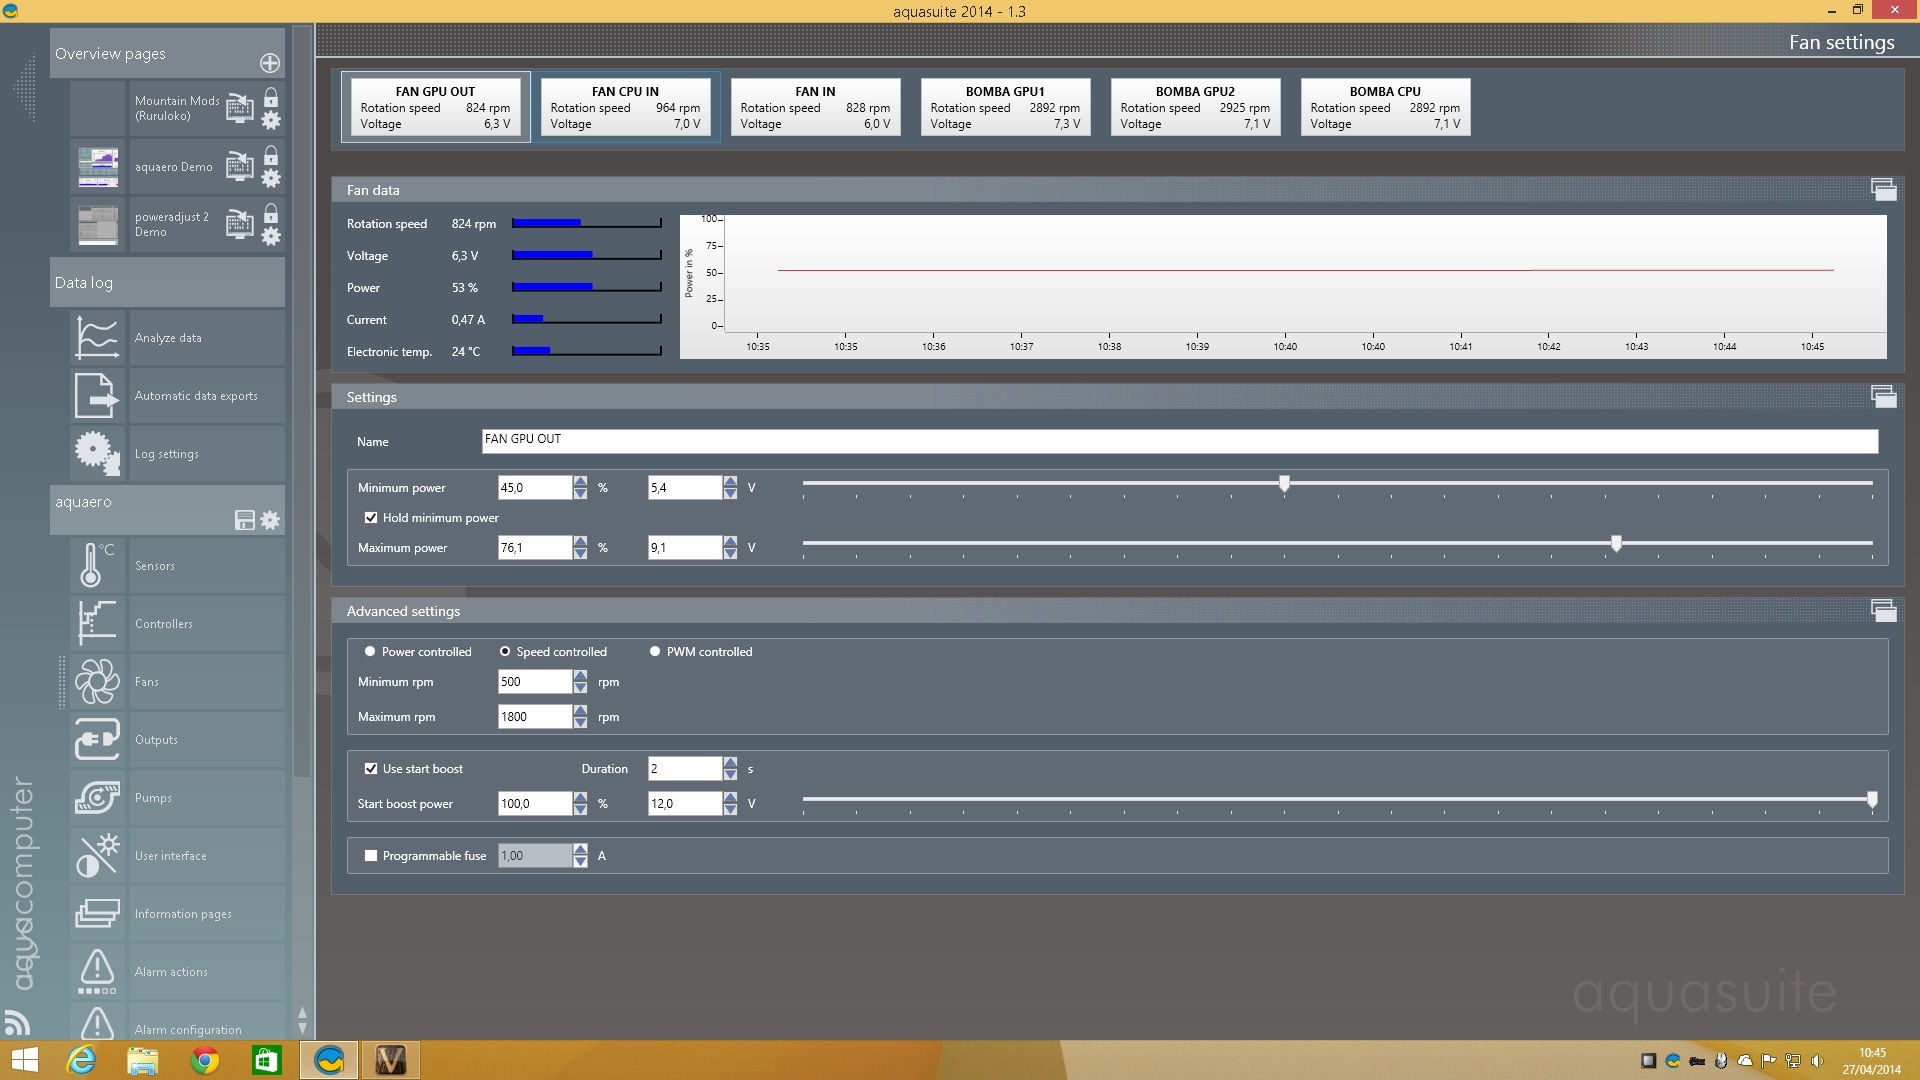
!RPM speed of the fans:
!

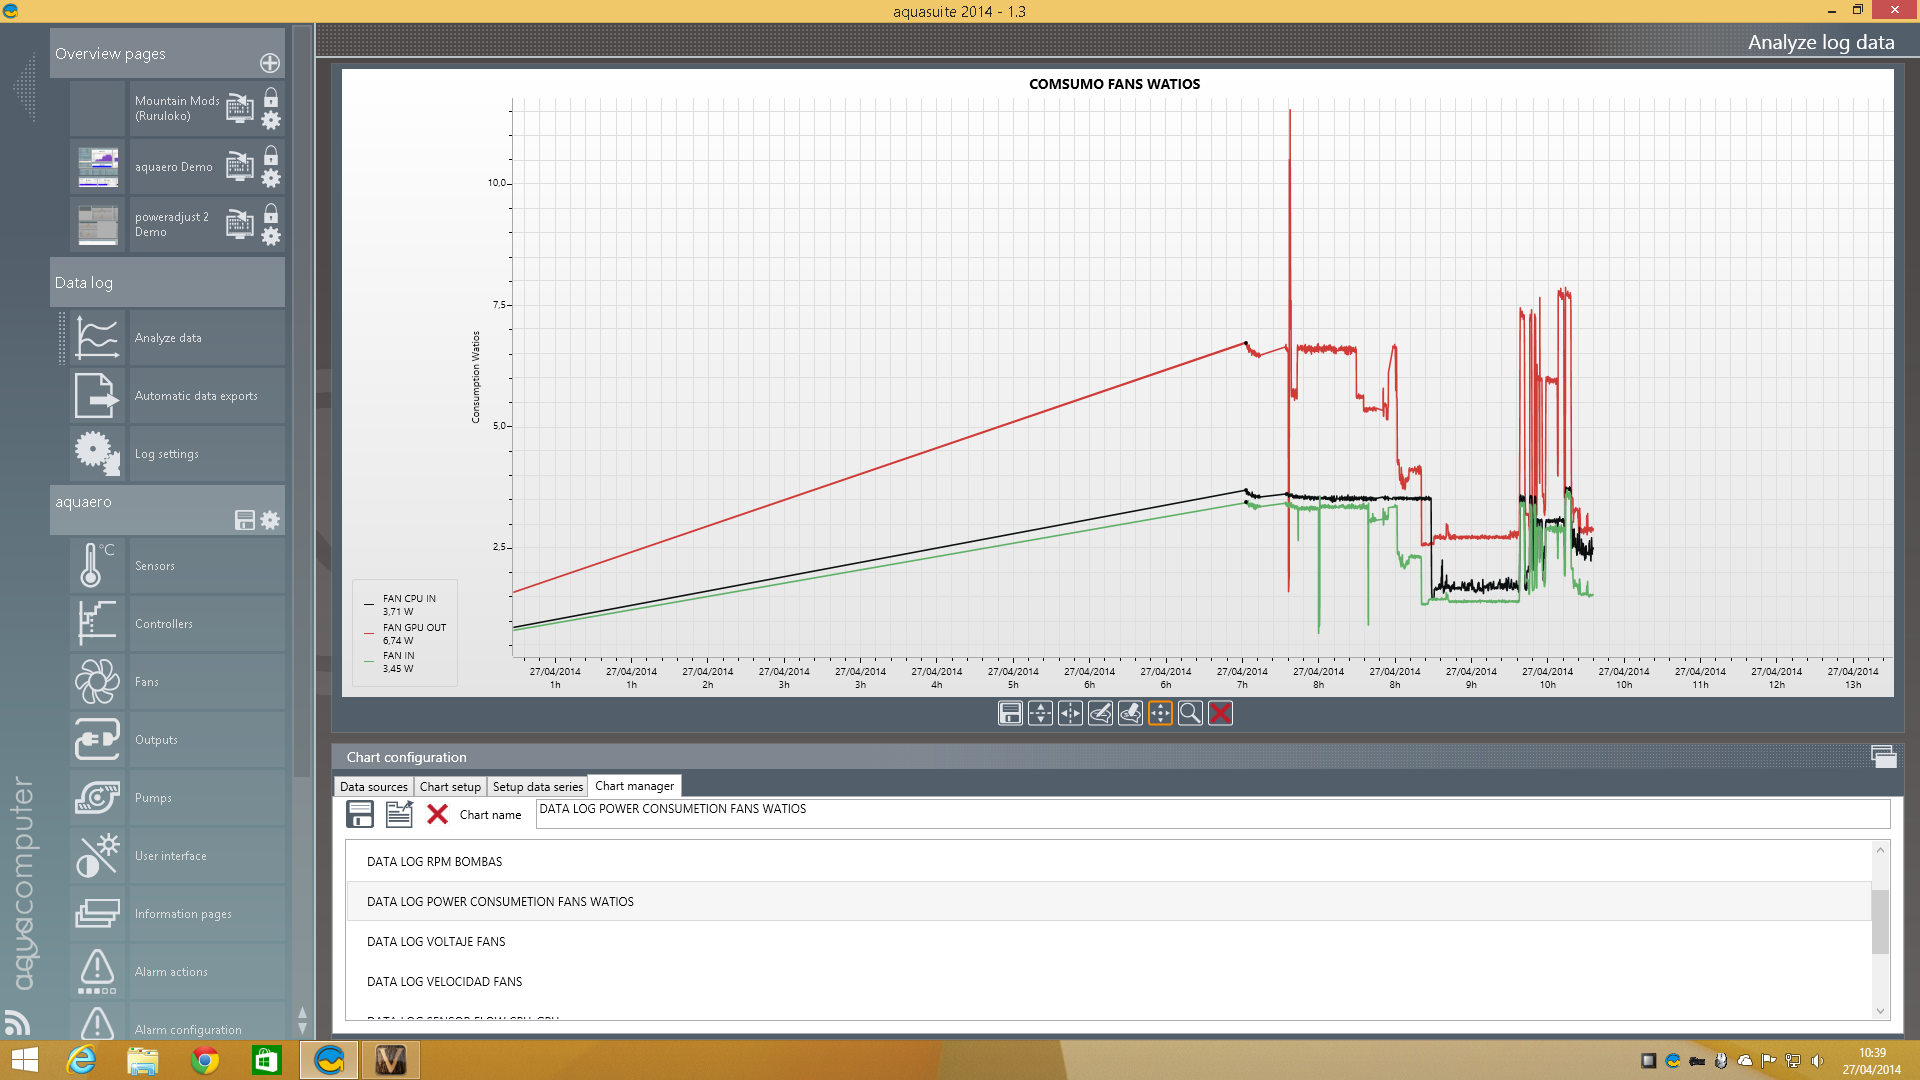
Watts consumption of the fans:
!
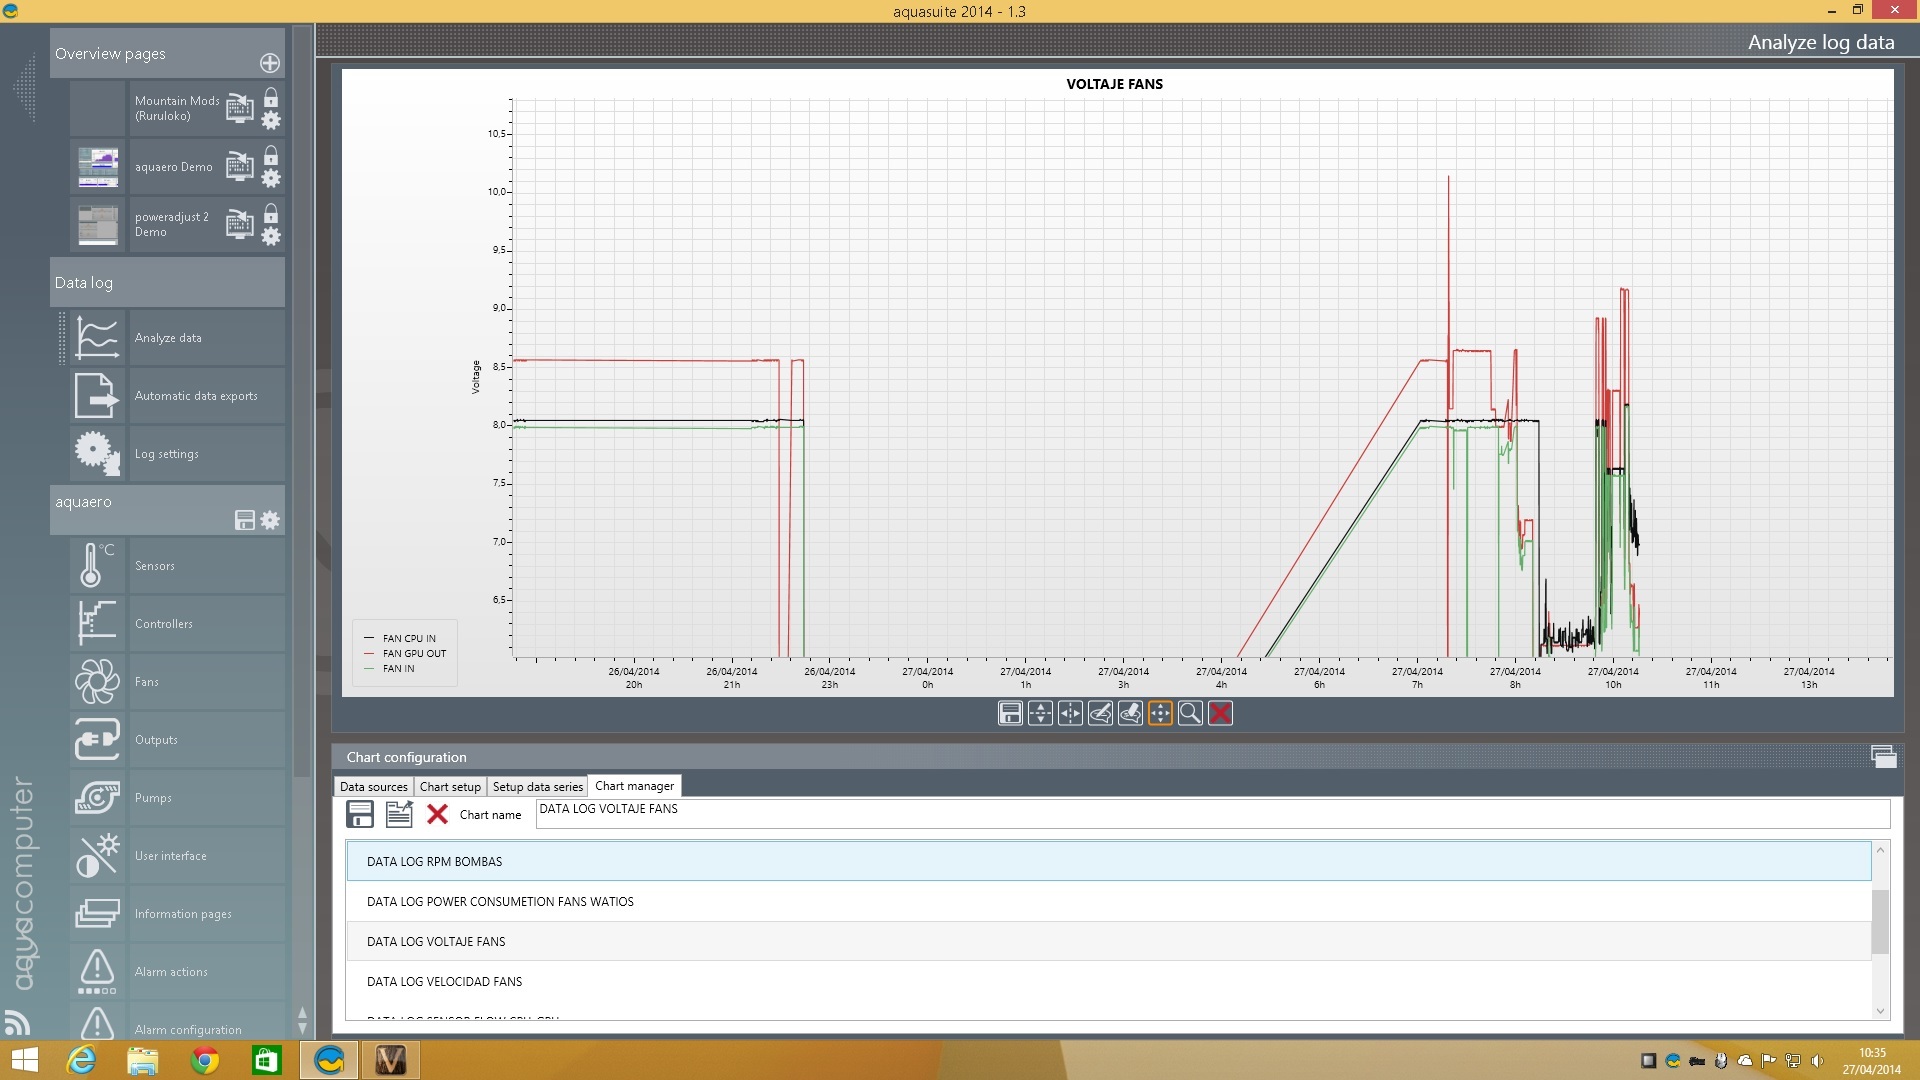
Voltage of the fans:
!
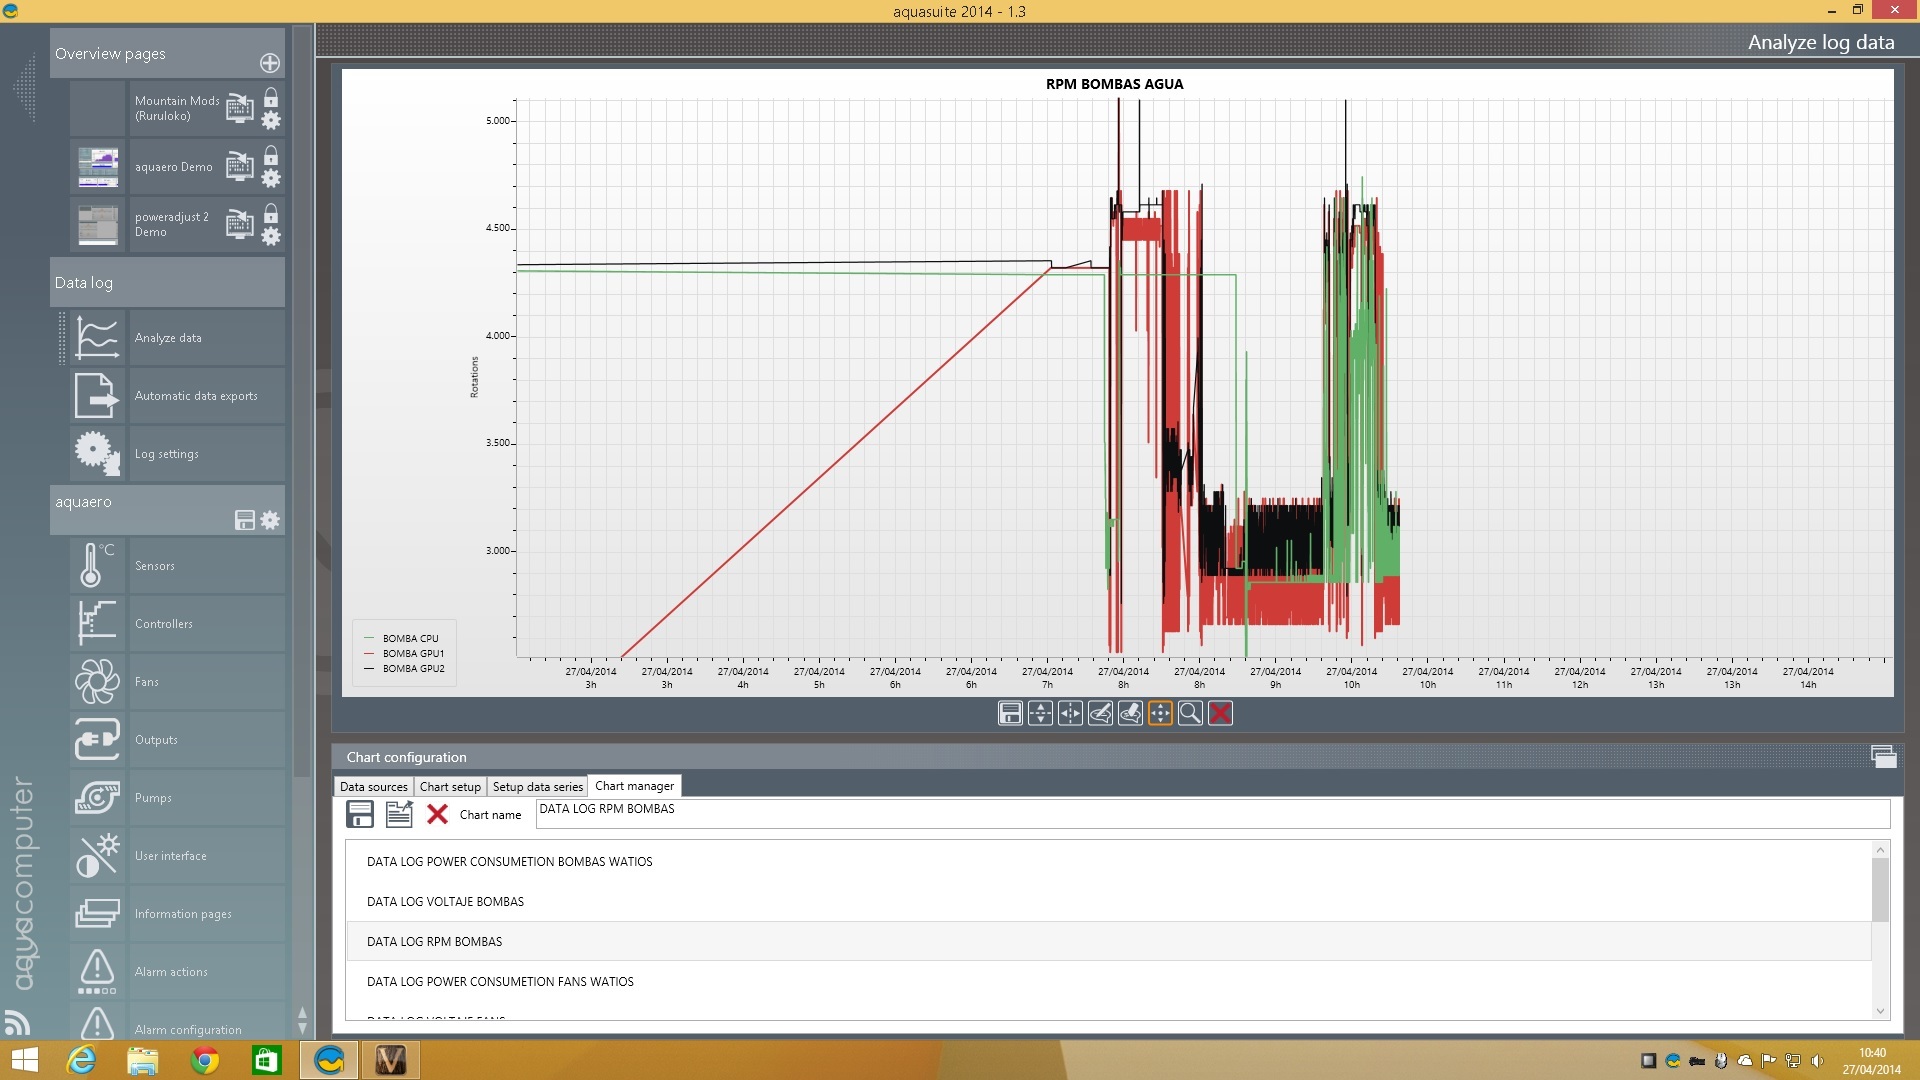
Revolutions of the pumps. I must say that my Laing D5 didn't come with the pulse cable for RPM, for those who don't have it, it's a very easy process to be able to control our pump with a rehobus or in my case with the Aquaero.
!
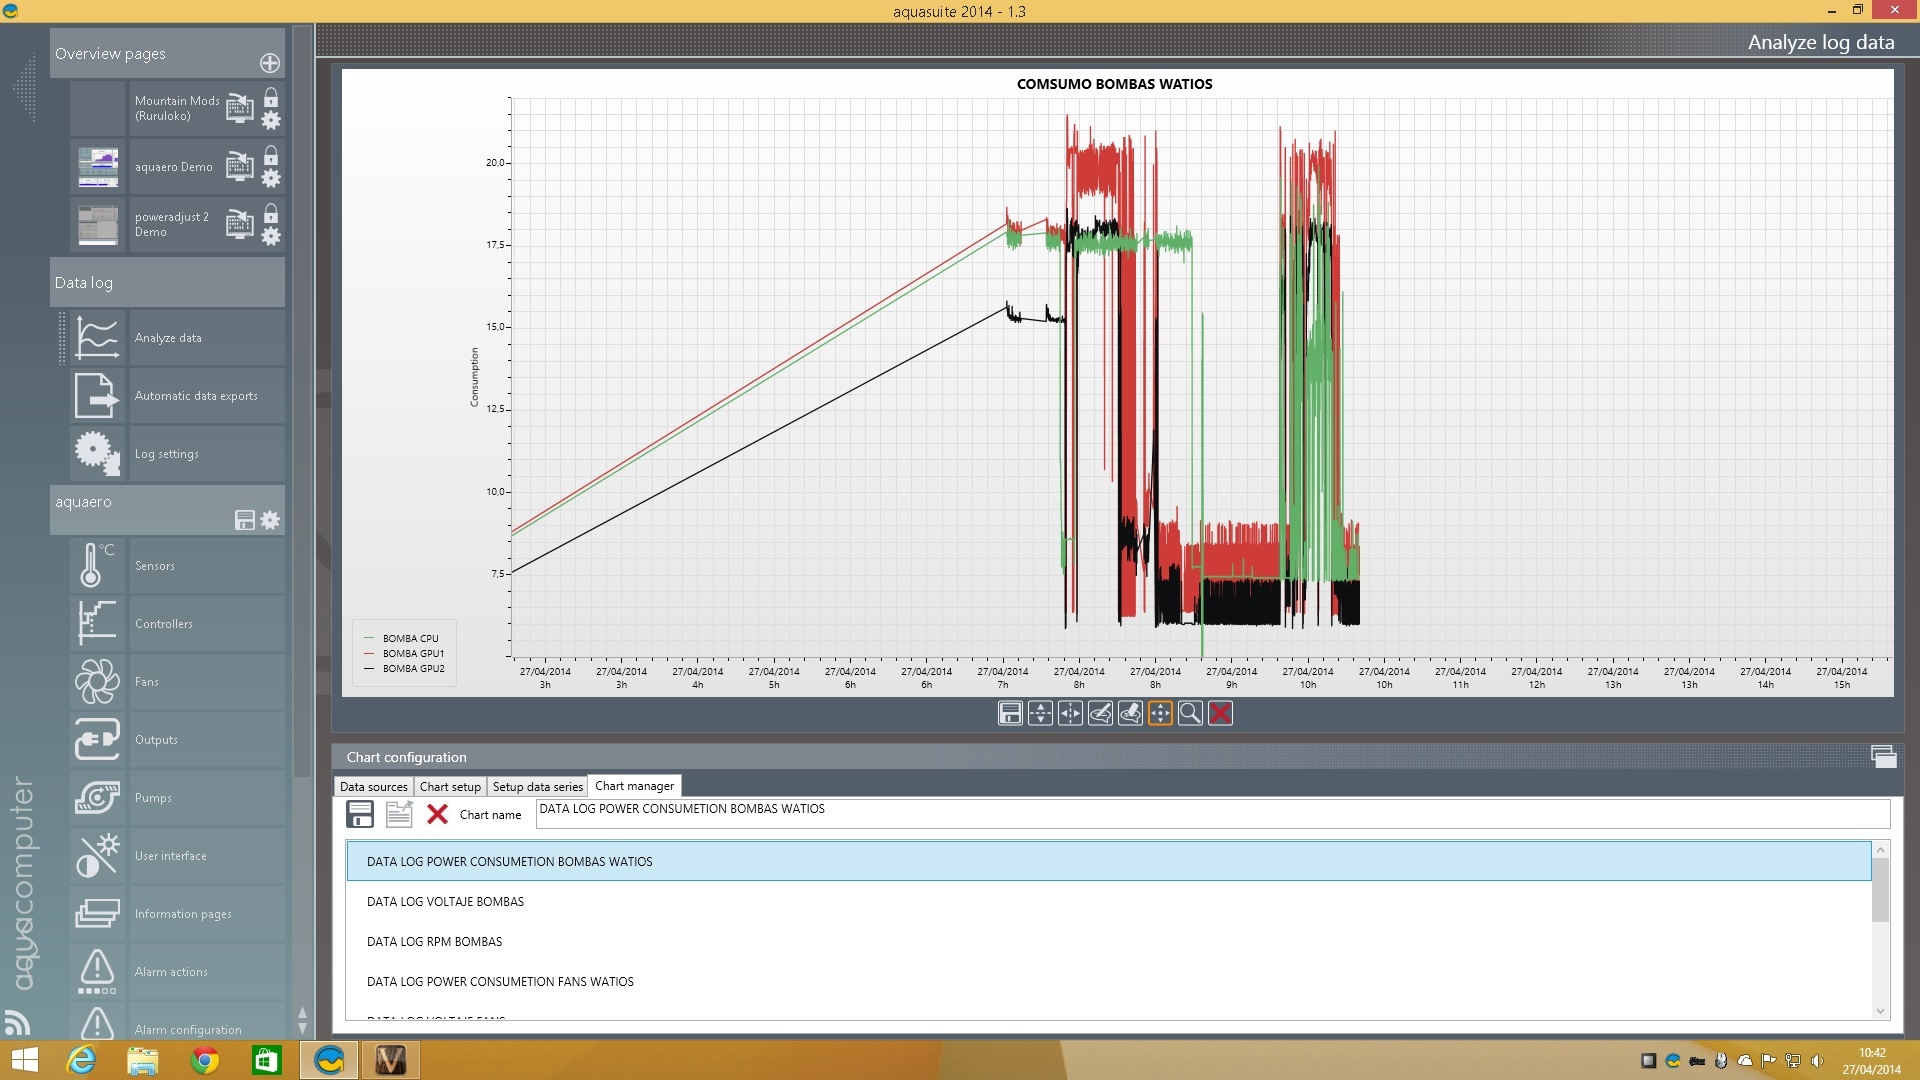
Wattage consumption of the pumps:
!
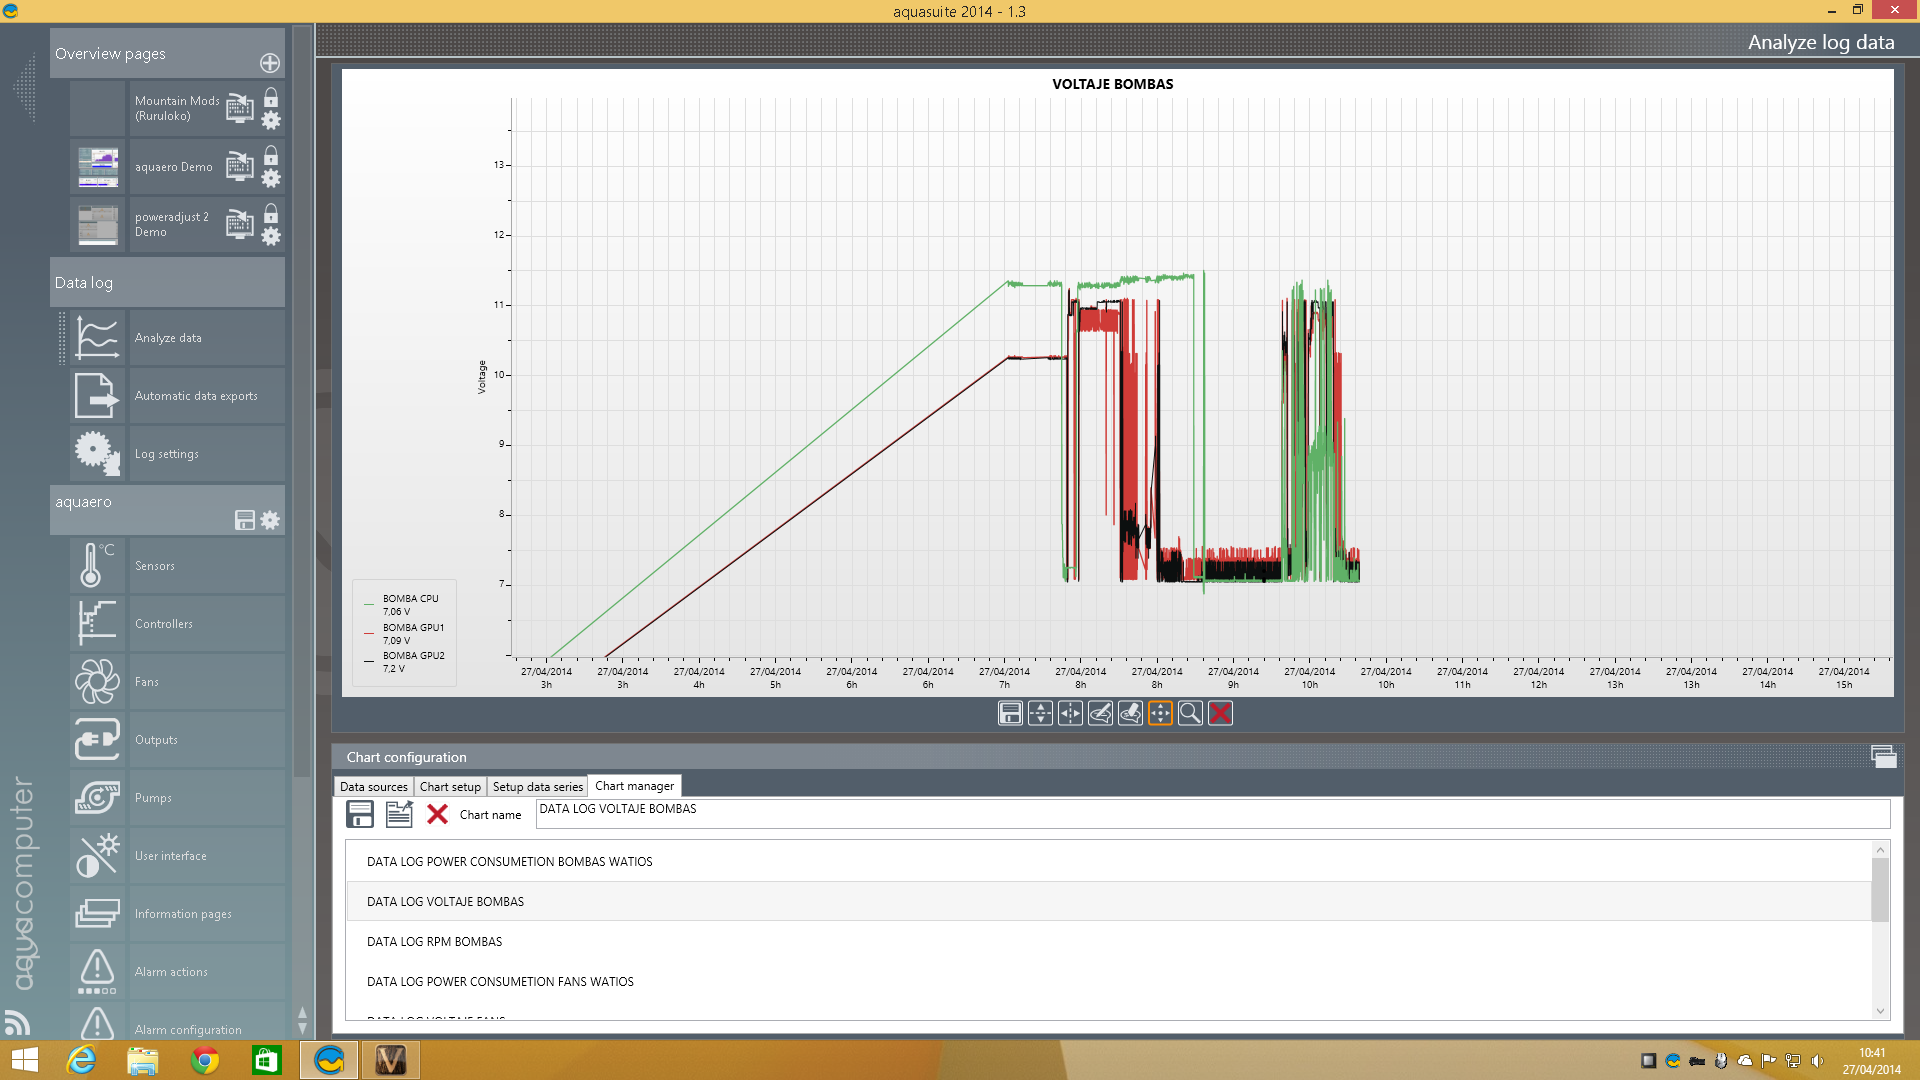
Voltage of the pumps:
!
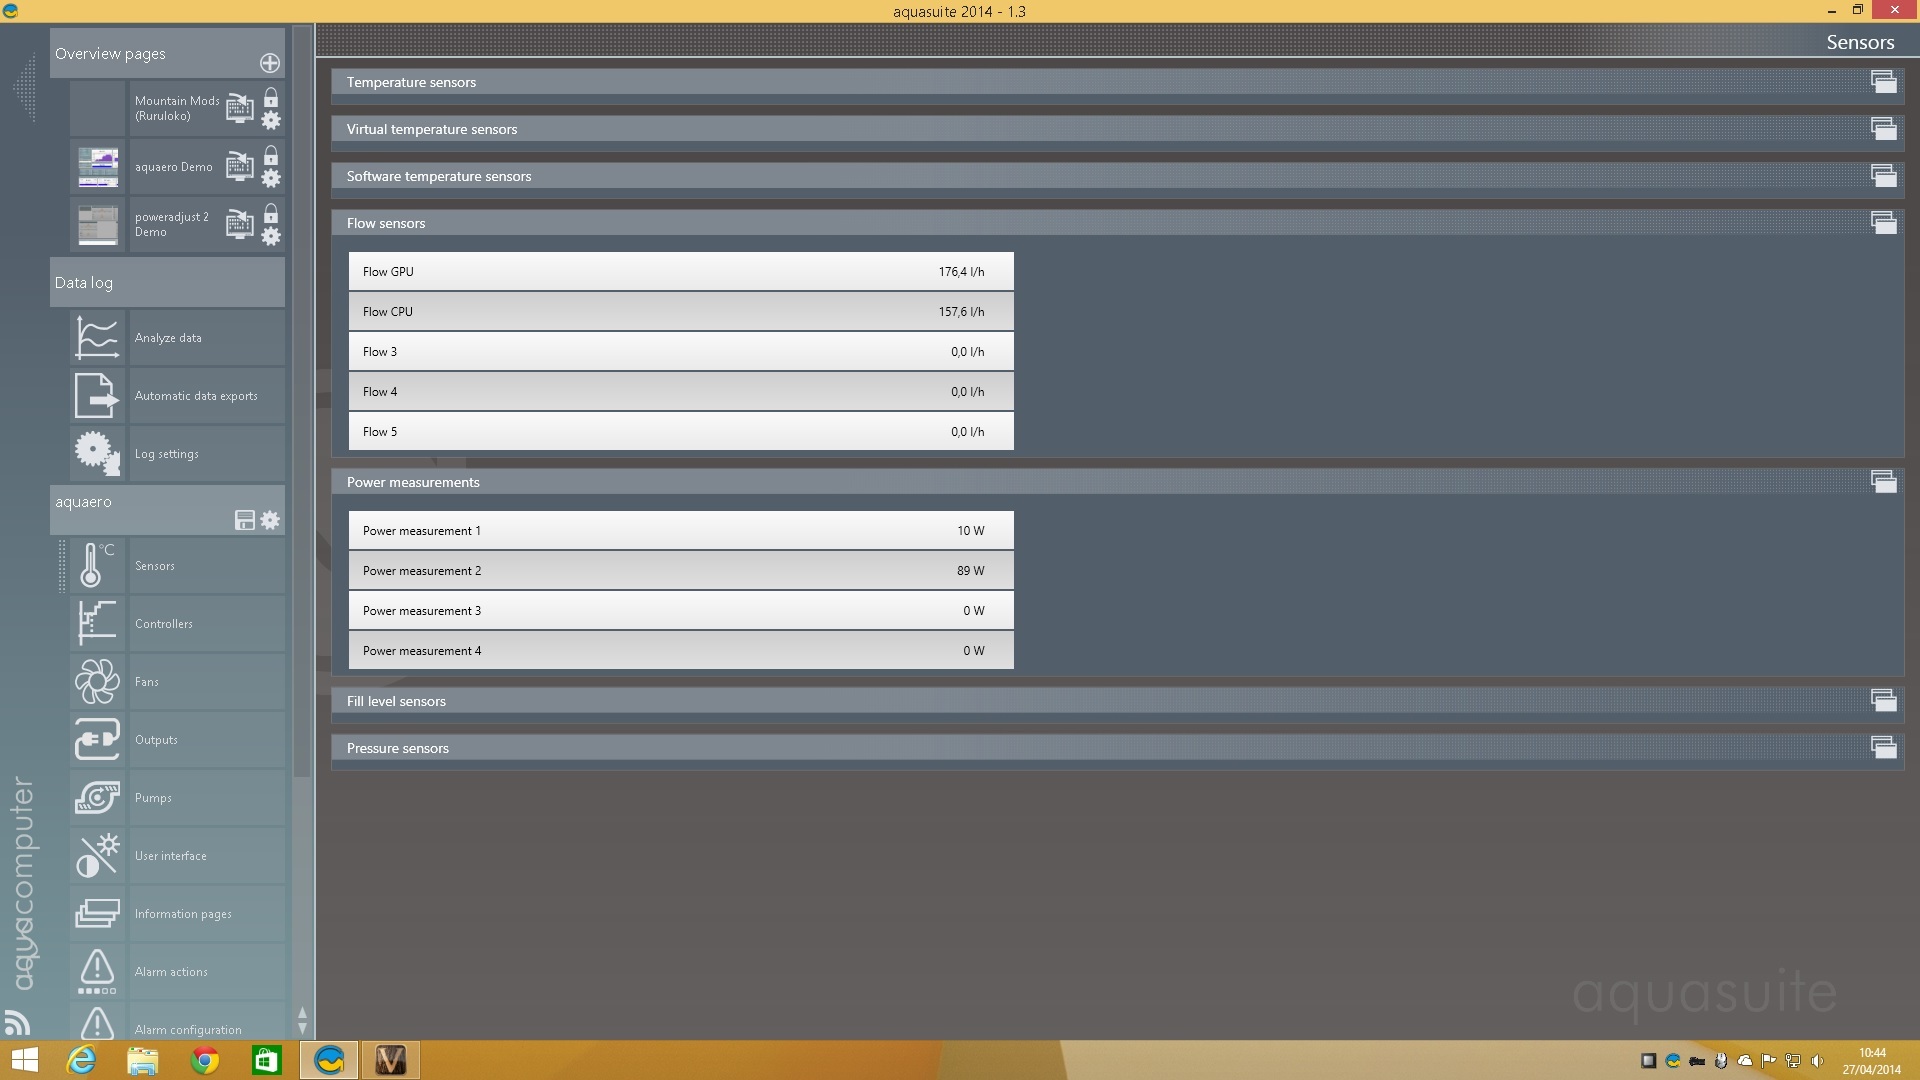
Flow sensors:
!
The Aquaero sensors:
!
!
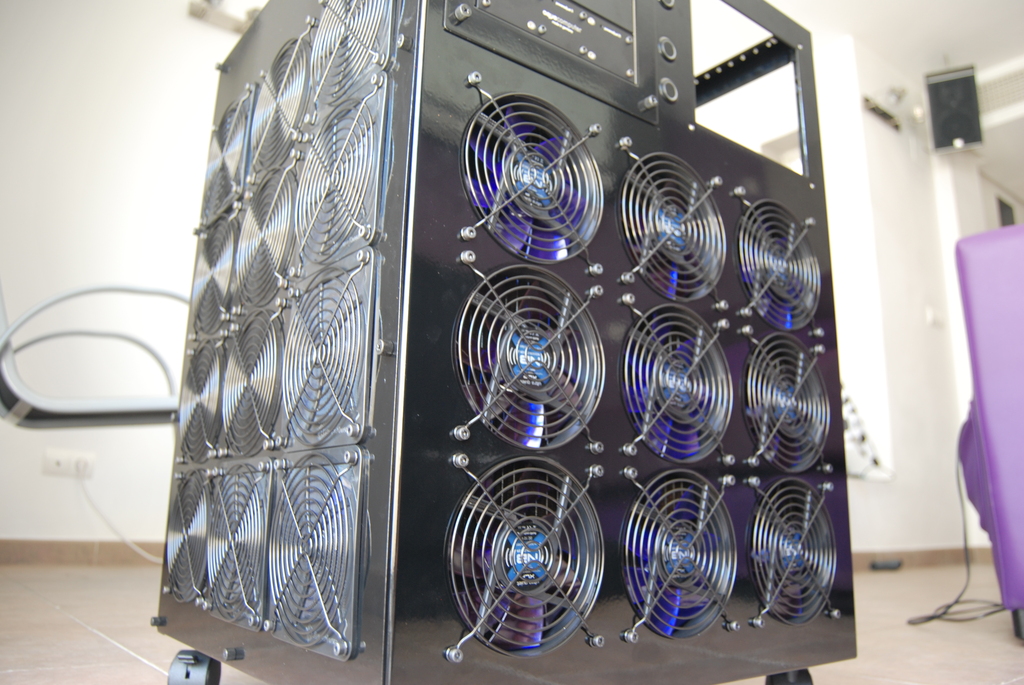
The fans:
!
That's it, comrades, I'll keep you informed.
Regards.
-
Hello, friends.
I have a small update on my little one. I'm sorry for leaving the thread a bit abandoned and for not having followed all of your projects closely, but I wish I could be here all day.
The new improvements added are the following:
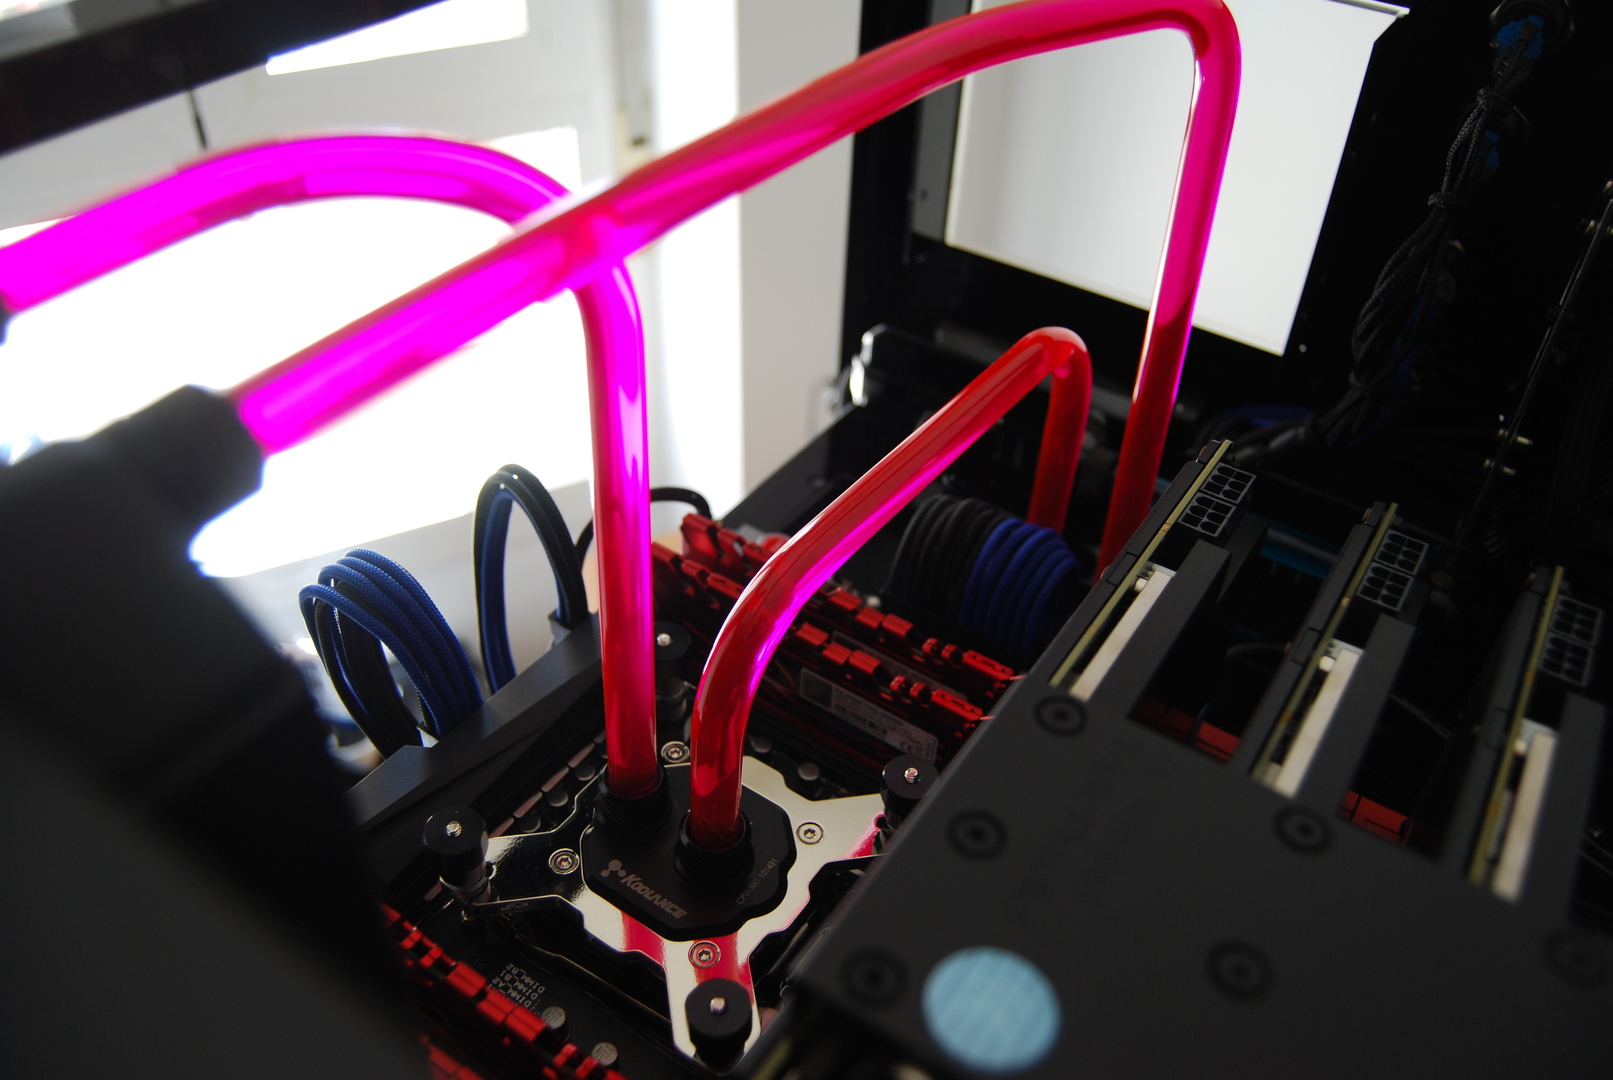
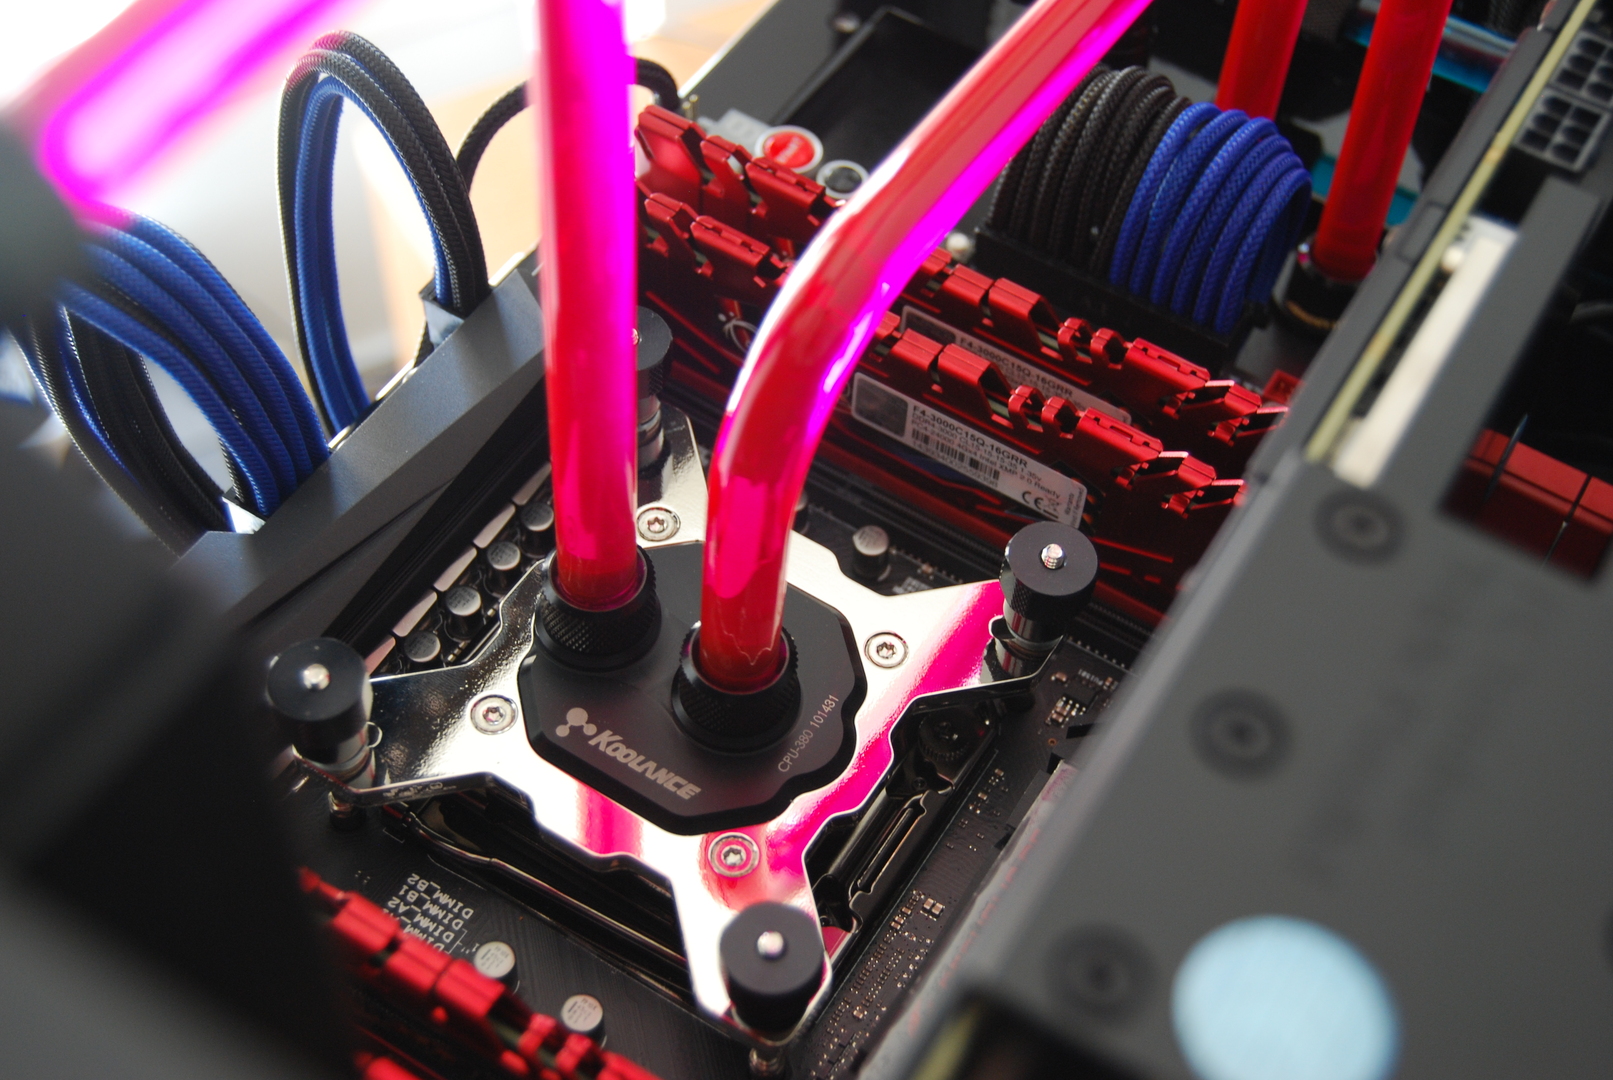
Koolance CPU-380I
Koolance Radiator 1x120
Asus Rampage V
G.Skill F4-3000C15Q
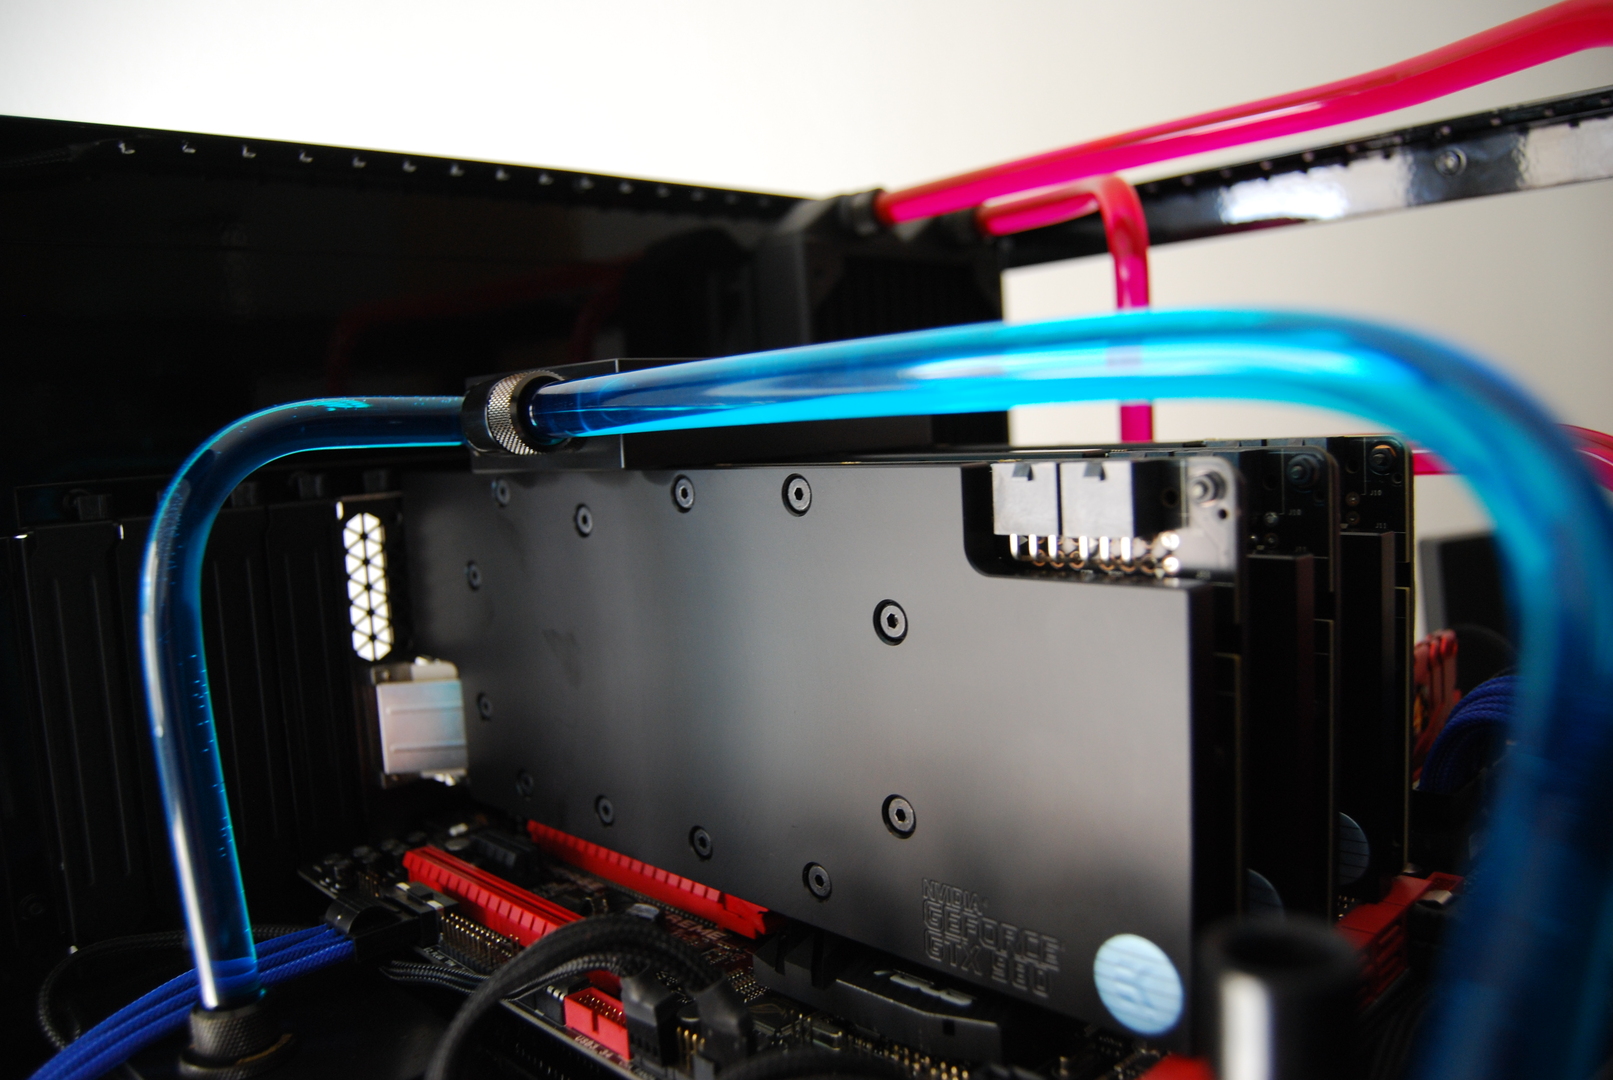
GTX 980
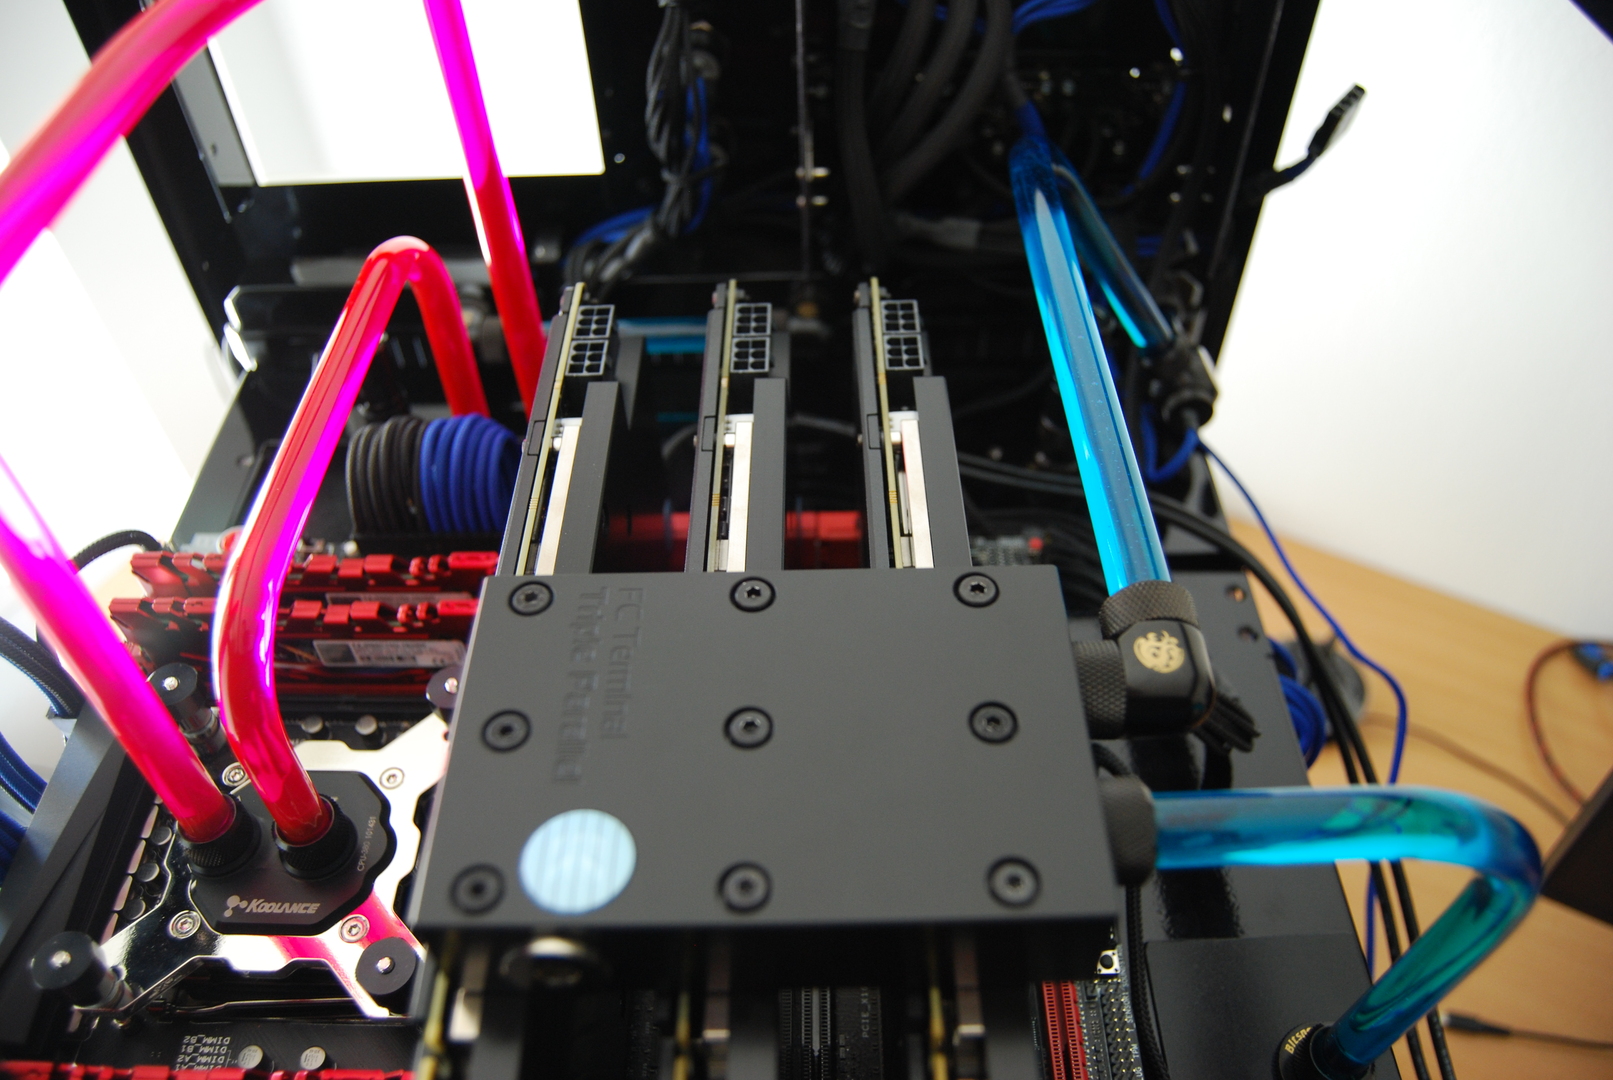
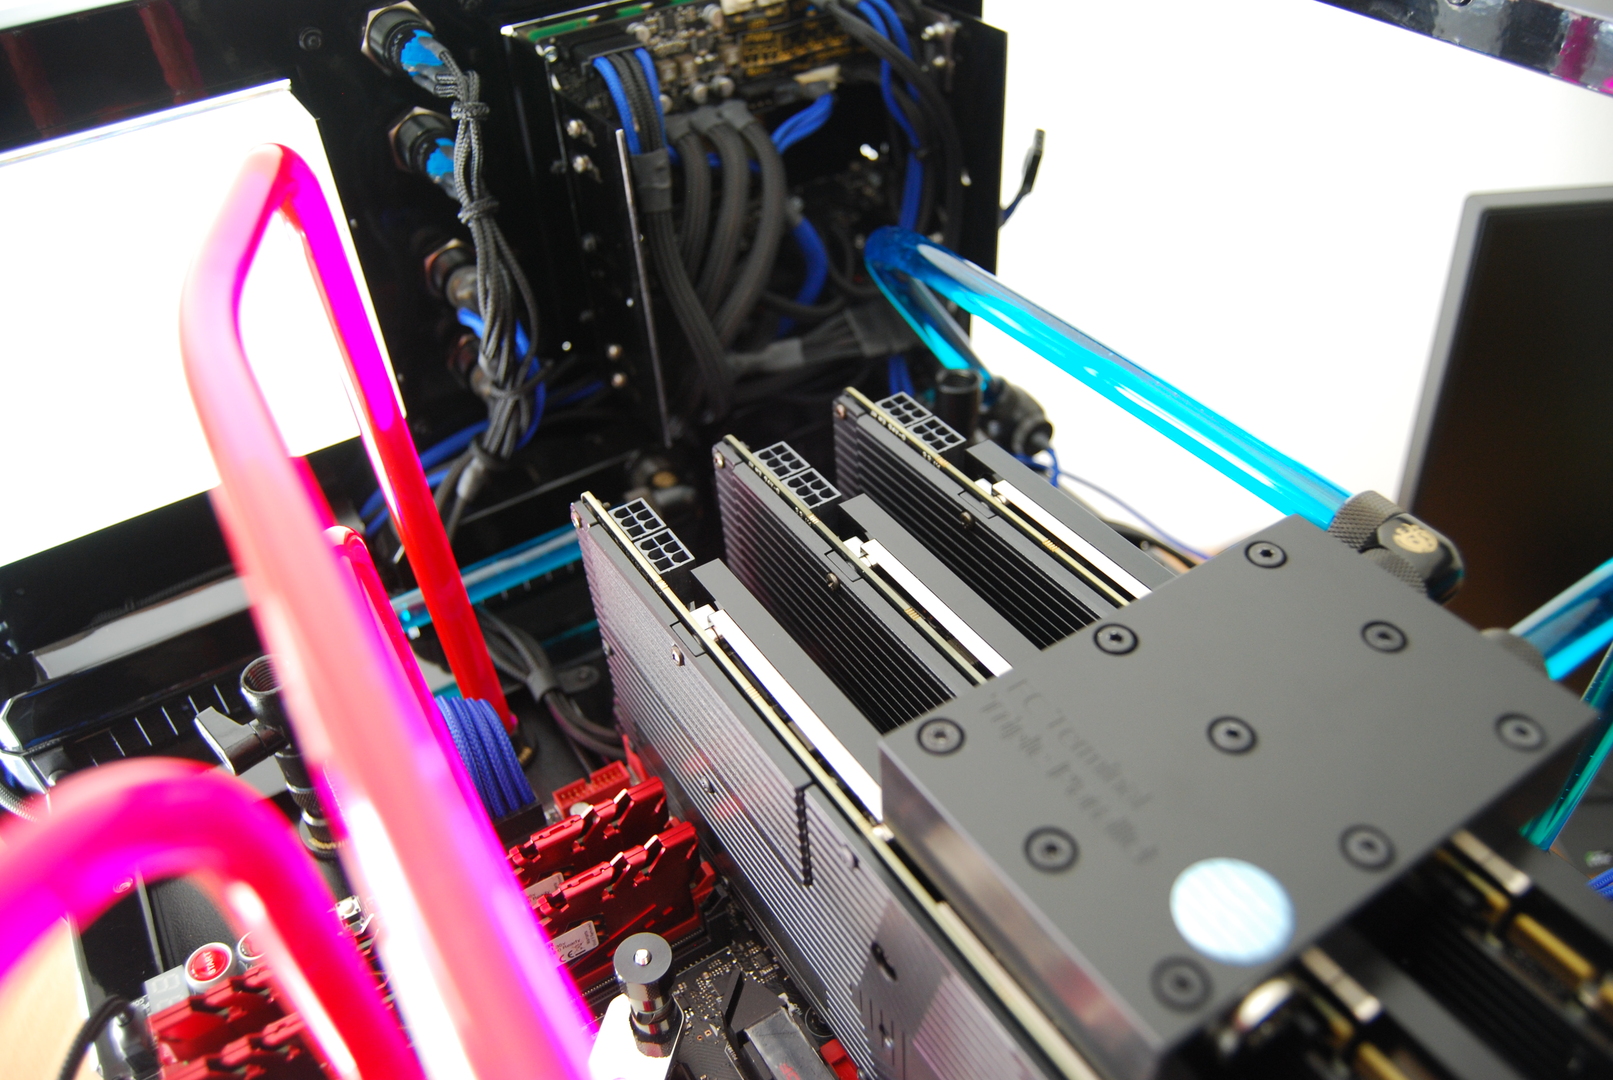
EK-FC980 GTX - Acetal + Nickel
EK-FC Terminal TRIPLE parallel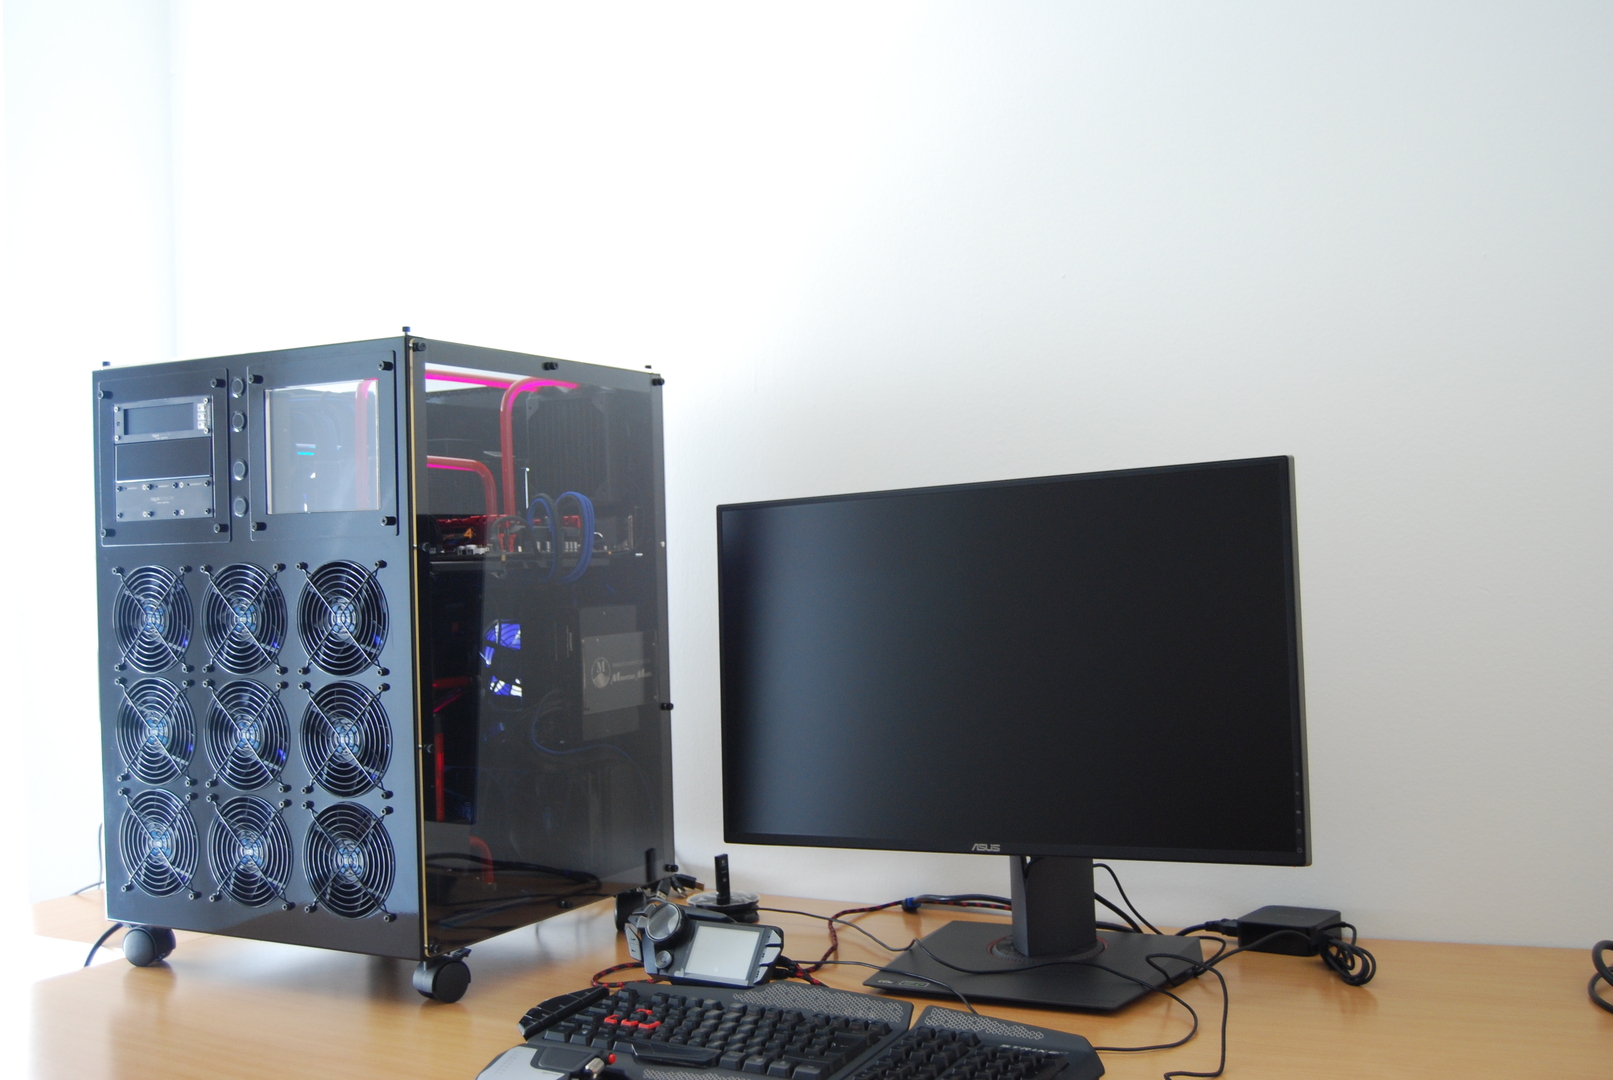
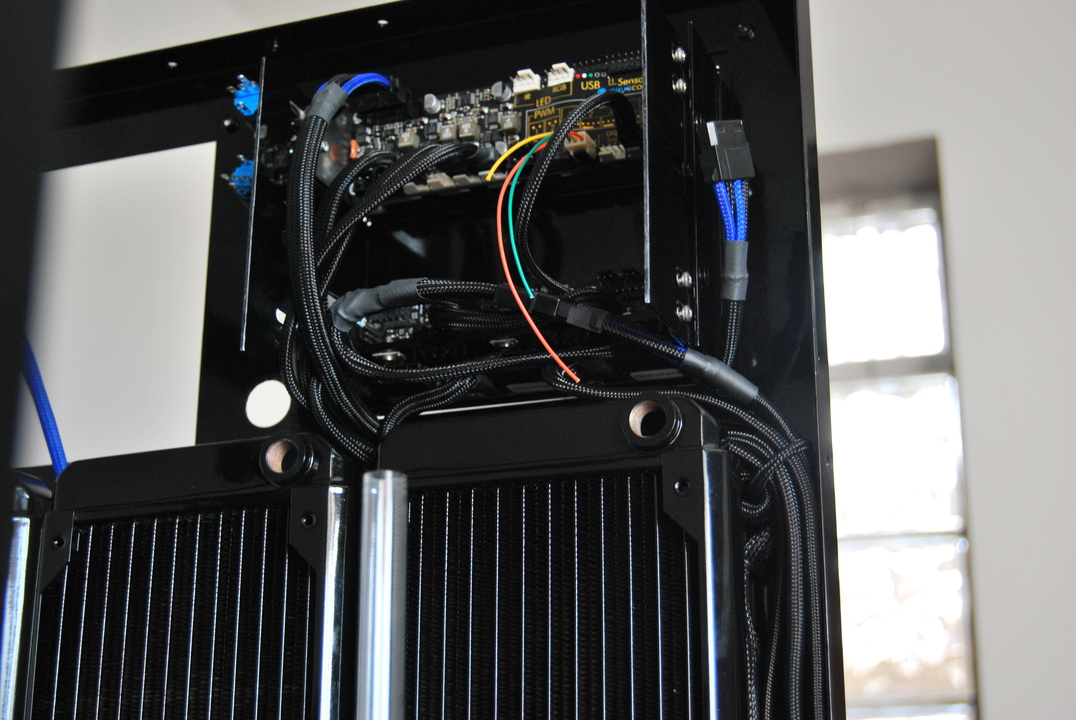
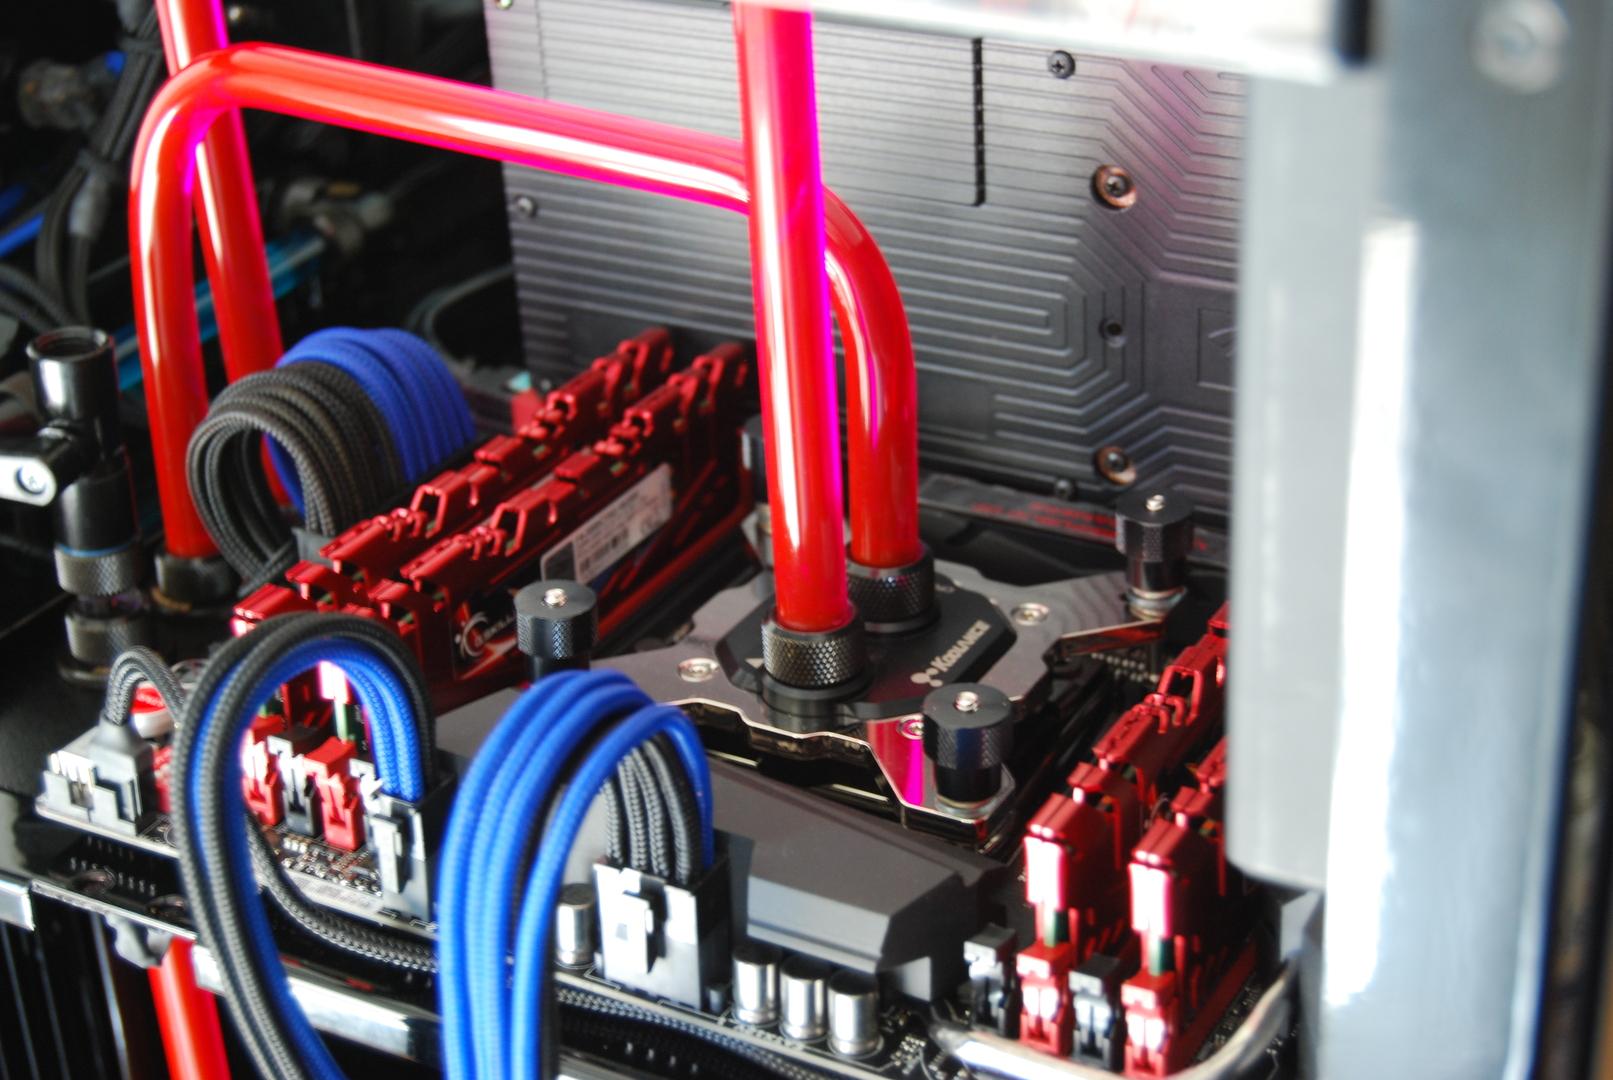
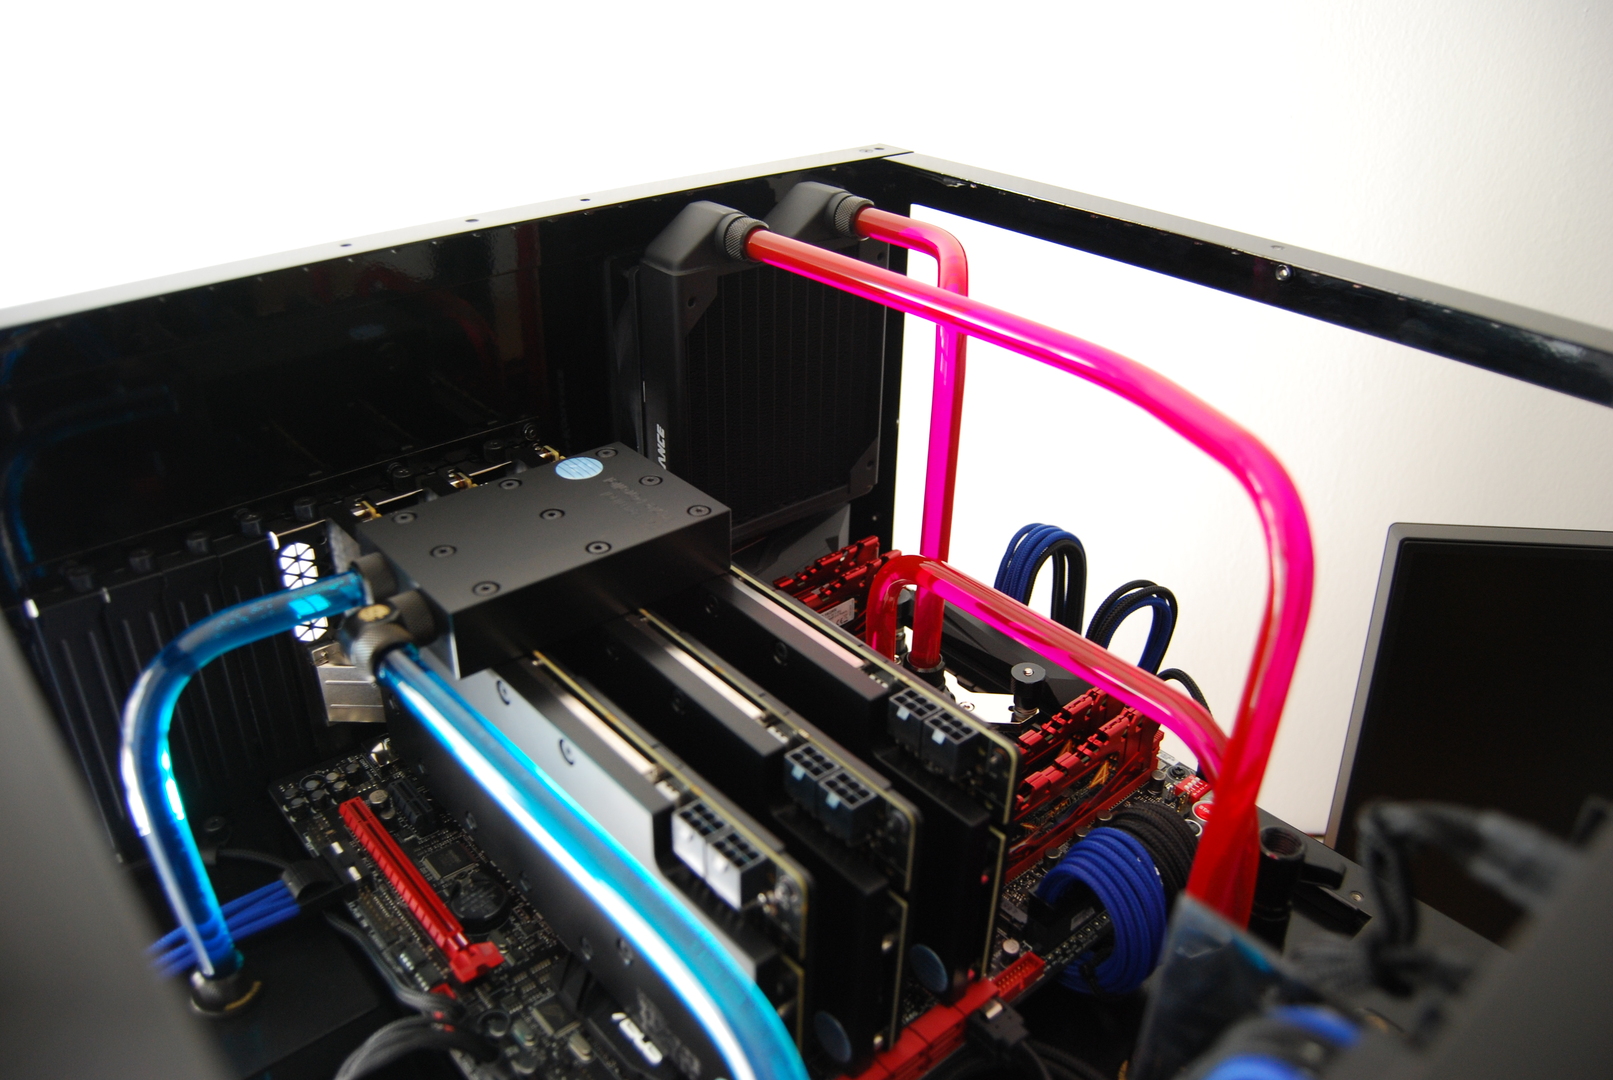
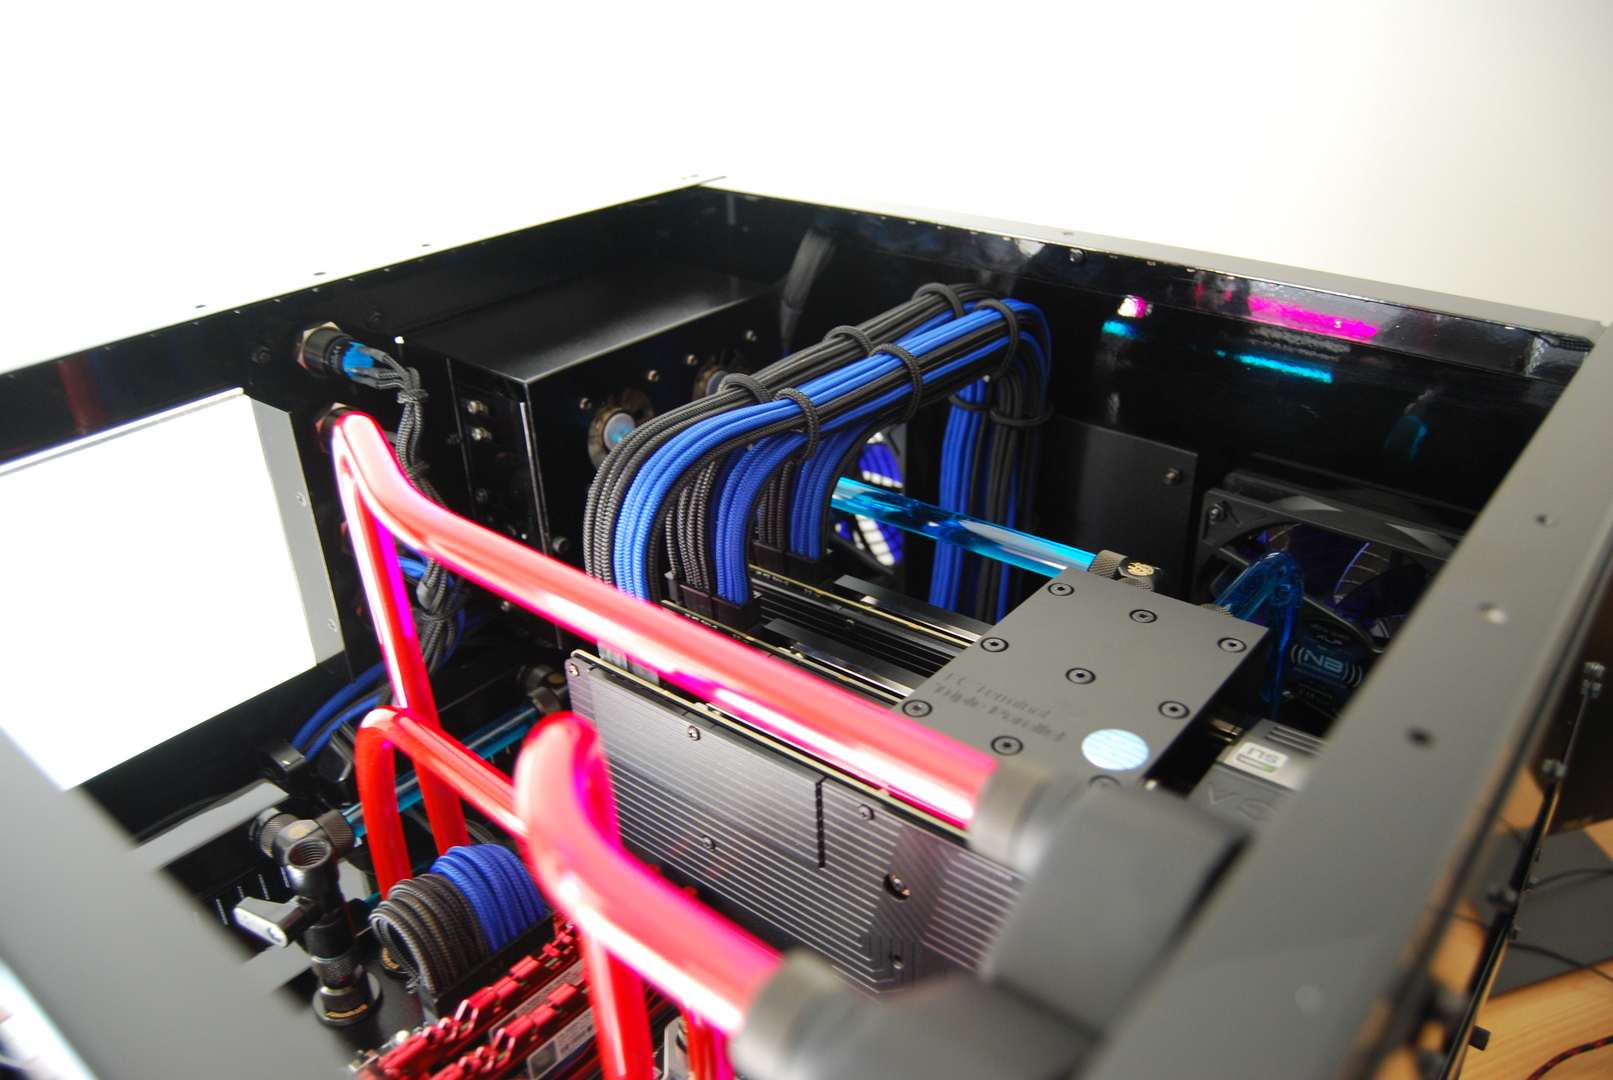
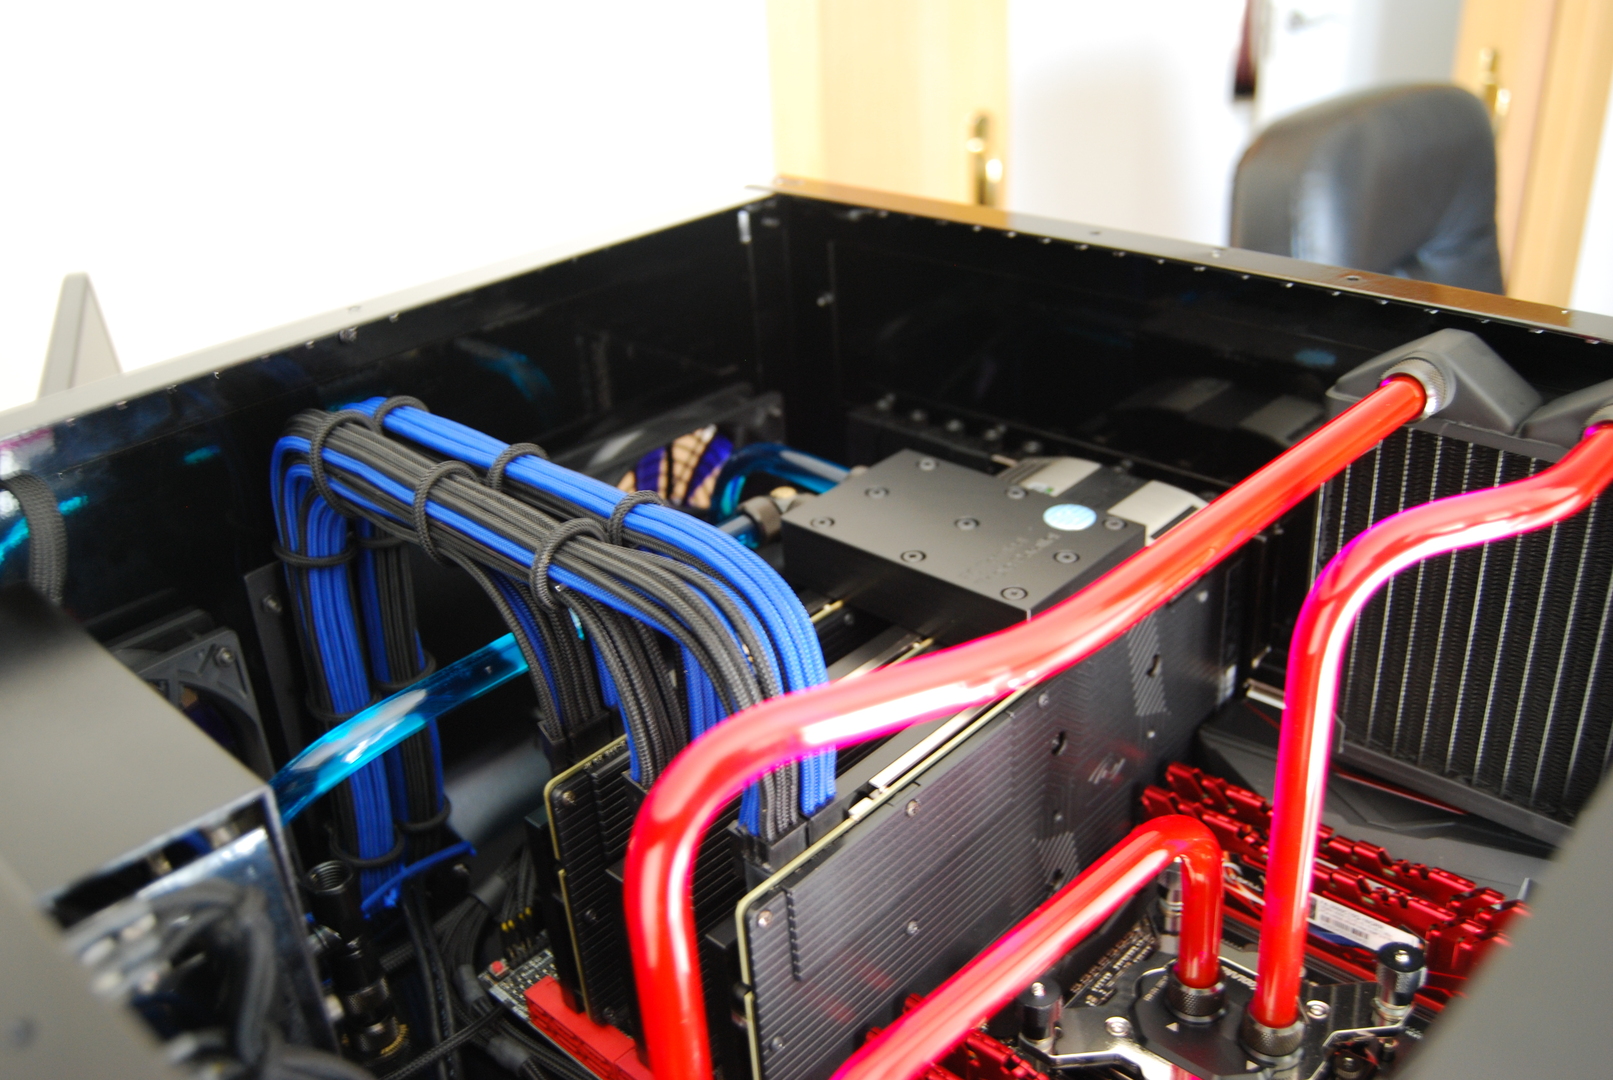
Interior of the tower high area:
!
!
!
!
!
!
!
!
!
!
!
!
!
!
!
!
!
!
!
!
!
!
!
!
!
!
!
!
!Interior low area:
!
!
!
!
!
! -
Here we go, let's see what I have left on my desktop XD, I got rid of the Surround setup and added the Rog Switf. I don't rule out adding 3 Rog panels in the future, but I'll have to add more graphics power for that resolution and I don't think I'll get it until some decent GPUs come out.!
I hope you like all the new additions. Best regards.
!
!
!
!
!
!
!
!
-
I like the smaller boxes, and I don't know how it will be with so much noise from the fans, but the truth is that it's a nice design, and you've put a lot of work into it, so congratulations.
Someday I would like to do something similar, but first I have to read and learn a lot, and above all, take time away from other hobbies ;D
Best regards.


Hello! It looks like you're interested in this conversation, but you don't have an account yet.
Getting fed up of having to scroll through the same posts each visit? When you register for an account, you'll always come back to exactly where you were before, and choose to be notified of new replies (either via email, or push notification). You'll also be able to save bookmarks and upvote posts to show your appreciation to other community members.
With your input, this post could be even better 💗
Registrarse Conectarse